I love baking sugar cookies. I make them for almost every holiday and birthday and I have had lots of people ask me how I make them. I’m not going to lie, they are very time consuming and the ultimate labor of love. But for those of you who are interested, here is my process, step by step.
My philosophy is that successful sugar cookies are a result of the process and not the recipe, but in case you are wondering, I use Martha Stewart’s Sugar Cookie Cutout recipe from her Cookies book. (If you like to bake cookies, then I highly recommend it! It is a fabulous book with dozens of amazing recipes Every single thing I have baked from that book has been divine.)
Depending on how much baking you do, you may or may not have most of the tools I use. I couldn’t live without my KitchenAid. It is an investment, but so worth it if you like to bake! I also recommend a sifter that doesn’t hurt your hand and a heavy duty rolling pin (mine is an antique inherited from my husband’s grandmother.) I use a variety of different baking sheets and haven’t found one to be better than another, but parchment paper is key!
Happy baking!
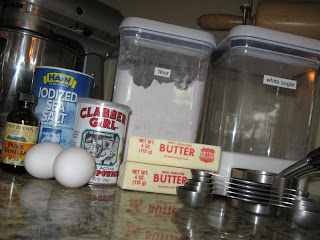
Step 1: Gather ingredients
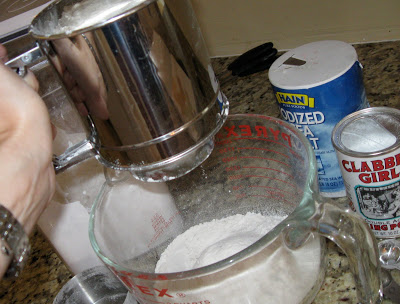
Step 2: Sift dry ingredients
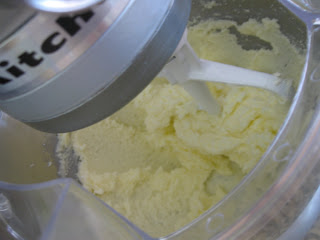
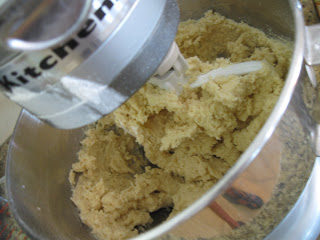
Step 3: Using paddle attachment, beat butter & sugar until fluffy; add eggs & vanilla
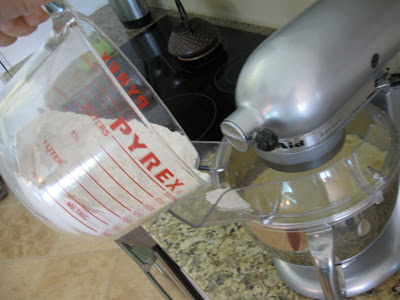
Step 4: Add dry ingredients
Step 5: Mix until well blended
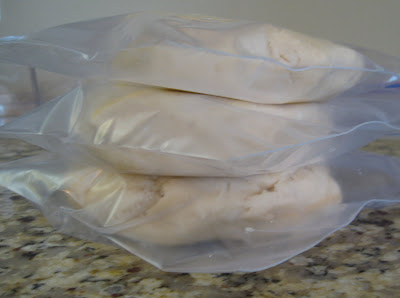
Step 6: Divide dough into 3 sections (I think 3 are easier to work with); wrap in plastic and refrigerate at least 1 hour or overnight.
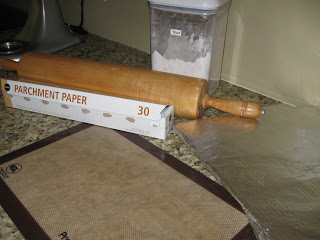
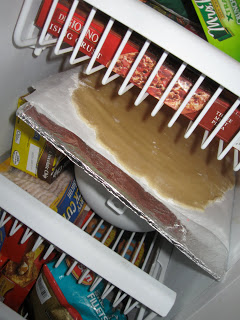
Step 7: Remove dough from fridge and let sit for 10-15 minutes. Gather supplies for rolling out dough. I roll my dough out on top of parchment paper and use the silicone mat to keep the parchment from slipping on the counter. The foil-wrapped sheets of cardboard were custom made for me by my husband to fit in our freezer. More on that in the next steps!
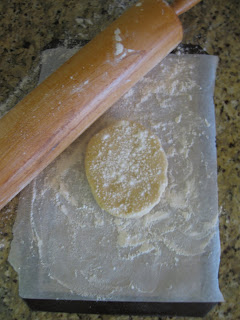
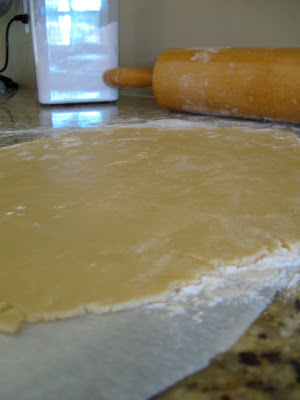
Step 8: Lay parchment paper over silicone mat; sprinkle parchment, rolling pin, and dough with flour.
Step 9: Roll out dough to 1/4″ thickness. Using parchment to lift, transfer to cardboard tray.
Step 10: Place rolled-out dough in freezer for 10 minutes; repeat steps 8-10 with remaining discs of dough.
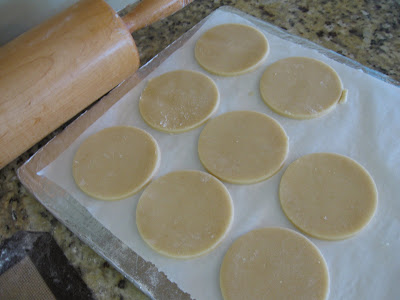
Step 11: Remove dough from freezer. Cut out to desired shape with cookie cutter (or, in this case, the top of a cocktail shaker for a circle shape!)
Step 12: Place cutout shapes on parchment-covered cardboard tray.
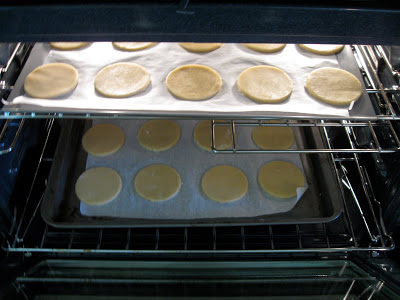
Step 13: Put trays of cutout cookies back in the freezer, again for 10 minutes. (Yes, again! They will still be cold but don’t skip this step! The additional freezing helps the cookies maintain their shape while baking. Not so important for circles, but very important for more intricate shapes.)
Step 14: Remove cookies from freezer; transfer to parchment-lined cookie sheets, place in pre-heated oven and bake according to the recipe’s instruction.
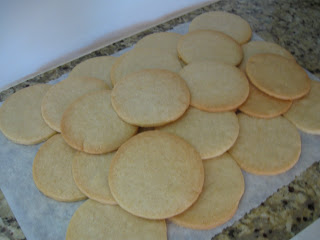
Step 15: Remove cookies from oven and cool completely.
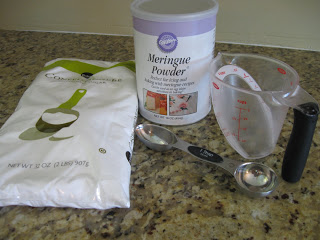
Step 16: Gather icing ingredients.
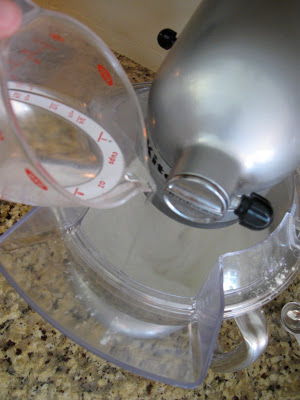
Step 17: Using paddle attachment, blend powdered sugar and meringue powder on low speed. Slowly add water until icing is to desired consistency. (Not too runny but not too stiff.) Mix for 7-9 minutes until very smooth.
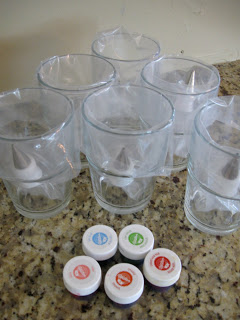
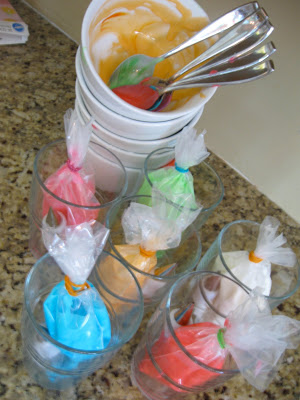
Step 18: While icing is mixing, prepare icing bags with tips and couplings. I find it helpful to fold the tops of the bags over a glass to make them easier to fill. Use gel food coloring!
Step 19: When icing is done mixing, quickly divide into bowls and add food coloring. The icing will begin to harden when exposed to air, so speed is key! I usually try to stick to 3-4 colors (not 6 like shown here!). Fill icing bags and use rubber bands to close ends.
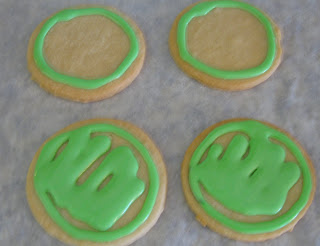
Step 20: Ice cookies. This step is a lot of trial and error, but to make a nice smooth icing, first pipe a circle around the edge. Wait a few minutes (not too long or you’ll see a line, but not too short or it will be too runny–hence the trial and error!), then zig zag more icing inside the circle and use the tip to gently spread it out until it is all smooth. You can then either add a design with other colors while wet (will make for a smooth finish), or wait for it to dry and then pipe a design on top with a contrasting color.
Here is the finished result:
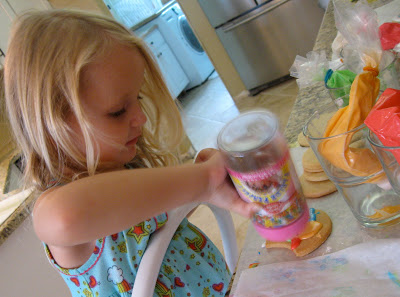
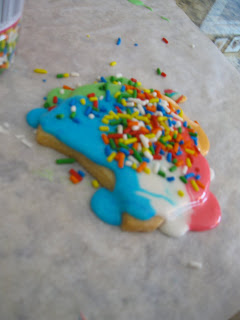
Step 21: Save a few cookies for the kids to decorate…
Ever feel like you just can't keep up? Our Living Well Starter Guide will show you how to start streamlining your life in just 3 simple steps. It's a game changer--get it free for a limited time!
If you love this resource, be sure to check out our digital library of helpful tools and resources for cleaning faster, taking control of your budget, organizing your schedule, and getting food on the table easier than ever before.
Thanks so much! Sugar cookies that keep their shape still elude me, so I’m anxious to try this recipe. Having the silicone mat underneath the parchment paper is pure genius! You should see me trying to hold the extra parchment paper with my gut while I’m rolling dough! Thanks again!
I have a great sugar cookie recipe, but I’m looking for an icing recipe. Can you tell me how much powdered sugar, water, meringue powder you used? Thanks so much!