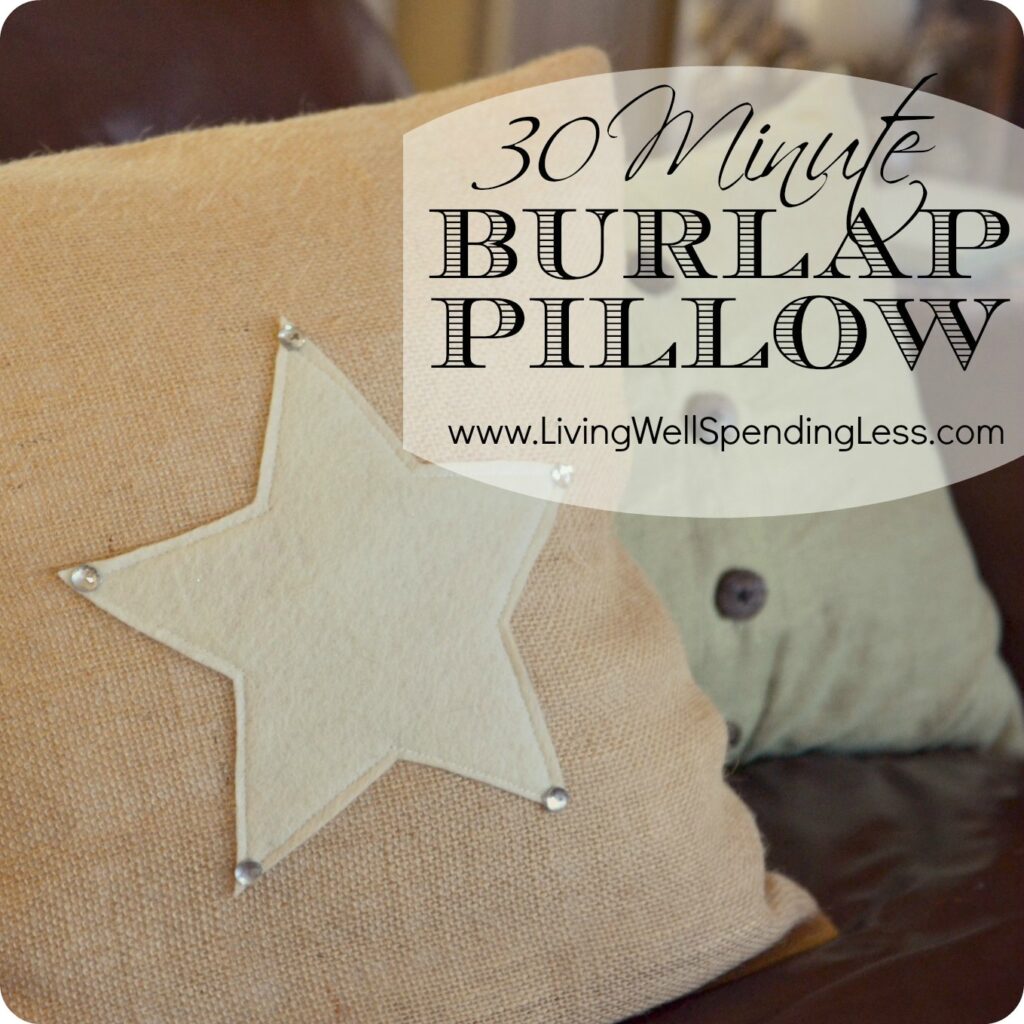
Much to my husband’s chagrin, I insist on filling our sofas with pretty throw pillows. And despite how many times a day I am forced to rearrange, re-fluff, and pick them up off the floor, I refuse to give in. I love them. Without them, the room just doesn’t feel finished.
I wanted some pretty new Christmasy pillow covers this year but I couldn’t really justify the $40+ price tag at Pottery Barn. Why are those silly things so expensive? Since I don’t have the patience for “real” sewing–or for taking the time to measure, pin, iron, and put in a zipper–I decided to come up with something a little quicker. It worked like a charm! The first one took about 30 minutes and the second one was even faster. Even better, they only cost about $1.00 each in materials!
I know it looks like a lot of steps and I probably took too many pictures along the way, but I promise it is NOT complicated. If you can sew a straight line, you can make this pillow cover!
Here is what you will need:
sewing machine a pillow burlap (approximately 1/2 yard per pillow 1 sheet of felt straight pins clear glue-on gems (optional) glue gun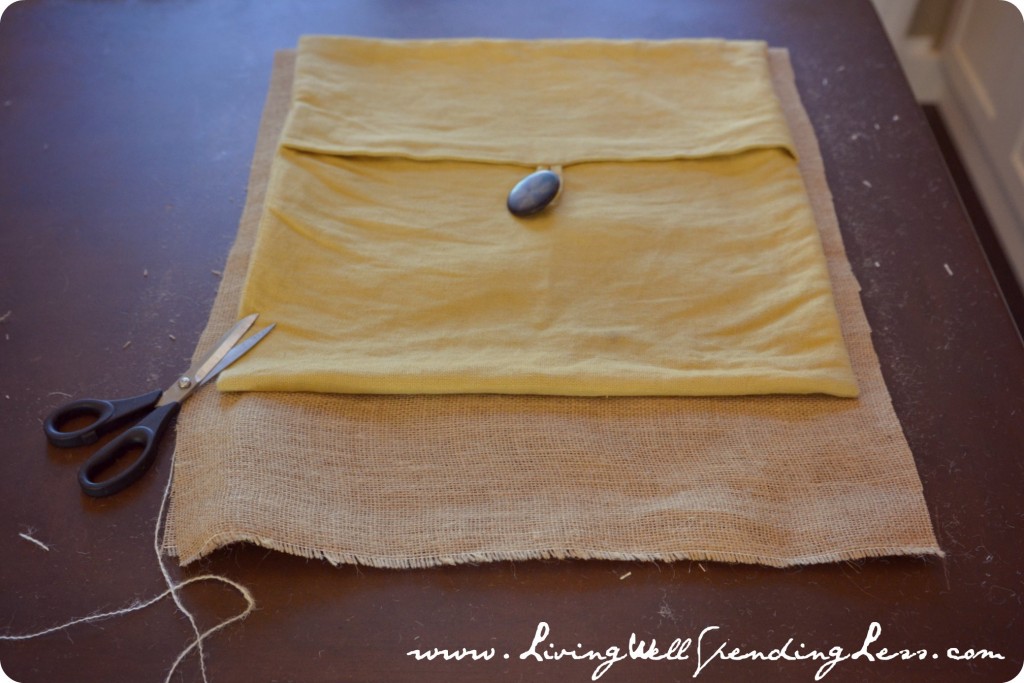
Start by taking your burlap outside and shaking it well to get rid of all the excess dust! Lay burlap down on table with fold at top. Using existing pillow cover as a guide (or simply use the pillow itself if necessary) trim burlap to leave approximately 1″ on each side. Leave as much length as possible at the bottom.
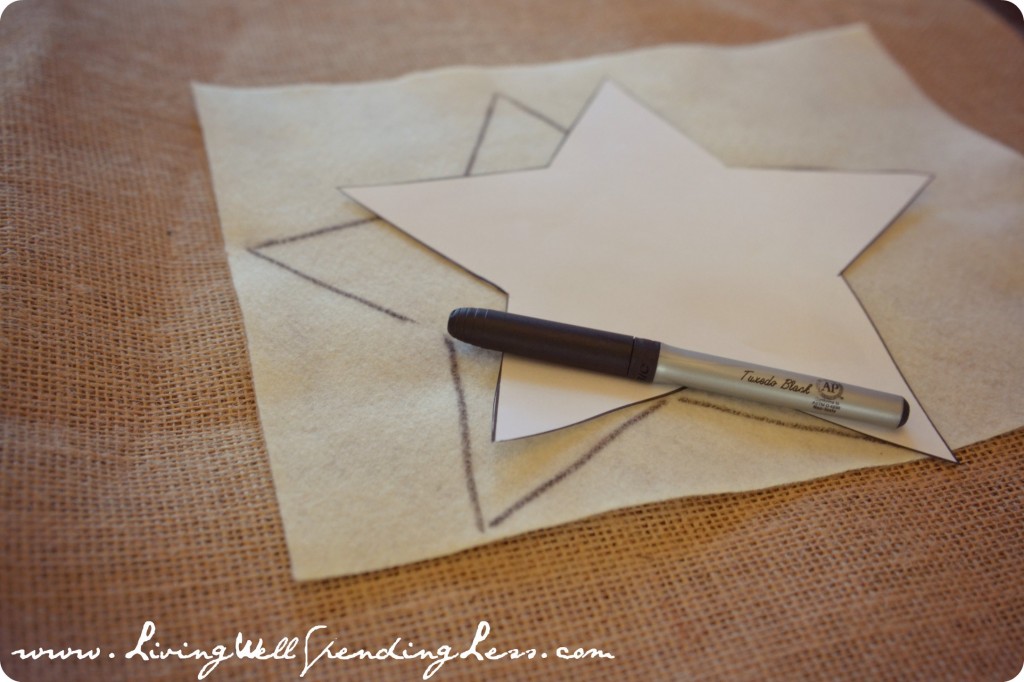
Next cut out your felt shape. For the star I used a star clip art shape in my word processing program and printed it out the full size of a 8 1/2 x 11″ paper, then cut it out and traced it onto the felt. For the tree (see picture at bottom of post), I simply cut it out freehand. 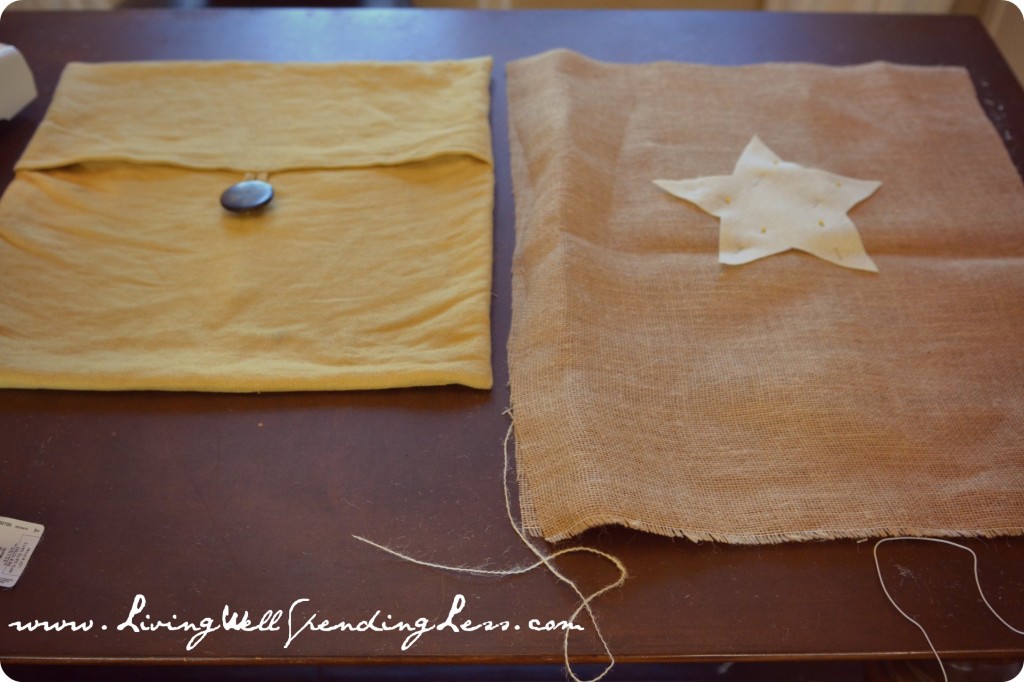
Lay existing pillow cover (or pillow) and burlap side by side, lining up the tops. Position appliqué so that it is centered on the pillow (or placed where you want it), then pin into place. Be sure to pin only the top layer!
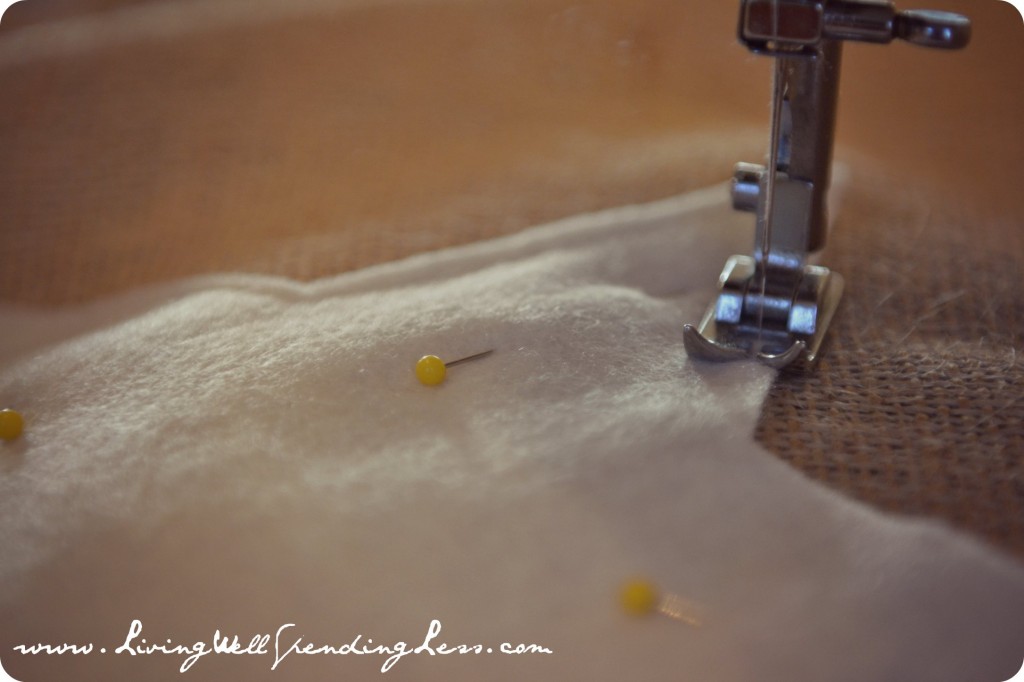
Open up burlap so that you are only sewing one layer, then carefully sew along the edge of felt to secure the appliqué.
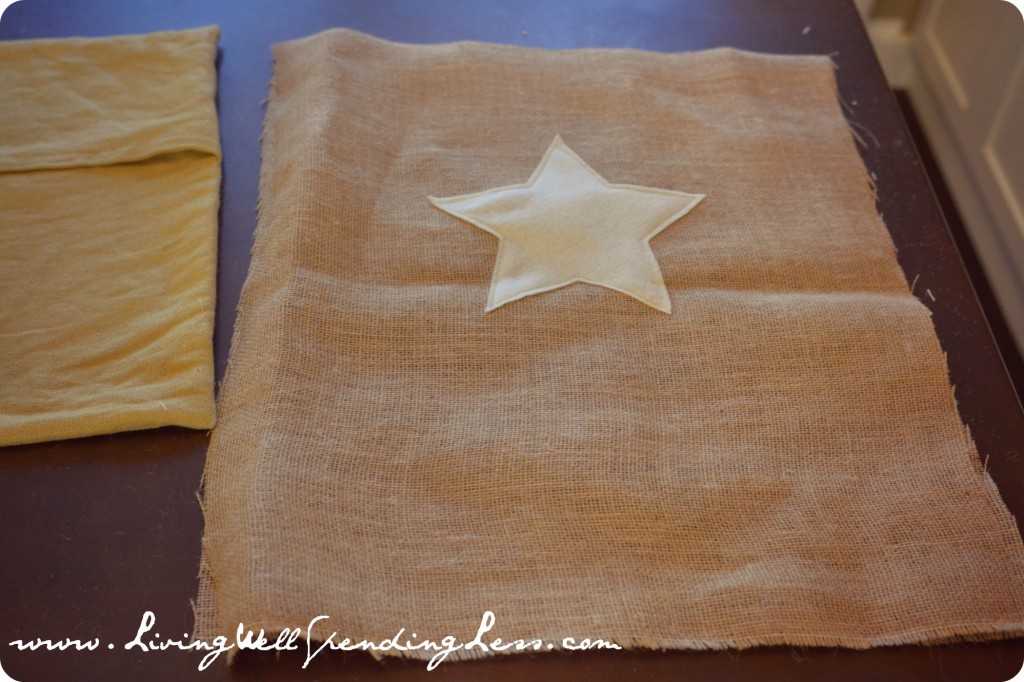
At this point, your cover should look like this.
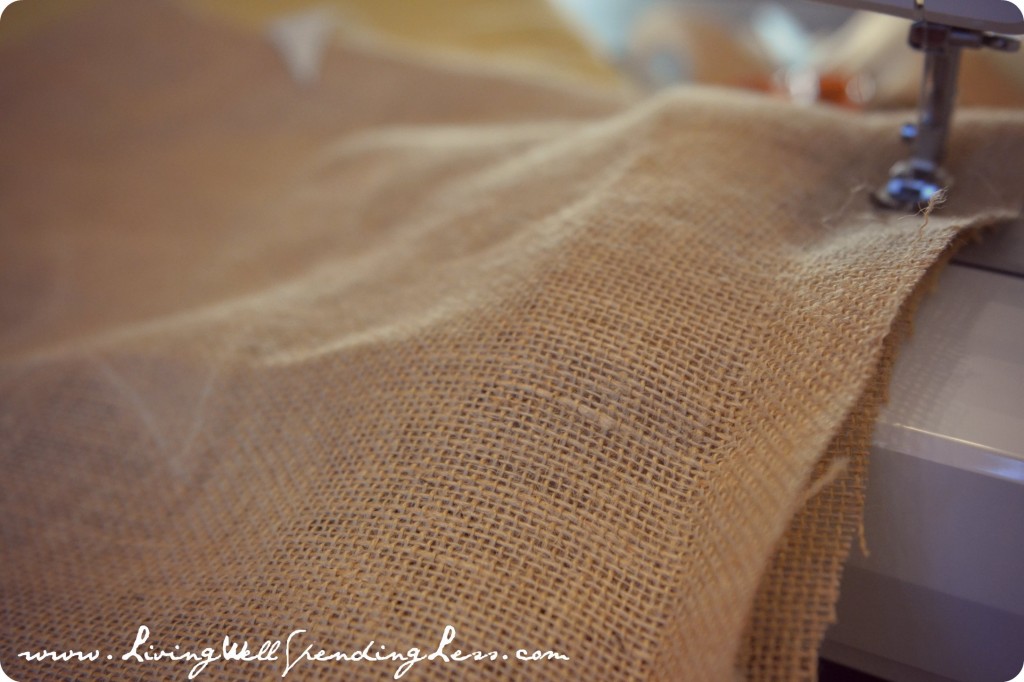
Turn cover inside out, making sure top fold is straight. Line up sides and sew together, leaving a 1″ margin.
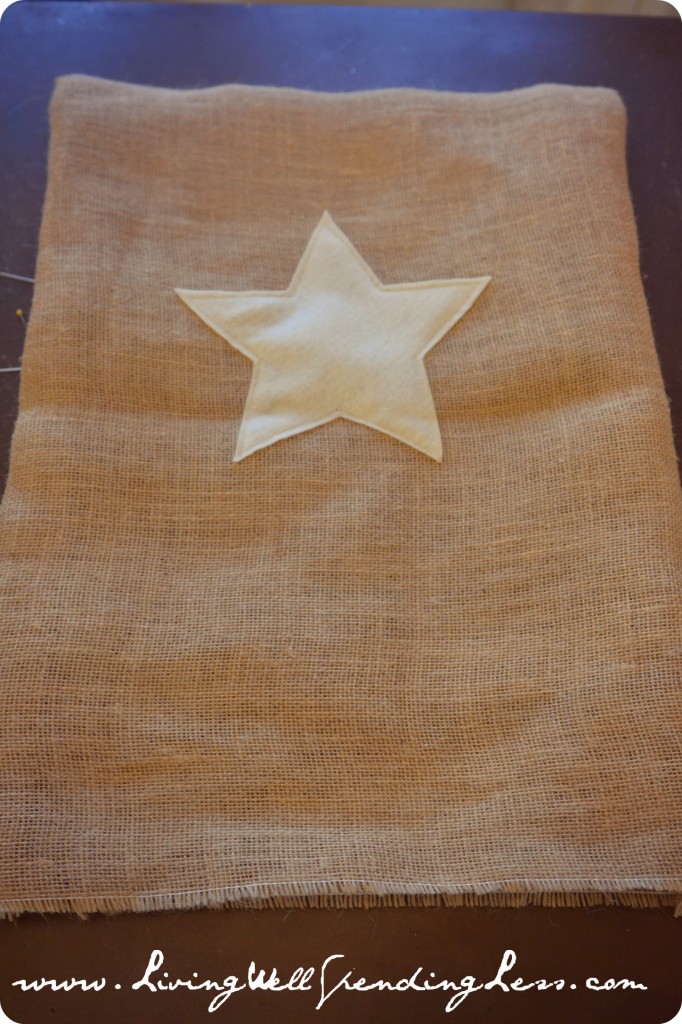
Clip the corners, then turn back right-side out. Now your cover should look like this.
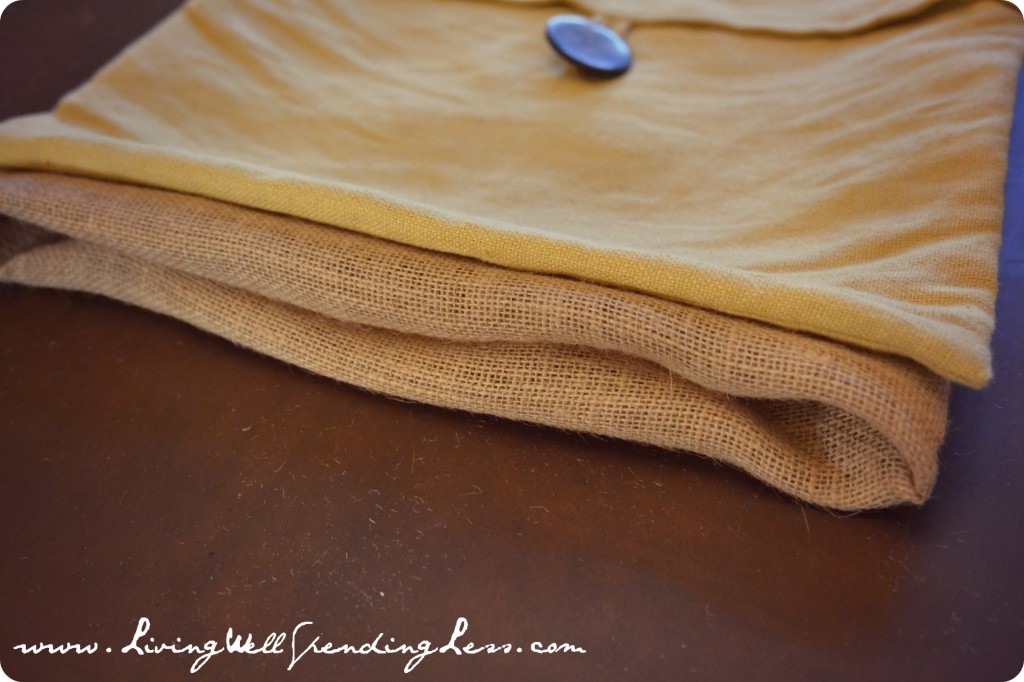
Again using existing pillow cover or pillow as a guide, fold the bottom edge of pillow cover into pillow as shown. Be sure not to make it too long or your pillow cover will be loose!
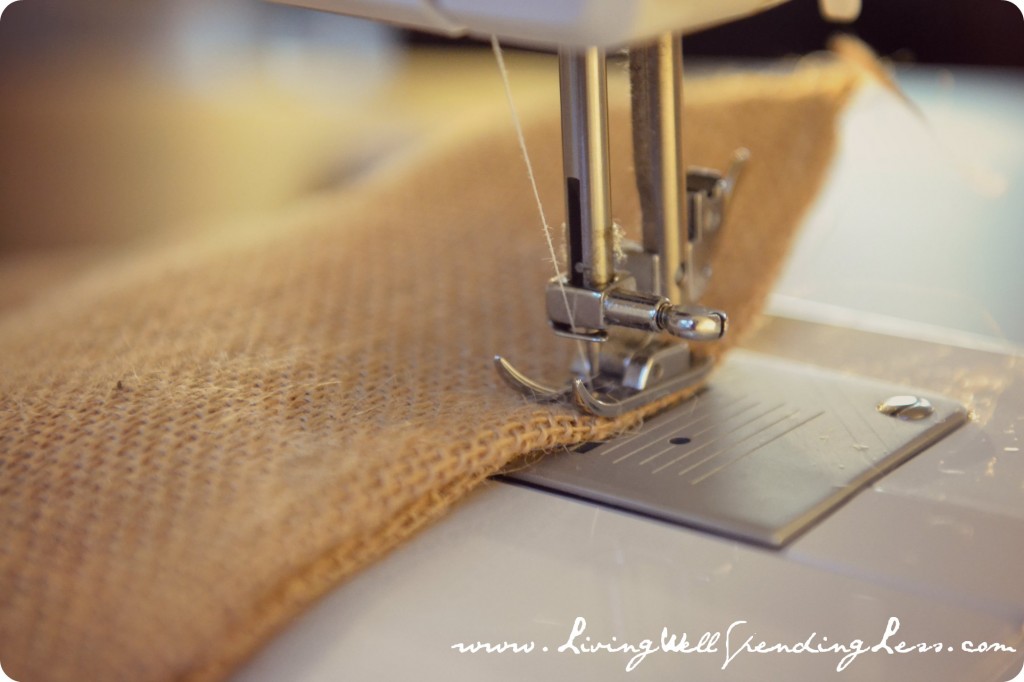
Starting at one bottom corner, sew two sides together for a few inches.
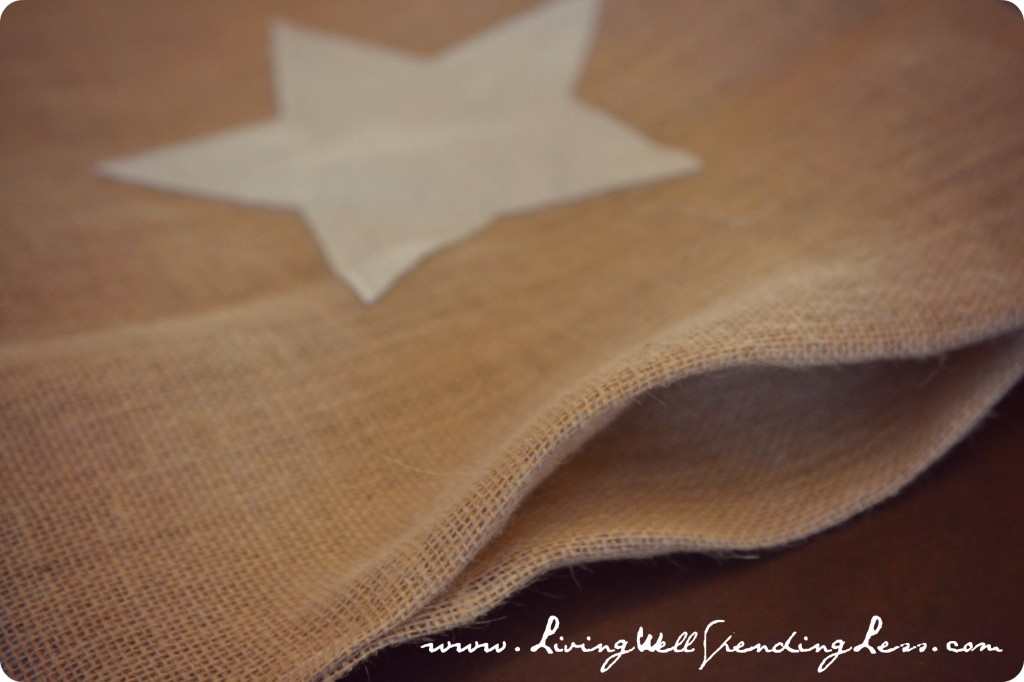
Repeat from other corner, leaving an opening in the middle.
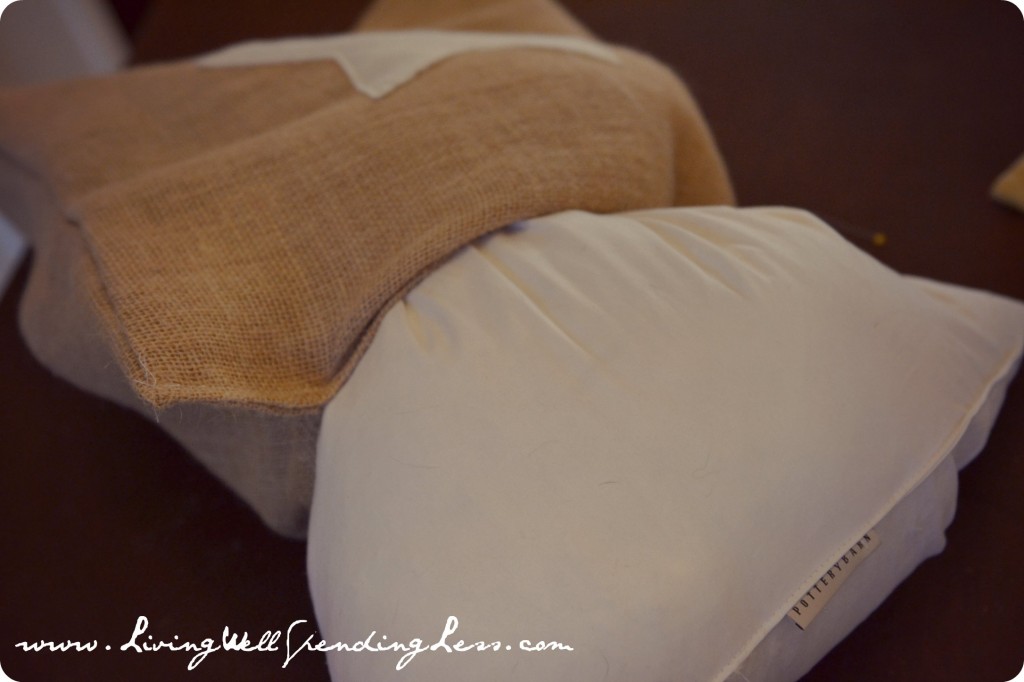
Stuff pillow insert into cover through opening. I personally prefer real feather inserts-they just sit & fluff up so much nicer than synthetic pillows! This one was from Pottery Barn but you can get an 18″ square one on Amazon for only $7.50.
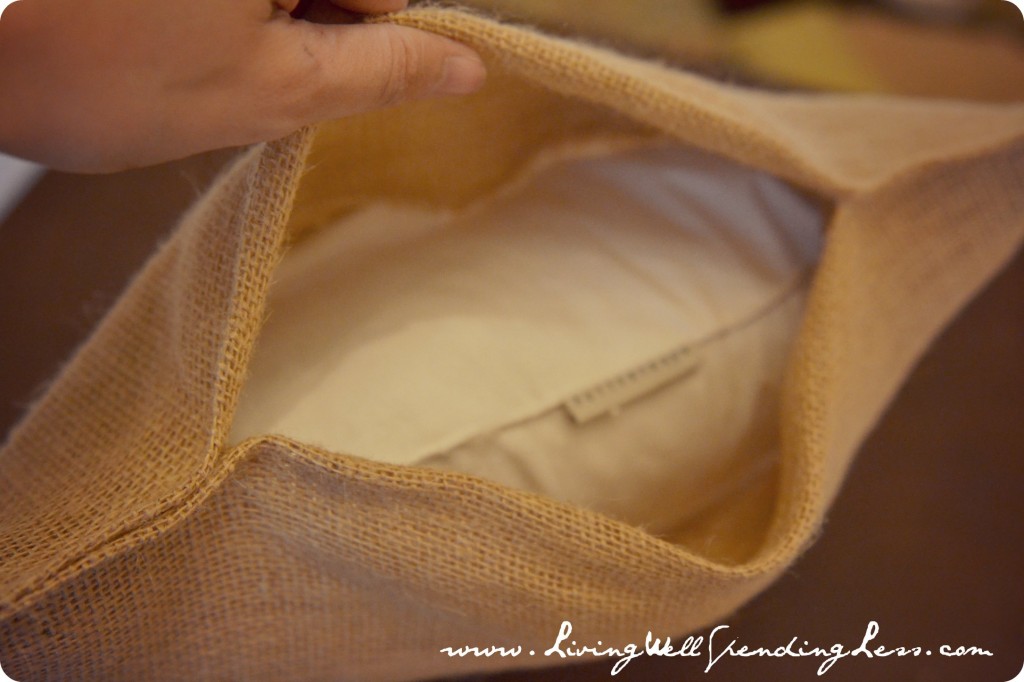
Once your pillow is in and all flattened into the upper corners corners, pull the flap of longer fabric over the pillow and flatten the bottom of the pillow into the lower corners, so that none of the white is showing. No zipper required!
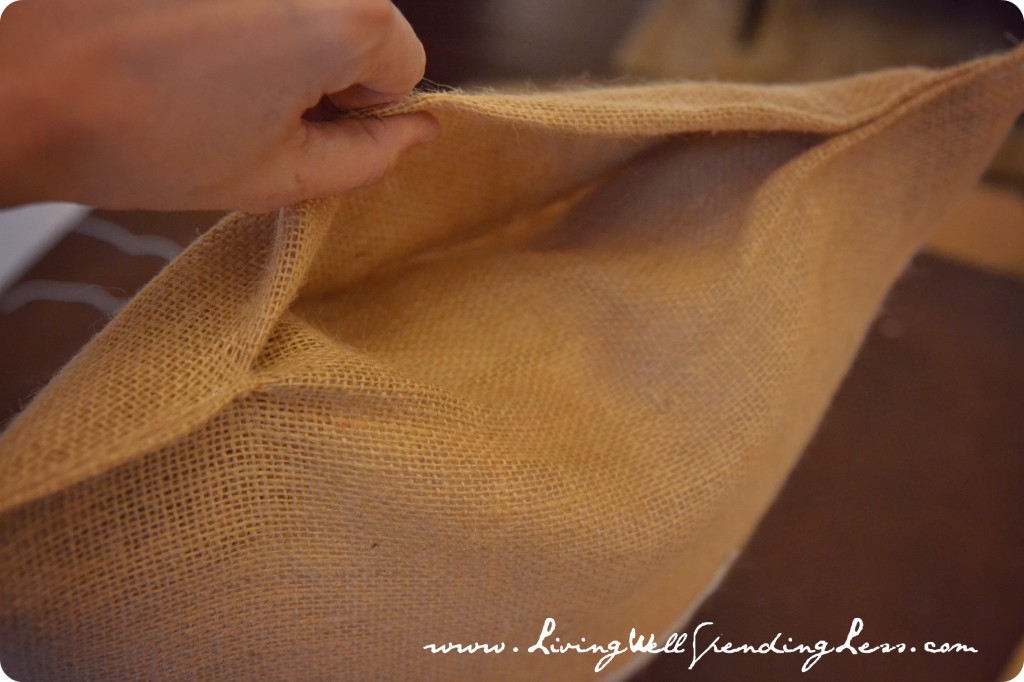
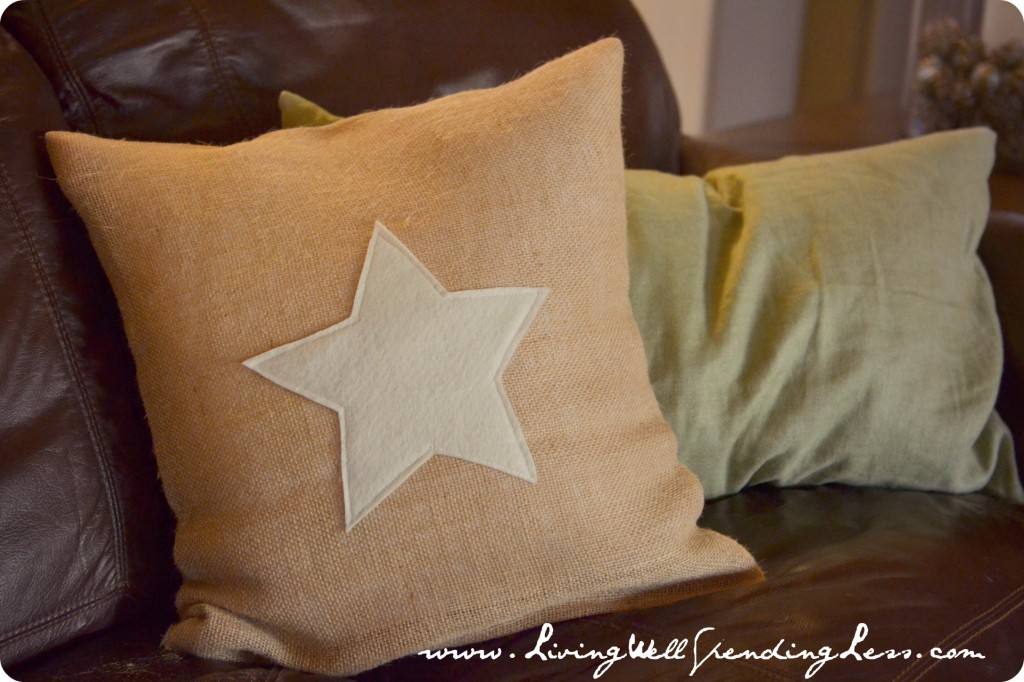
How easy was that?
After I finished sewing I decided it needed a little extra sparkle, so I took out my hot glue gun and glued a clear gemstone to each of the points.
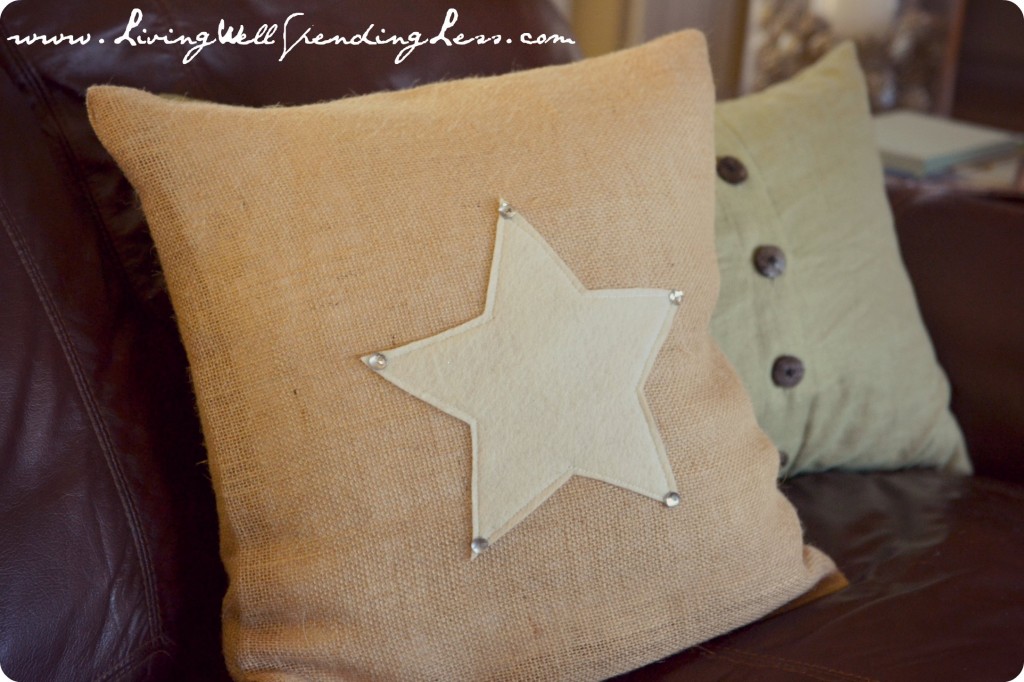
So much better!
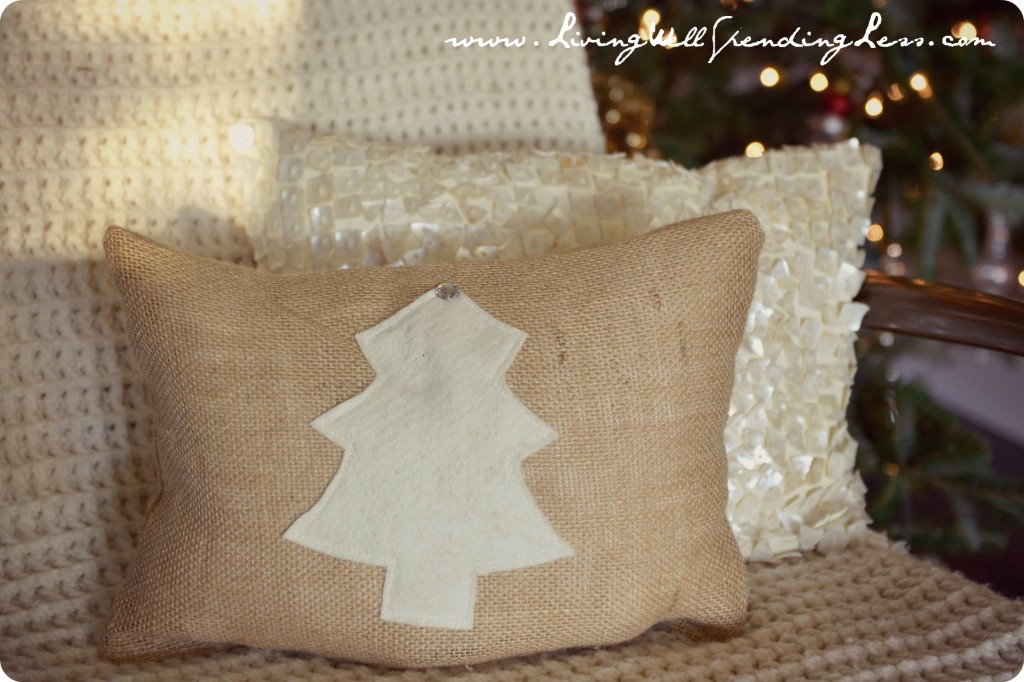
Aren’t they cute?
* * *
What handmade projects do you have planned for the holidays?
TAKE BACK CONTROL OF YOUR HOME LIFE
 Ever feel like you just can't keep up? Our Living Well Starter Guide will show you how to start streamlining your life in just 3 simple steps. It's a game changer--get it free for a limited time!
If you love this resource, be sure to check out our digital library of helpful tools and resources for cleaning faster, taking control of your budget, organizing your schedule, and getting food on the table easier than ever before.





Cute, simple and festive. Thanks for the tutorials. Question: did you post the winner to the Holiday CD giveaway?
Oh my goodness Rebekah, I am SO bad about remembering to pick winners for my giveaways! After I saw your comment yesterday I picked and notified the winner. Thanks again for the reminder!
Ruth, you are seriously killing me with all these projects! LOL I want to make all of them! I don’t know how you find time to do it all.
Meh, I just put off doing everything else so I can make pretty crafts! 😉
Isn’t burlap uncomfortable? I just don’t see how you would want that as a pillow. It’s a cute idea, but I think i’d rather use fleece or fabric then burlap!
Well I probably wouldn’t want to sleep on it, but it is more decorative than anything else–most of my throw pillows are just eye candy! 🙂 You could use the same technique with any fabric though–the end result is the same. I actually did a gold lame one at the same time and it worked perfectly.
SO cute! I am heading to the fabric store this morning!
Thanks Heather! Let me know how it turns out! 🙂
Love this idea! Looks great!
Thanks Michelle!