
Looking for the perfect DIY gift for teachers, family, or friends? This tutorial for DIY chalkboard coasters is easy, affordable, and from the heart!
Can you tell we have been feeling a little crafty around here lately? The girls and I have been working on so many projects that I hardly know where to start, but I figured I better get going on sharing some of our gift ideas so that y’all can get started on them too!
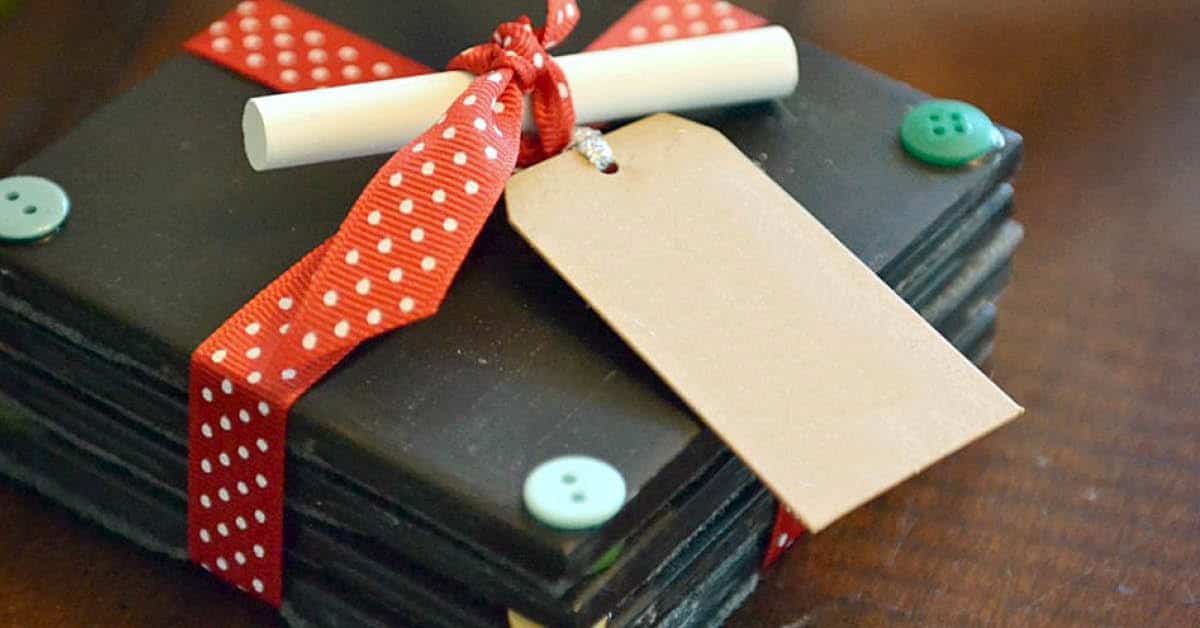
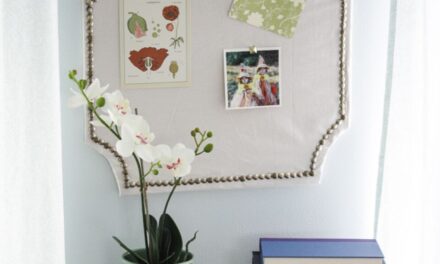
These fun chalkboard coasters might be one of my most favorite projects ever–I just love how cute they turned out! We have already started making more so that we can keep a set for ourselves. They are a great project for the kids to help with because they are so easy, but they are one of those projects that require a few minutes at a time, followed by lots of drying time. Be sure to give yourself at least 3 or 4 days to get them done!
I used some Martha Stewart chalkboard paint that I already had on hand from when I did this rotating artwork display gallery wall. It works on all surfaces so it is a good choice. A small bottle goes a LONG way! The buttons I used were leftover from the cute as a button baby shower I threw for my goddaughter in May. JoAnn’s has a 1 pound bulk pack of assorted buttons for around $6–use a coupon to get it for half off! For this project you could also skip the buttons or just buy a small pack of the color you wanted to use.
DIY Chalkboard Coaster Set

Here is what you will need:
plain 4×4″ tiles chalkboard paint paint brushes buttons felt tacky glue (or hot glue) chalk ribbon & gift tag for packaging Start by painting the front and sides of tiles with a thin layer of chalkboard paint. I let the girls paint them, then I smoothed out the paint and touched up any spots they had missed.

Don’t worry if it doesn’t cover on the first coat. You will need at least 3 coats of paint. Let dry at least 3 hours or so between coats.

After your final coat of paint, let tiles dry completely so that paint can cure–at least 24 hours.

Next you will need to season your little chalkboards by using the long side of a piece of chalk to cover them completely.


Wipe the chalkboards clean with a dry paper towel; if they seem too dusty you can wet it just a little.

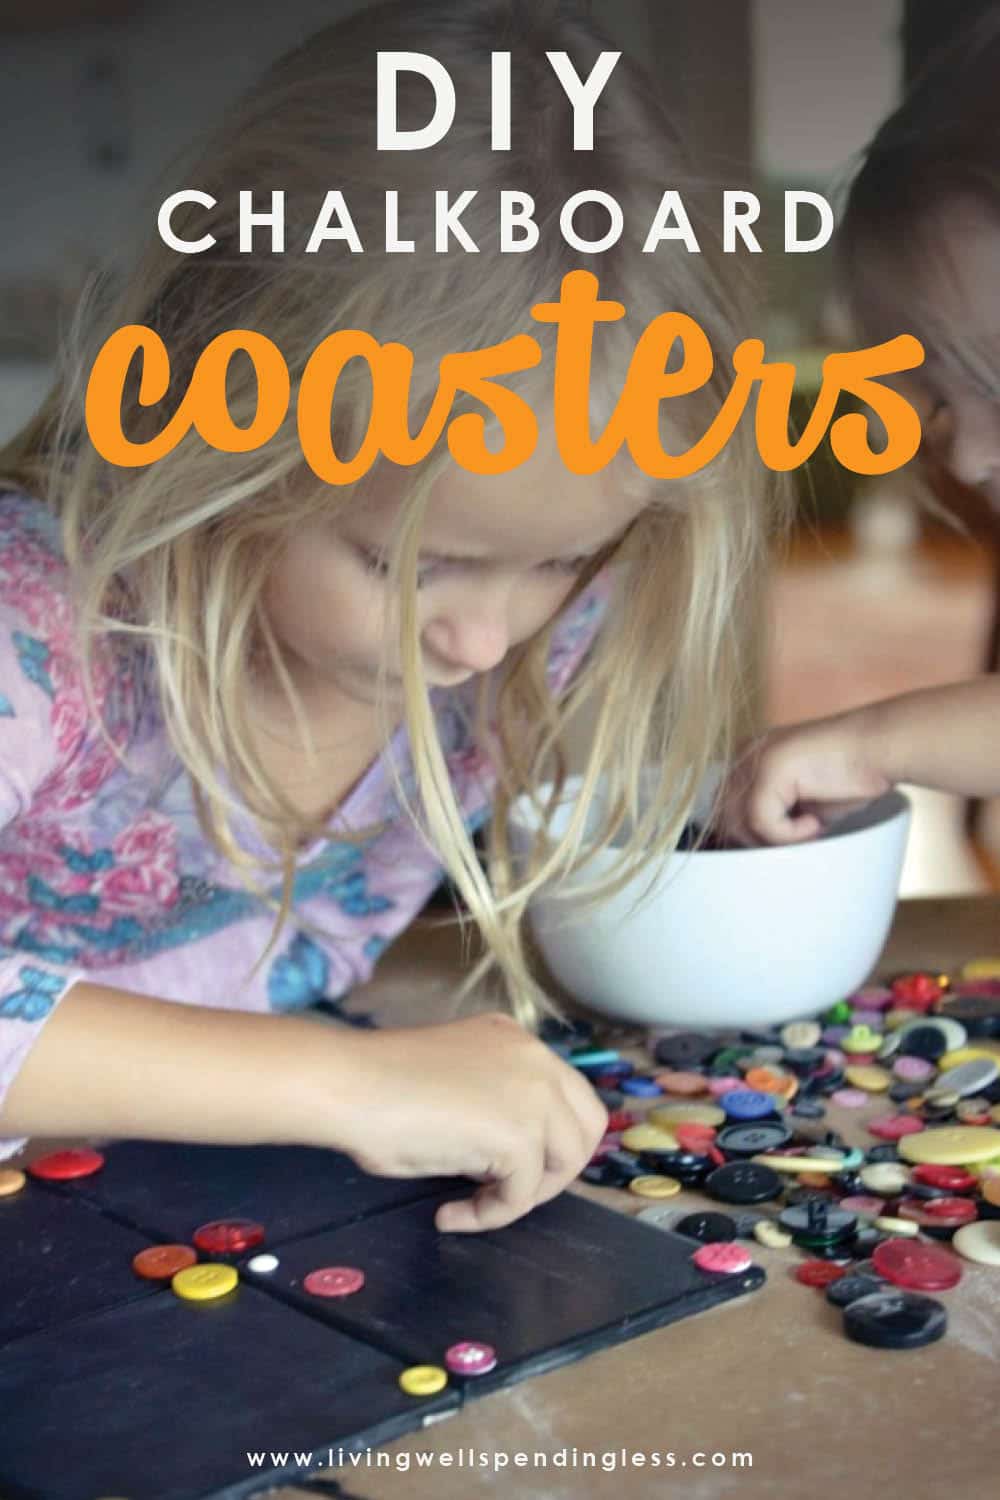
Select your buttons. The girls had a blast with this step–mommy’s buttons are usually off limits. We decided to put one button on each corner, and to do each tile with just one color. I instructed them to look for flat buttons that were small-to-medium in size.

Lay out the buttons how you want them to look on the tiles, then glue in place. We used tacky glue so that the girls could do it themselves, but hot glue would probably work too and dries a LOT faster. The tacky glue takes forever to dry!
Let the glue on the buttons dry completely (at least 24 hours for the tacky glue.)

Using a tile as a size guide, cut out squares of felt then glue to the backs of the tile. Let dry completely–be sure to keep the chalkboard side down and the felt side up while they are drying or it will take a lot longer. You know they are dry when no condensation forms on the tiles when you stack them.

Once the coasters are completely dry, stack 4 together then tie with a pretty ribbon, gift tag, and piece of chalk. You’ve now got the perfect gift for just about anyone.

But be sure to make extras…..you’ll probably want to keep a set for yourself!
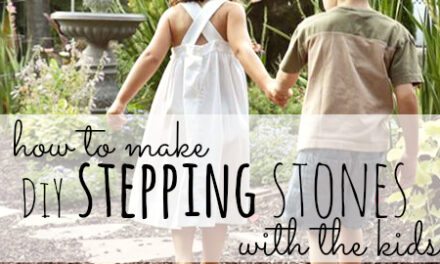
Other DIY Projects You’ll Love:
PIN FOR LATER


Ruth Soukup
Latest posts by Ruth Soukup (see all)
- Stop Worrying About Money - July 19
- How to Fit In More Fitness - April 28
- The Most Powerful Decision You’ll Ever Make - April 27
TAKE BACK CONTROL OF YOUR HOME LIFE
 Ever feel like you just can't keep up? Our Living Well Starter Guide will show you how to start streamlining your life in just 3 simple steps. It's a game changer--get it free for a limited time!
If you love this resource, be sure to check out our digital library of helpful tools and resources for cleaning faster, taking control of your budget, organizing your schedule, and getting food on the table easier than ever before.


Those coasters are such a simple but modern idea; my mom is all about having cute, simple decor in the house and I am considering making her a set of these for Christmas this year. You say you found the tiles at Home Depot, but how much were they? I only ask because I am on the tightest budget you can imagine, so I’d really appreciate if you would give me an answer!
Hi Isabella,
The tiles can run any where from .75-.98 cents per 3-3/4 in. x 3-3/4 in.Ceramic Wall tile. I hope that helps. Can’t wait to hear how they turn out. 🙂
These are great!
But can you use pieces of wood squares instead of the ceramic?
Thank you!
Yes, you could use wood squares but you might need to put more coats of paint to the squares. I would suggest you try a test piece of wood before you start your project.
Hello there,
I was hoping to make these coasters for my mom when I found out that I had tiles from years before but the front side of them have a shiny material and I can’t use the backside because they have stickers that would leave a mark if I peel them off. So, I was wondering, would the shininess affect the chalkboard paint? For example, not sticking to the tile. Thank you!
You might want to try to paint the tile with a Kiltz primer product and then paint the tiles with the chalkboard paint. I would suggest you try it on one and see how it goes. Good luck and let us know how it turns out. 🙂
Sure thing, thank you!
I come across cheap tiles all the time at yard sales! Going to grab them to make birthday gifts for my friends this year! Thanks!
Love your coasters I bought Disney chalkboard paint at Walmart says to let dry seven days for walls
You can use itvon tiles etc so for coasters should you let it cure for 7 days like it says then rub the chalkpaint on them please email me nice post
Hi Pat,
I don’t think it would take 7 days for the coasters to cure. But I would suggest testing one just in case. 🙂
These are so cute! I am going to make these for some family members for Christma, but I can’t find any tiles. Where did you get the tiles from? I have checked online at Hobby Lobby and Michaels and nothing was coming up in my search. Any ideas you have would be appreciated. Thanks!
I don’t know if this was just posted or two years ago 😉 but you can buy loose tiles at home depot or Lowes… or if you have a local used building material store, you may be able to find them for cheap! (like Habitat for Humanity Restore)