
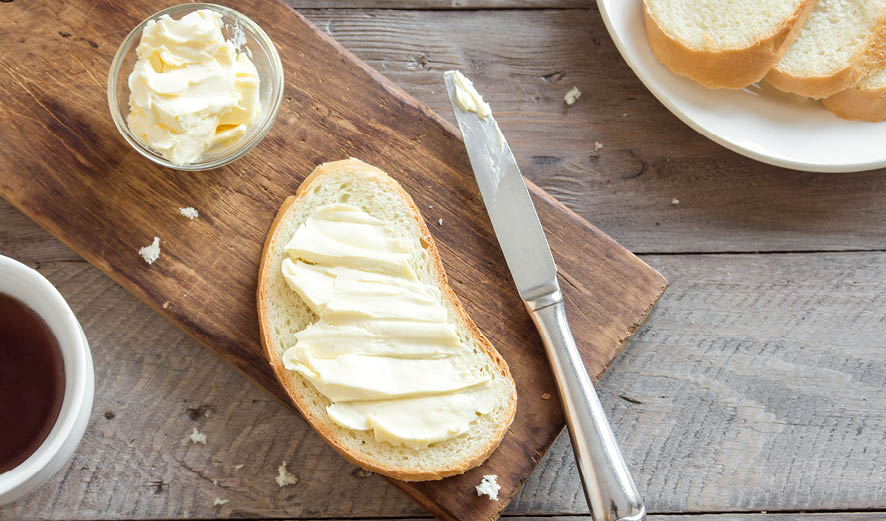
Did you know you can make your own homemade butter in a KitchenAid mixer or food processor?!! It is fun & easy and tastes SO much better than the store bought stuff!
Okay, so maybe I just tend to get overly excited about butter in general, but I am pretty sure that making homemade butter in my Kitchen-Aid is both the coolest and the most domestic thing I’ve ever done. Just when I didn’t think it was possible to love an appliance even more….I mean really, what’s better than homemade butter? Mmmmmmmm…..butter……
But I digress.
It was seriously so easy that I see a lot more butter making in our future. Since this was technically a homeschool activity (and had no selfish motivations whatsoever!), we tried to follow the instructions from Little House in the Big Woods as closely as we could. Of course considering that we didn’t have a cow or a real butter churn, or even a wooden bowl and paddle, we did a lot of improvising.
We used a quart of heavy cream, which made approximately a pound of butter and about 2 and 1/2 cups of buttermilk. I paid $5.99 for the cream at Publix, which was a lot, but next time I’d probably stock up at Sam’s Club, where it is just under $3 a quart. I’ve heard Aldi has super cheap cream as well. We also grated a carrot to add yellow coloring because that is the way Ma Ingalls did it, but next time I would probably skip that step!
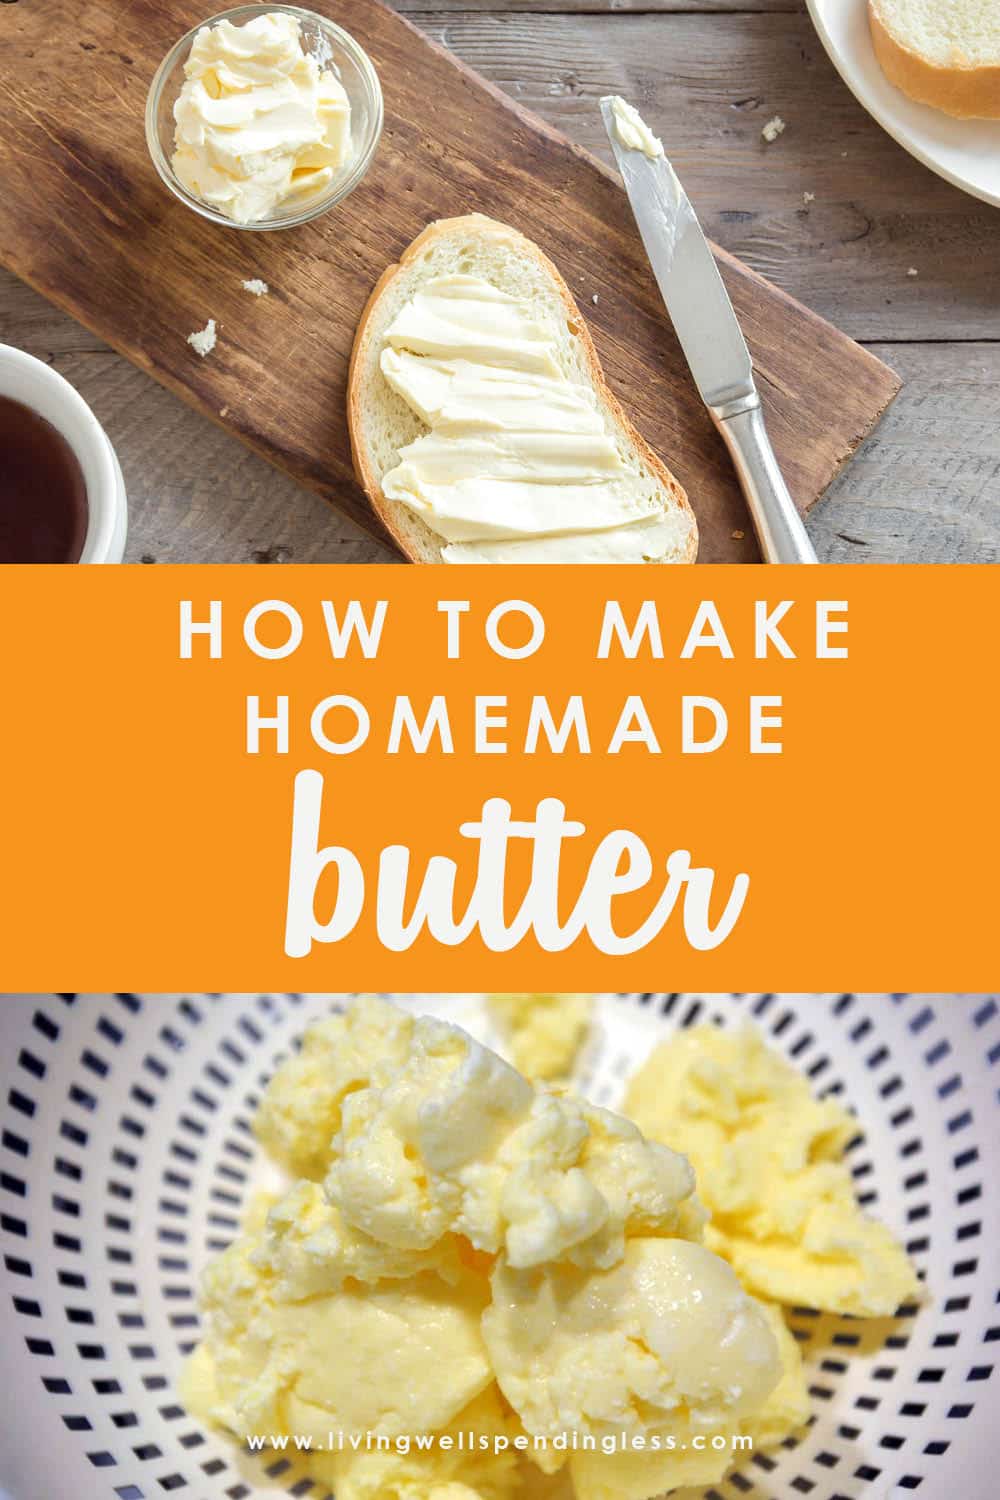
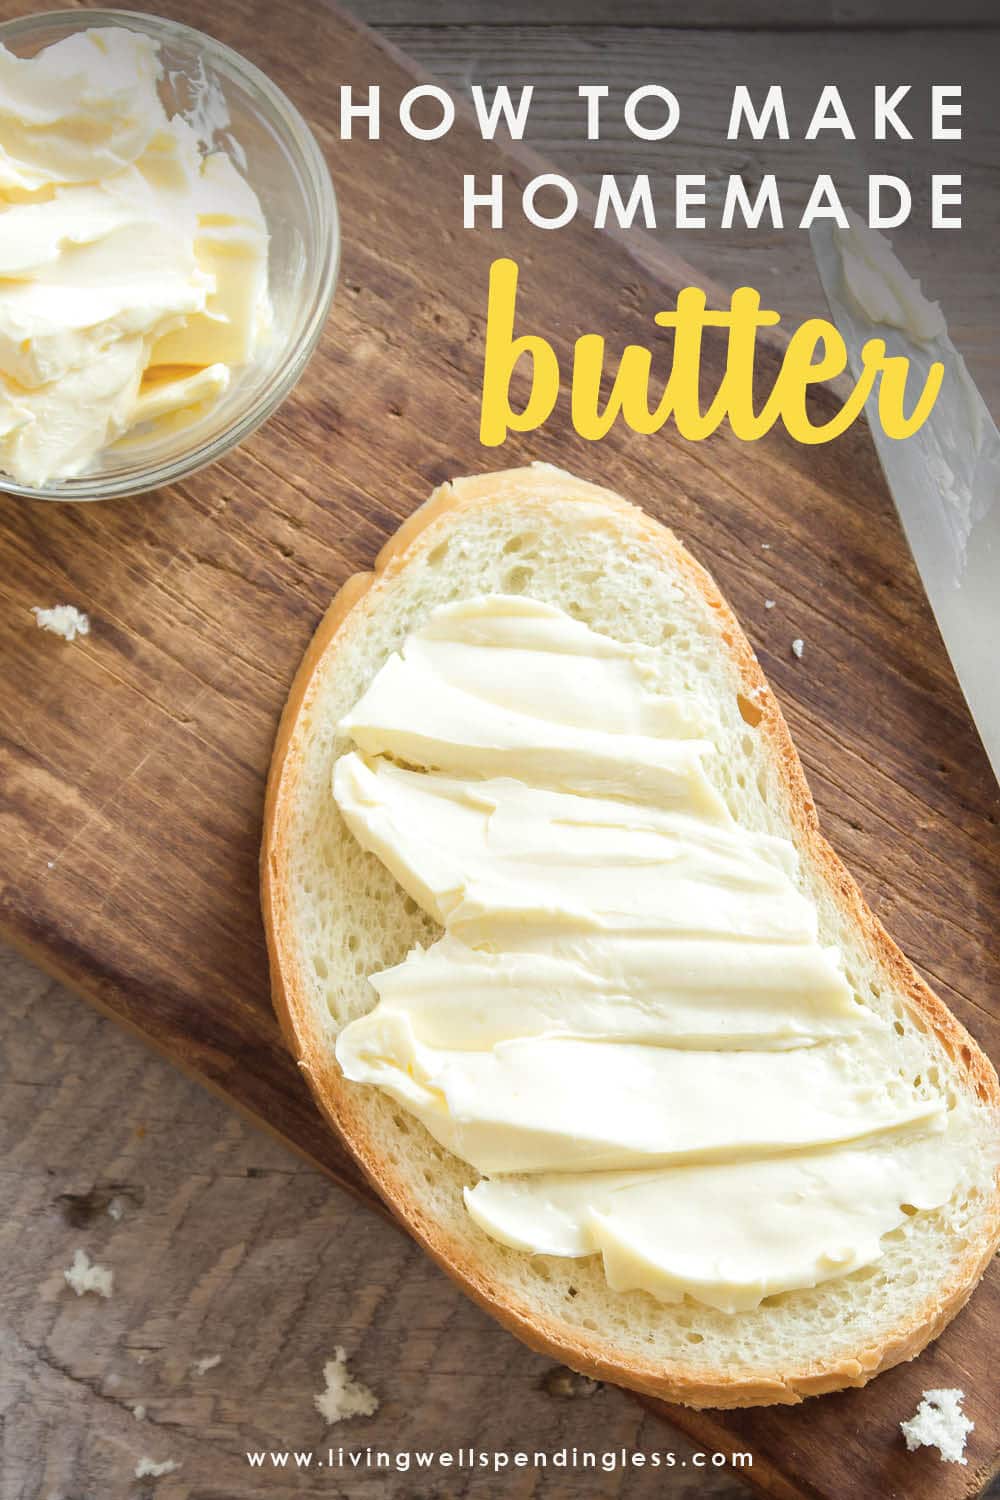
How to Make Homemade Butter
Here is what you need:
1 carrot (optional) 1/4 c. milk (optional) 1 quart heavy cream 3/4 teaspoon salt


Step 1 (optional): Peel & finely grate a carrot. Heat in small saucepan with 1/4 cup milk until milk is bubbly. Use a clean cheesecloth to strain orange-colored milk into the bowl of your stand mixer. Discard shredded carrot.

Step 2: Pour cream into bowl of stand mixer fitted with paddle attachment. Add salt. Cover mixer with a towel–trust me on this one, it will be messy! Turn mixer on high.
Step 3: Continue mixing, checking on mixture frequently. It will first turn to whipped cream, then begin to get grainy and separate into butter and buttermilk, and the splashing will get much worse. The butter is ready when it sticks in a clump to the paddle.

 #homemade #buttermilk #recipe")
Step 4: Place a colander over a bowl, then strain the buttermilk off of the butter. (For a GREAT recipe using buttermilk, try these super yummy refrigerator raisin bran muffins–they are our FAVORITE!)
 in a stand mixer #homemade #butter #buttermilk #recipe")
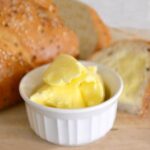
Step 5: Using your hands or a spatula, press out excess buttermilk under cold running water until water runs clear. Shape into stick or ball. Butter will keep covered in refrigerator for up to 4 weeks. Serve with bread and enjoy!

Note: While we were making our main batch of butter in the Kitchen-Aid, we also made a very small amount of butter by placing the cream in a small jar and taking turns shaking it. This was a great way to show the kids how much work it is to make butter by hand! Our shaken butter didn’t turn out quite as firm, probably because we didn’t shake it long or hard enough–my 3 and 6 year old didn’t have a lot of stamina, but older kids would probably do a little better!
HOMEMADE BUTTER
Ingredients
- 1 carrot optional
- 1/4 c. milk optional
- 1 quart heavy cream
- 3/4 teaspoon salt
Instructions
- (OPTIONAL) Peel & finely grate a carrot. Heat in small saucepan with 1/4 cup milk until milk is bubbly. Use a clean cheesecloth to strain orange-colored milk into the bowl of your stand mixer. Discard shredded carrot.
- Pour cream into bowl of stand mixer fitted with paddle attachment. Add salt. Cover mixer with a towel–trust me on this one, it will be messy! Turn mixer on high.
- Continue mixing, checking on mixture frequently. It will first turn to whipped cream, then begin to get grainy and separate into butter and buttermilk, and the splashing will get much worse. The butter is ready when it sticks in a clump to the paddle.
Place a colander over a bowl, then strain the buttermilk off of the butter.
Using your hands or a spatula, press out excess buttermilk under cold running water until water runs clear. Shape into stick or ball. Serve with bread and enjoy!
Recipe Notes
Preparation time: 30 minutes. Number of servings (yield): Approximately 1 pound of butter + 2 1/2 cups of buttermilk. Butter will keep covered in refrigerator for up to 4 weeks.
Other recipes you’ll love:
Pin for Later:

Ruth Soukup
Latest posts by Ruth Soukup (see all)
- Stop Worrying About Money - July 19
- How to Fit In More Fitness - April 28
- The Most Powerful Decision You’ll Ever Make - April 27
TAKE BACK CONTROL OF YOUR HOME LIFE
 Ever feel like you just can't keep up? Our Living Well Starter Guide will show you how to start streamlining your life in just 3 simple steps. It's a game changer--get it free for a limited time!
If you love this resource, be sure to check out our digital library of helpful tools and resources for cleaning faster, taking control of your budget, organizing your schedule, and getting food on the table easier than ever before.


I have just put in bread between my KitchenAid. Crock pot. An later I will try butter..I’m 90, yrs old can’t kneed with my hands.but I think after having my KitchenAid all these years I would be lost with out it..I also make my own chop meat..I live alone have been on my own for many years . you gave me something to do. I do one big thing a day.thank you I’m hoping it comes out good.bless you for your kindness and showing your recipe.heres hoping…
I make my own butter also. Never heard of the carrot thing. Salt or other flovorings are added after the butter is made. Otherwise the buttermilk is ruined.
This is awesome !! Thank you for sharing
I made my first batch of butter today, I was really cool, it was fun. Love the taste, will make it again. You can teach a great grandmother new tricks.
So glad you liked it Bonnie!!
I grew up in dairy country in western New York. Carrots were used for color in the winter when cows were fed silage. In the summer, when cows ate fresh grass in the fields, butter has a naturally yellowish color. As a kid I noticed that butter was white in winter, and yellow in summer, but never knew why. Laura’s mother indulged the family by grating the carrot to provide the coloring in winter. For cooking or baking, the color did not matter, but for presentation at the dinner table, it was an extra touch.