

Want to make a new dress for your little girl without a pattern? This simple tutorial for how to make a pillowcase dress requires no advanced sewing skills!
I did a little sewing this weekend, something I haven’t done in a very long time. It was cathartic in so many ways, and I had forgotten how much I enjoy it.
I bought some fabric a few weeks ago to make a table runner. Maggie saw it & asked if I was going to use it to make her a pretty dress. I told her there wasn’t enough but that I would take her to the fabric store and let her pick out her own fabric to make a dress.
Now I have a confession. At the time, I had absolutely no intention of making Maggie a dress. It was one of those things I just said to appease her, assuming she would forget all about it in a matter of minutes.
Well guess what?
She didn’t forget. She asked at least 5 times a day for almost two weeks when we were going to go pick out fabric for her pretty dress. She wore me down and finally I succumbed.
I am by no means an expert sewer. At one point I may have been an intermediate sewer, but for the most part, I don’t have the patience to mess around with complicated projects or patterns that take more than a few hours.
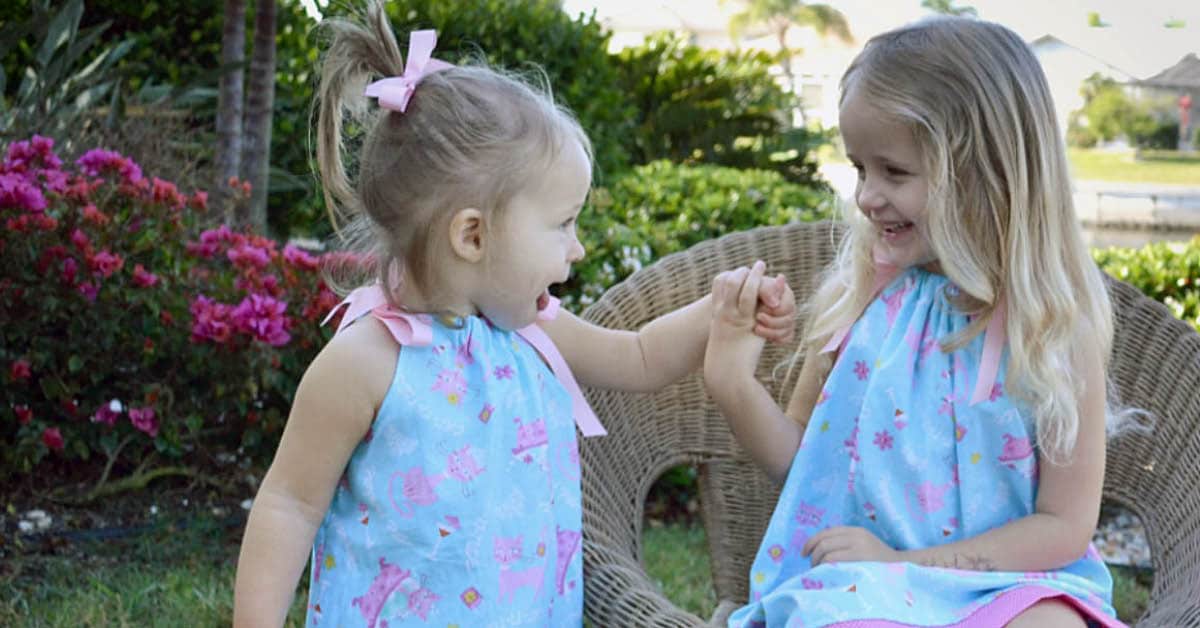
But I think it turned out pretty cute. At least this little munchkin liked it:
How to Make a Pillowcase Dress

And it was super easy to make, even making it up as I went along!
To make this dress, you will need about a yard of fabric (or less for a smaller dress) and about 1/4 yard of a coordinating fabric. You will also need about a yard of coordinating ribbon. And there are no complicated techniques–if you can sew a straight line, you can make this dress!

Step 1: Cut out the dress out of 2 identical pieces of fabric so it looks like this. The easiest way to figure out the size is to take a dress that fits and use it to measure the length, then make it a little wider. When cutting, fold it in half lengthwise so that your armholes are uniform. To make the armholes, cut a “J” shape about 6″ long and 3 inches wide.


Step 2: Cut 2 identical pieces of contrasting fabric about six inches long and match the width to the bottom of the dress. Fold the two trim pieces in half lengthwise, then iron flat.

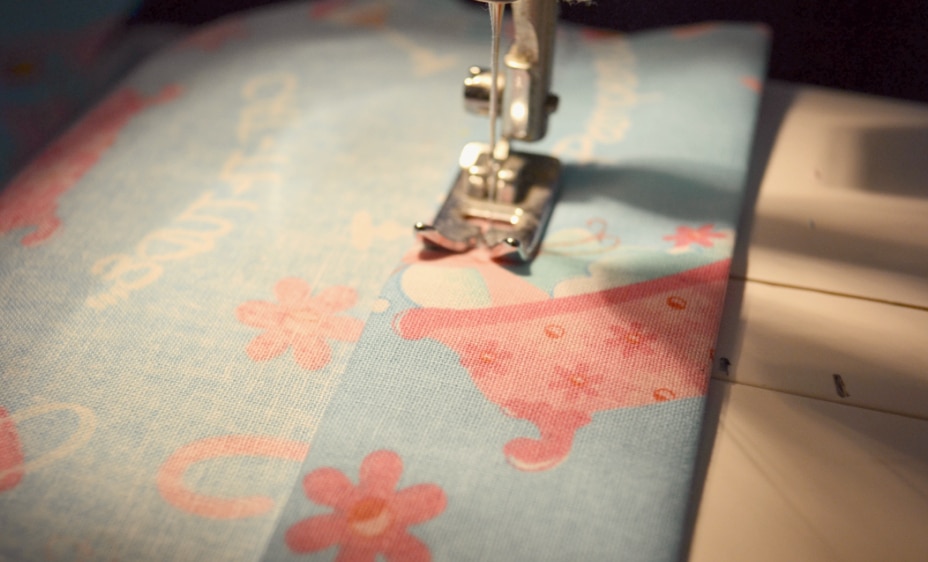
Step 3: Place folded trim piece on “right” side of fabric with raw edges matched up. Sew together, then fold down and stitch once more.

Step 3: Once you have added the trim piece to both dress pieces, match the dress pieces together, “right” sides together. Stitch the sides together.

Step 4: Fold over the armholes, iron flat, then pin to hold and stitch. This is the hardest part of the whole dress! (And it’s not hard!)

Step 5: Fold over the top of the dress, then fold again so that the raw edge is hidden. Iron flat and stitch closed, leaving about an inch between the seam and the edge. (This is where the ribbon will go). Repeat for other side.
Step 6: Cut ribbon in two pieces. String one ribbon through front and one through back, then tie together on each side. Voila, you’re done! How easy was that?
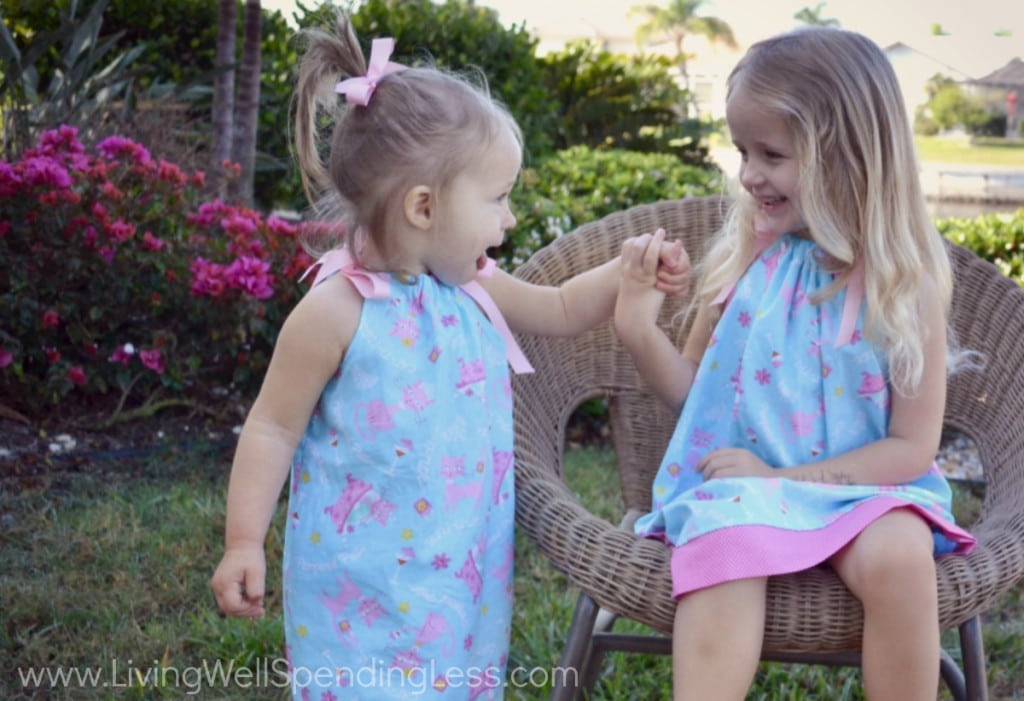
If you are a good or very meticulous sewer, these directions will probably not satisfy you. There are some raw edges (I used pinking shears to prevent fraying) and I didn’t really measure anything. The dress I made for Trouble ended up being too wide, so I simply re-stitched the sides and then trimmed the excess. Not exactly master tailoring!
But who cares, right?
In just over 2 hours I had two cute dresses for two happy girls.


Sometimes perfection is overrated.
Other DIY Projects You’ll Love:
PIN FOR LATER

Ruth Soukup
Latest posts by Ruth Soukup (see all)
- Stop Worrying About Money - July 19
- How to Fit In More Fitness - April 28
- The Most Powerful Decision You’ll Ever Make - April 27
TAKE BACK CONTROL OF YOUR HOME LIFE
 Ever feel like you just can't keep up? Our Living Well Starter Guide will show you how to start streamlining your life in just 3 simple steps. It's a game changer--get it free for a limited time!
If you love this resource, be sure to check out our digital library of helpful tools and resources for cleaning faster, taking control of your budget, organizing your schedule, and getting food on the table easier than ever before.


Thank you for these directions . I’ve always wanted to see children’s cloths and now at the age of 58
I’m going to get it done. 1 on bucket list marked off.
That’s my kind of sewing project! Now, if they made something this simple for boys… If you find something let me know!
I think this is onne of the most vital information for me.
And i’m glad reading your article. But wan to remark on some general things, The website syyle is ideal, the articles is
really great : D. Good job, cheers