
Ready to start container gardening? Add some green life around your home with these 5 easy tips on container gardening for beginners!
Have you ever driven by a house with charming pots of plants leading up to its front door? Have you ever thought about creating the same look for your own house, but then felt completely overwhelmed while visiting your local nursery? With literally hundreds of plants to choose from, it can feel more than a little bit intimidating!
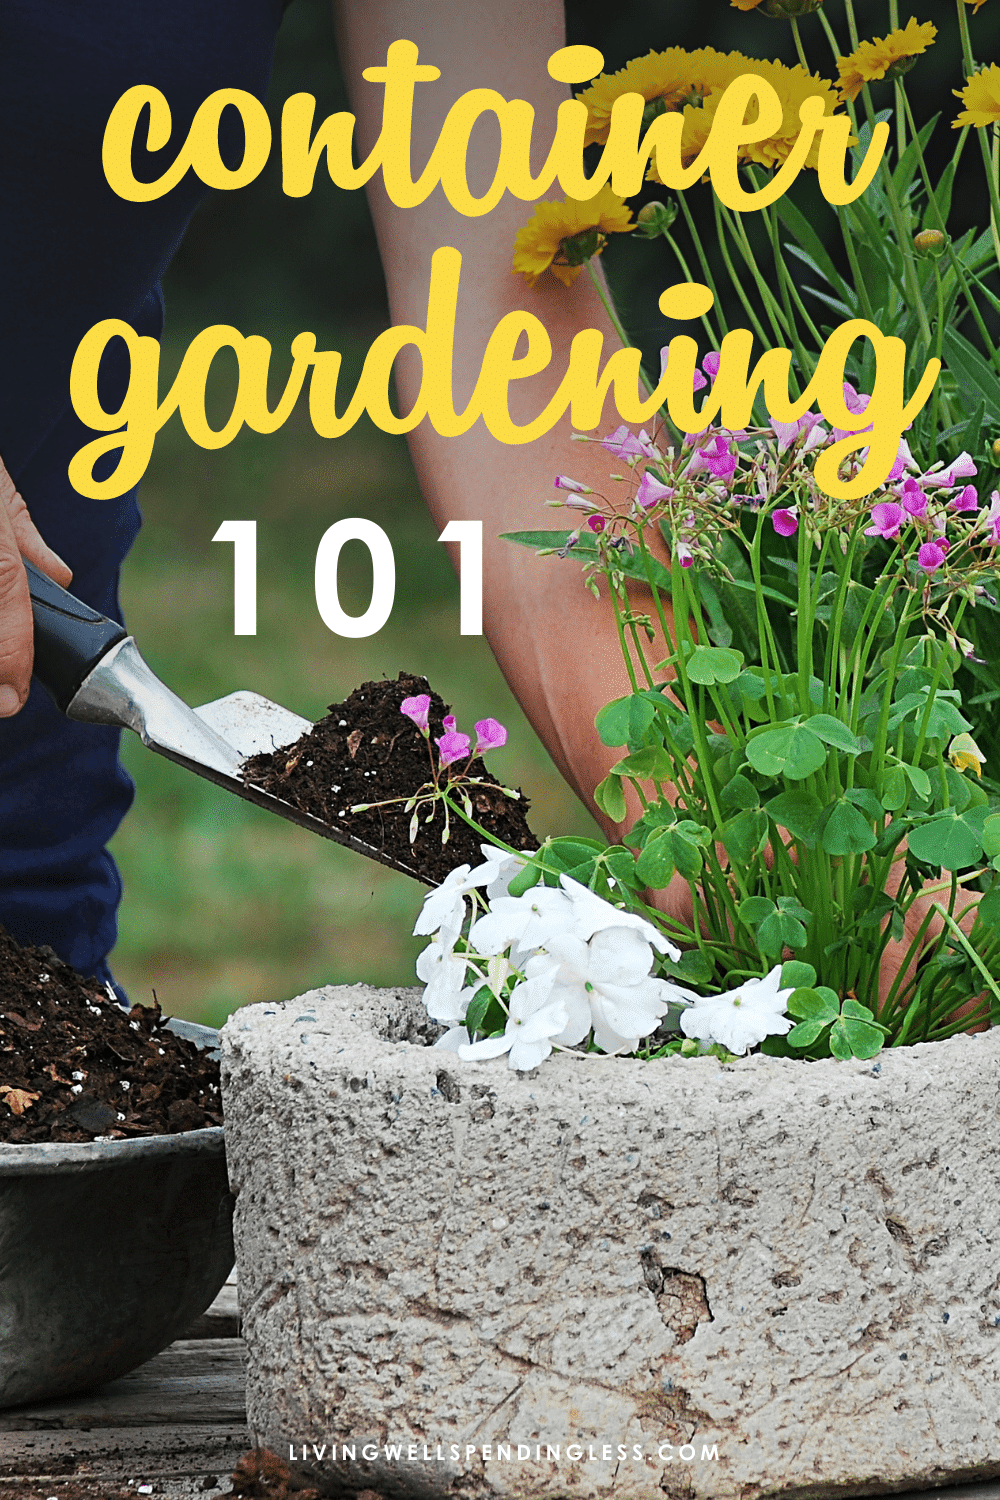
Container Gardening 101
Even so, container gardening is a wonderful way to bring a garden to your home, no matter if you live in an apartment, condo, mobile home, or two-story house on acreage. It’s also much easier than you might think! Another great benefit of container gardening is the ability to make it a one time expense and have the rewards for years to come. I’m going on year seven with two of my containers.
To make container planting a success for your home, just follow these five easy steps:
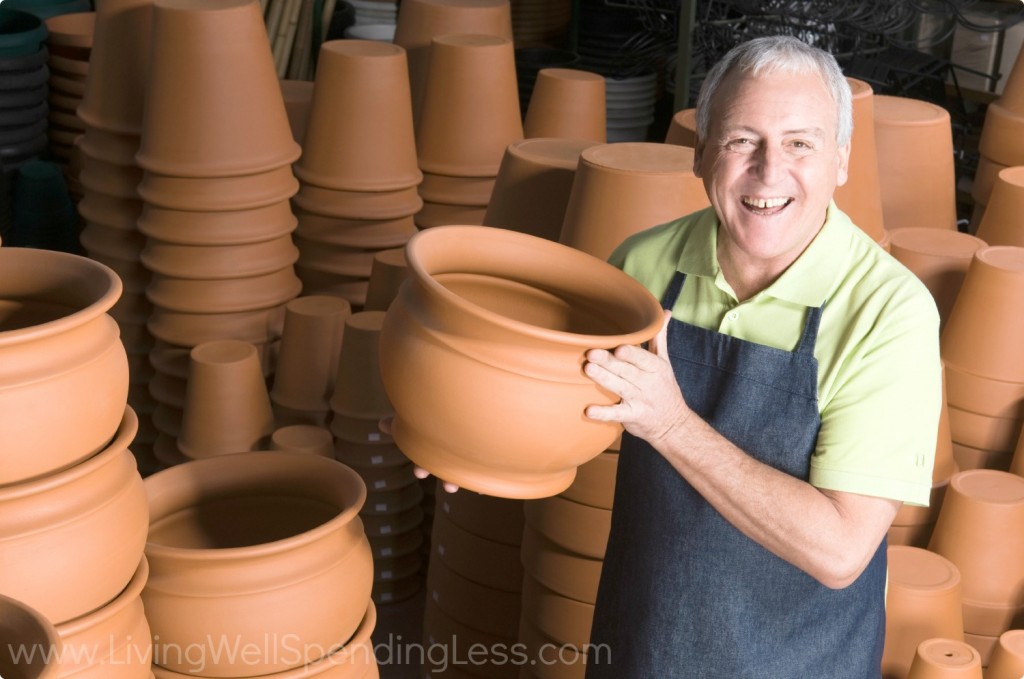
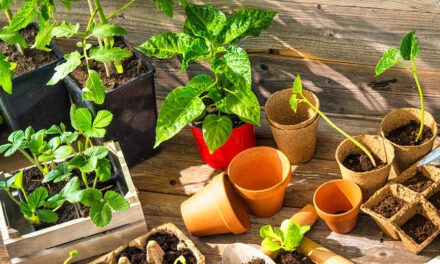
1. Choose your container
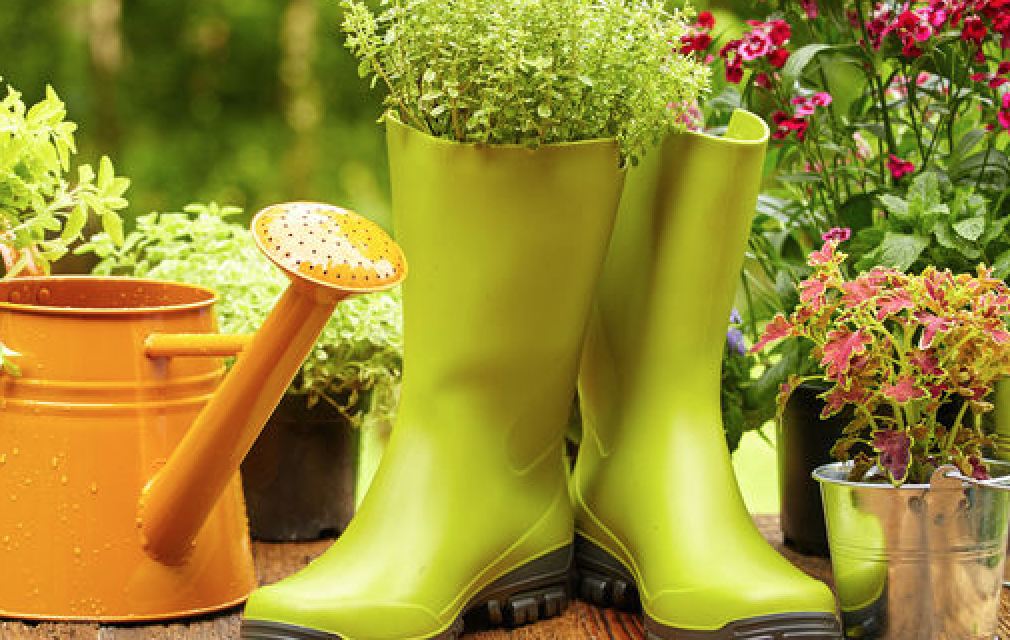
The most important part of a container is that it has a drain hole, or is a material that can be drilled to provide a few drain holes. You can choose a more permanent container like a whiskey barrel or go for smaller containers you can move around your yard or porch. I’ve seen containers made from old boots or rusted out wheel barrows, bird cages, even old dresser drawers. My husband even hollowed out a round of wood for a Mother’s Day gift a few years ago. Be as creative as you like.
Be sure the container is large enough for the plants you want. If it’s especially deep, I advise putting rocks in the bottom to help with drainage, plus you won’t require as much soil. Speaking of soil…
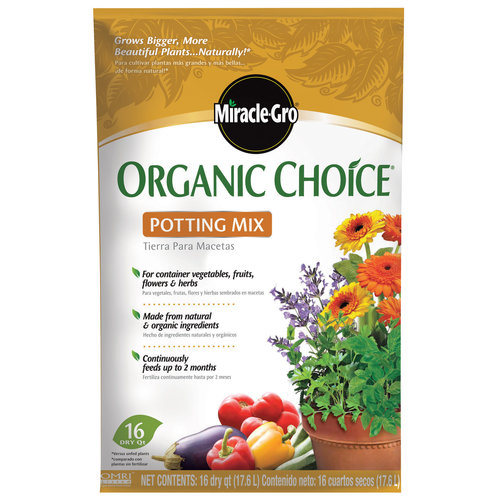
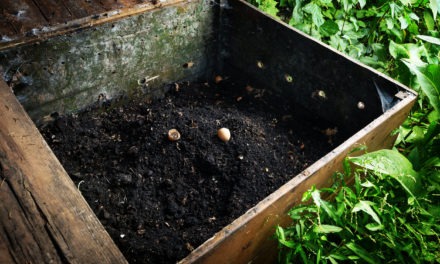
2. Pick your soil wisely
If you’re only growing non-edible plants in your container, than almost any soil mix you pick is fine. I recommend going with a potting soil mix that will release plant food over time such as Miracle grow. But, if you’re going to grow edibles (free food anyone?) then I highly suggest using only organic compost or organic potting soil. Miracle Grow also has an organic option.
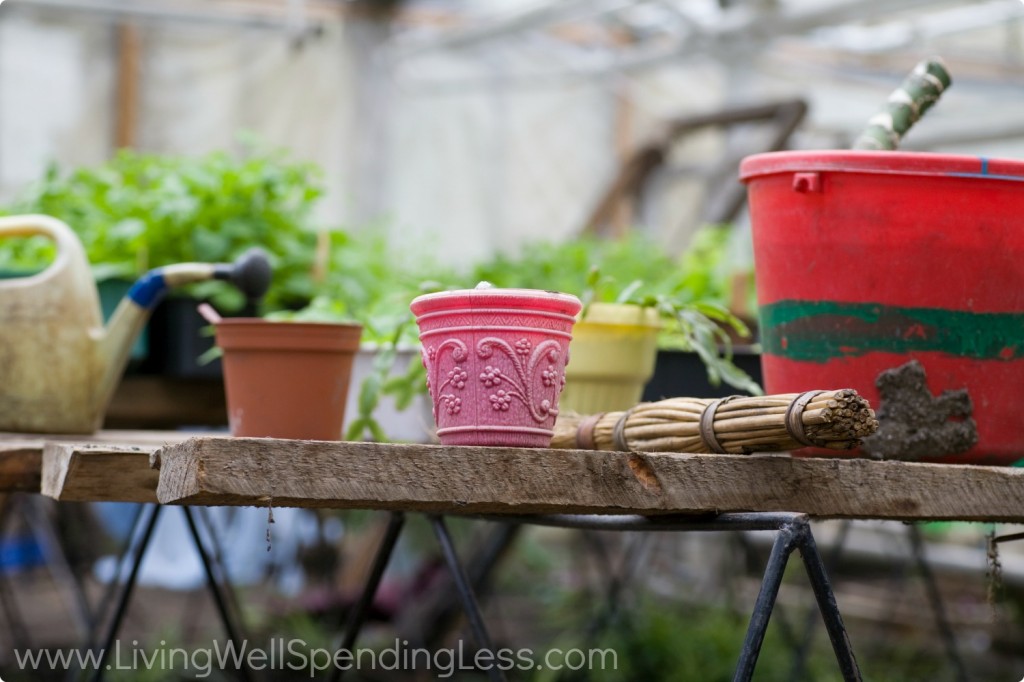
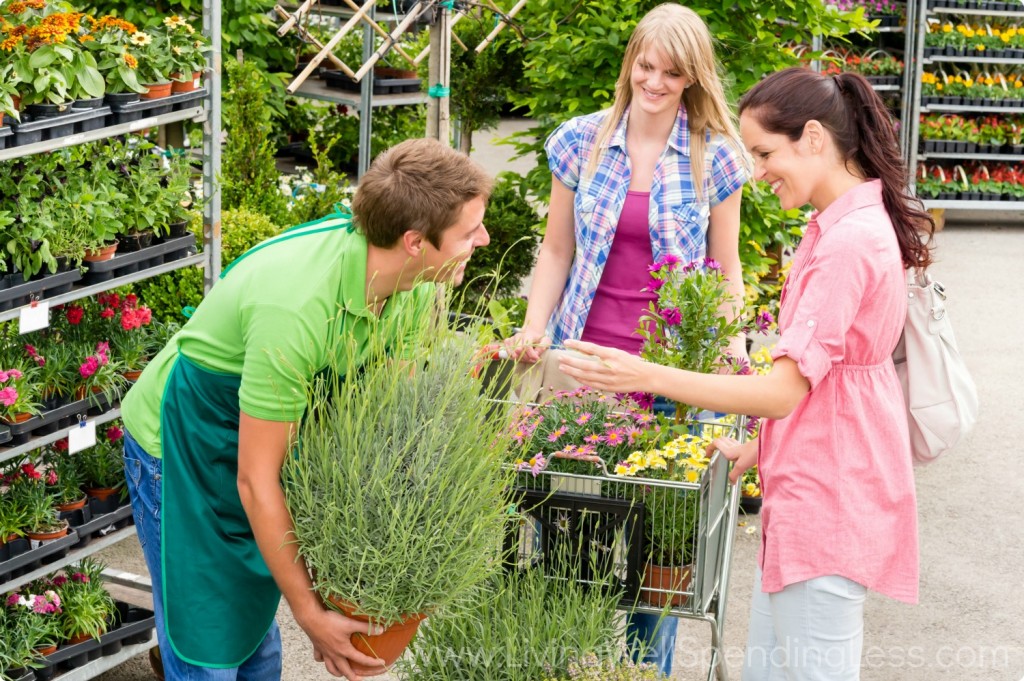
You can find soil mixes at any big box store in the garden section like K-Mart, Walmart, Fred Meyers, Home Depot, etc. Or head to a local plant nursery. The beauty of plant nurseries is you get plants grown in your region so they usually perform better. Nurseries will also have potting soil mixes and usually bags of compost available, too. Plus, the staff at nurseries will answer questions, give helpful advice, and specialize in plants.
You can purchase a good sized bag of organic potting soil for less than $10. Or, if you have a gardening friend who composts, they might be happy to give you a few shovel fulls to get you started.
Because plants in containers can’t absorb nutrients from the soil, it’s important to give them some type of food by the dirt you put inside the container. You can even add your own soil additives from some of your common kitchen scraps, check out re-using coffee grounds in your garden here.
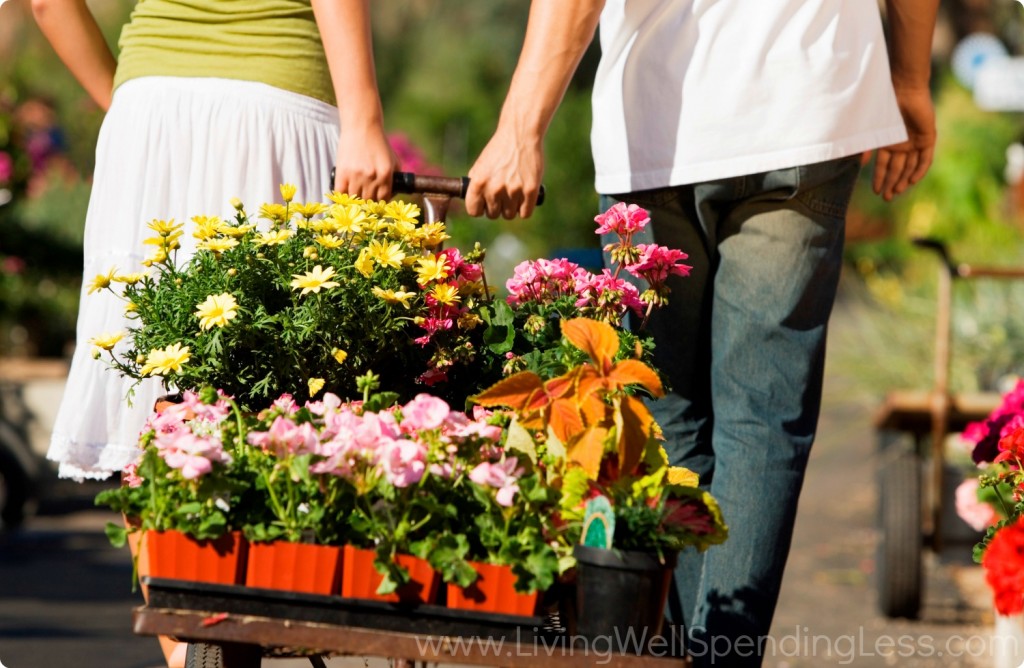
3. Choose your plants
This is where the fun really begins. If you want the most bang for your buck, then invest in perennials. Perennials come back every year, meaning you won’t have to purchase new plants every spring. Annuals die at the end of their growing season. However, some annuals are gorgeous and can be a fun way to punch up the color factor. You can mix and match perennials with annuals as well.
When first starting out with gardening, it’s best to buy starts and avoid growing from seeds. I recommend going with perennials to save yourself money and time over the long run.
This list includes perennials that are very hardy and virtually impossible to kill:
- Primroses
- Daffodils (bulbs do great in containers)
- Pulmonaria (lungwort)
- Aster
- Bleeding Heart
- Heuchera
- Snapdragon (if you have cold temperatures this will act as an annual)
- Flowering cale and cabbage
- Perennial carnations (border varieties work best for containers)
Need a free option? Ask on Facebook or check Craigslist for folks dividing their perennials in the spring. Many times, you can get free starts of many herbs and flowers this way. It’s how I got my oregano, thyme, mint, and lemon balm.
4. Add edible plants
While I like my container plants to look pretty, I especially like them to double as my mini-grocery store. Many edible plants are wonderful choices for your container gardeners, both as lowering your food bill and as pretty additions.
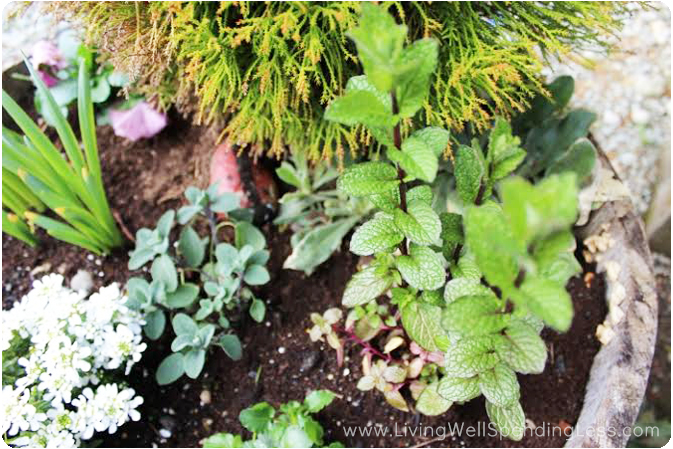
Many herbs are actually best grown in containers. For instance, all of the mint family performs best in containers as they’re invasive when planted in the ground.
Here is a list of more great edibles to plant:
- Oregano
- Chamomile
- Chives
- Sage
- Spearmint
- Pansies (edible flower)
Nasturtiums are another colorful edible flower. I enjoy nasturtiums in salads as they have a bit of a peppery spice to them. Nasturtiums are very easy to grow from seed, which means tons of flowers for just the price of one small packet of seeds.
5. Place your plants
Before you plop your plants in the dirt, take some time to decide where you want them in your container. Generally speaking, taller plants are best in the back and center. That way they don’t shade shorter plants and act as a focal point. Next, put your mid-level plants in, with trailing plants on the outer edge.
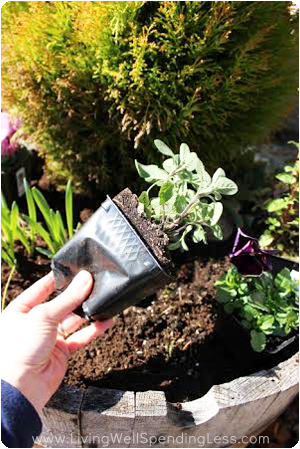
When planting your plants, lightly pinch the bottom of the container they come from, try not to pull too hard on the stems.
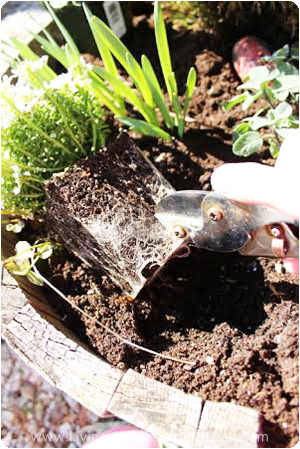
Once free of the plastic container, gently break up the roots before putting them in their hole. You can use your hands, a dull knife, or the edge of your gardening shears. Place the plant in the hole you’ve dug once you’ve loosened the roots. Your goal is to have the crown of the plant (where the stem meets the soil) to be the same level when it’s planted as it was when you purchased it. Tamp down on the dirt around the plant to hold them in place. Give them a good drink of water after planting.
Finally, be sure to enjoy your plants! But be warned, this growing your own food stuff can become addicting–every year we enlarge our garden plot and containers! In my book Pioneering Today-Faith and Home the Old Fashioned Way, I explain practical and easy methods to cook from scratch, garden, preserve your own food, and see God’s fingerprint in your everyday busy life. You’ll learn how to decrease your grocery and energy bill, improve your family’s health by cooking from scratch and over 40 delicious real food recipes, grow and preserve your own food, reduce your time in the kitchen without sacrificing taste and nutrition, and expand your view of God in your daily activities.
Other similar articles:
- How to Have a Beautiful Yard on a Budget
- DIY Rainbow Garden Markers
- How to Grow a Vegetable Garden: 7 Important Steps
PIN FOR LATER:
Melissa K Norris
Latest posts by Melissa K Norris (see all)
- Easy Homemade Condensed Soup - February 2
- Container Gardening 101 - April 28
TAKE BACK CONTROL OF YOUR HOME LIFE
 Ever feel like you just can't keep up? Our Living Well Starter Guide will show you how to start streamlining your life in just 3 simple steps. It's a game changer--get it free for a limited time!
If you love this resource, be sure to check out our digital library of helpful tools and resources for cleaning faster, taking control of your budget, organizing your schedule, and getting food on the table easier than ever before.


I love growing edibles in containers, so handy to place them right outside the kitchen where you can pop out to cut some fresh herbs while cooking dinner!