

Since taking (almost) all the girls’ toys away last summer, I’ve had a lot of people ask what toys they still have and what things they play with the most. I’m sure one of these days I’ll get around to writing a more in-depth update, but for now I’ll just tell you that when they are not reading, playing games, or doing artwork, they pretty much play with three things: Legos, Barbies, or their dolls.
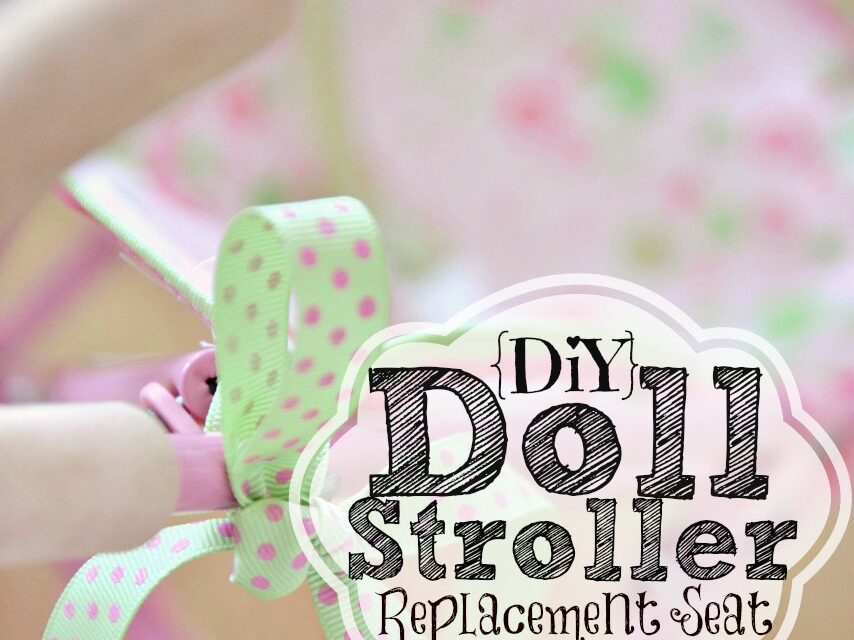
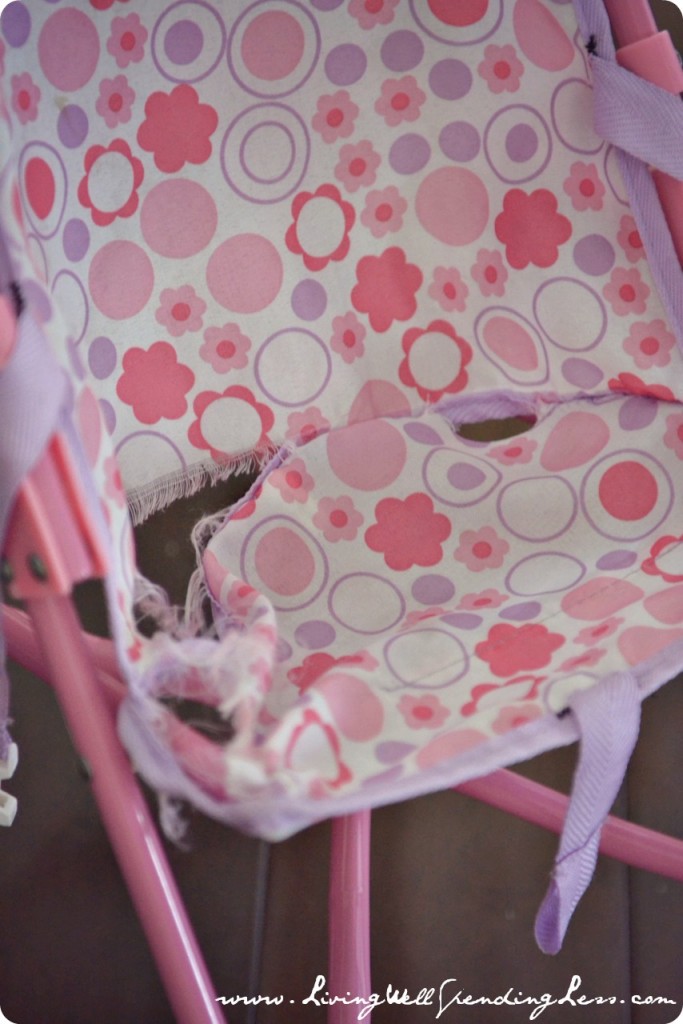
They used to have a cute little umbrella stroller for their dolls but Trouble literally loved it to pieces, mostly because when she was done pushing her baby she would sit in it herself. Has anyone else had that problem? I promised her I would sew a new seat and then promptly pushed the stroller to the back of my closet where it sat hidden and forgotten for a very long time. When the girls re-discovered it a few weeks ago they begged me to fix it. Surprisingly enough, the replacement seat was actually really easy to make and it turned out–in my opinion–even cuter than the original!
Here is what you need:
doll stroller frame with ripped or broken seat 1/4 yard of pretty patterned fabric a roll of coordinating 1″ ribbon (I used 2 different ribbons) straight pins scissors sewing machineBREAK

Step 1: Carefully cut apart the seat back from the seat bottom to create a pattern.

Step 2: Pin the “pattern” to your fabric and cut out seat back, leaving 1″ allowance at the bottom.

Step 3: Pin seat bottom “pattern” to fabric and cut out, leaving 1″ allowance around curved portion of seat.

Step 4: Lay seat back, right side up, flat on table. Place seat bottom, right side down, over top of seat back so that the bottom center of the curve is touching the bottom center of the seat back. Pin in center.


Step 5: Carefully pin the rest of the seat back around curve of seat bottom with right sides together.
Step 6: Stitch seat back to seat bottom along pinned curve. If your kids like to sit in the stroller like mine do, I highly recommend reinforcing this seam!

Step 7: Cut out a rectangle about 3″ long and the same width as the seat bottom.

Step 8: Fold over the long edge of the rectangle and pin in place, then stitch to make a clean finished edge.

Step 9: Pin the rectangle to the bottom of the seat, wrong sides together, as shown, lining up the raw edges together. Pin in place, then trim the corners of the rectangle to match the corners of the seat. Stitch in place along the raw edges.

Step 10: Stitch a line on the rectangle approximately 1-2 inches from the edge, as shown. Repeat on the other side. This will create the pocket for the stroller base to fit into.

Step 11: Fold ribbon over the raw edges of the stroller seat. Pin in place, then stitch around all the edges to secure ribbon. Be sure to get the back edge where the seat back and bottom meet!

Step 12: If a seatbelt is desired, cut buckle from old stroller seat and attach new coordinating ribbon as shown. Stitch into place on either side of stroller seat. Cut 2 20″ pieces of coordinating ribbon, fold in half, and stitch each center onto the top corners of the stroller back so that the ribbons can be tied to the top of the stroller base as shown. If you prefer to use less ribbon, you can just make little loops for the top corner.

Slip the cover onto the frame, tie in place, and be prepared for much love and happiness from your grateful daughters! 🙂


* * *
What is your child’s favorite toy? Have you ever had to make an emergency repair? How did it go?
TAKE BACK CONTROL OF YOUR HOME LIFE
 Ever feel like you just can't keep up? Our Living Well Starter Guide will show you how to start streamlining your life in just 3 simple steps. It's a game changer--get it free for a limited time!
If you love this resource, be sure to check out our digital library of helpful tools and resources for cleaning faster, taking control of your budget, organizing your schedule, and getting food on the table easier than ever before.


Thanks so much for this. I was going to wing it, but had the idea to check and see if anyone else had done this before me, and there you were! I’ve enjoyed working on this, running back and forth to my PC screen, to see if I’m doing it just as you did! My granddaughter will be thrilled at Christmas. Her older sisters passed the stroller down, and it finally became unusable because they all sat in that flimsy-fabric seat way too many times, as you mentioned about your own girls!
I am using some canvas-like fabric from an old grocery reusable bag! I’ll use the “handles” for the loops at the top back. Hopefully, it’ll hold up a little better. Thanks again!
I used old jeans. Took off back pocket and put with original back. Keep loops and belt. Replaced seat with all denim. Looks great and sturdy. She now has a pocket in the back for babydoll bottle.
This is perfect – my little ones have done the same to their stroller. I know what my weekend project will be this week.
What a fabulous idea. Who needs to go out and buy another stroller?! Thanks for linking up at Whatever Goes Wednesday. We’ll be featuring this over at Someday Crafts tomorrow, so come take a look!
Thanks for linking up with Sugar & Spice. I featured this on my Facebook page today!