


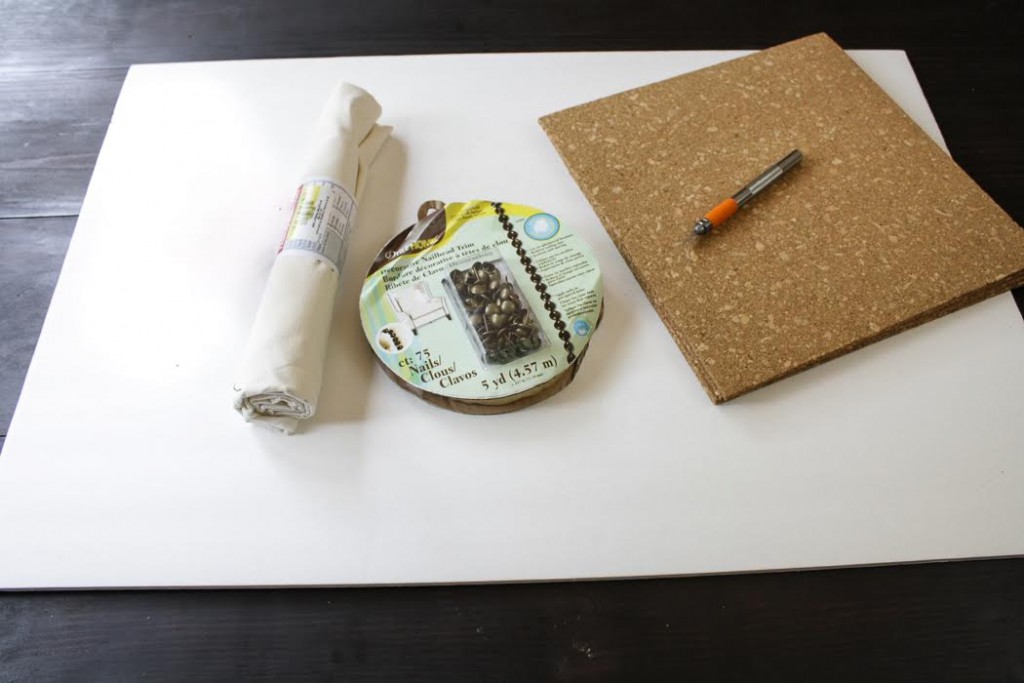
Here is what you need:
A piece of fabric remnant large enough to cover your board–mine cost $3.00 A piece of foam core board–I purchased mine at The Dollar Store for $1.00 3 cork tiles–my 4 pack cost $8.00 Nailhead trim–mine cost $11.00 at Joann’s with a coupon Mod Podge (any finish) An office stapler Scissors Craft knife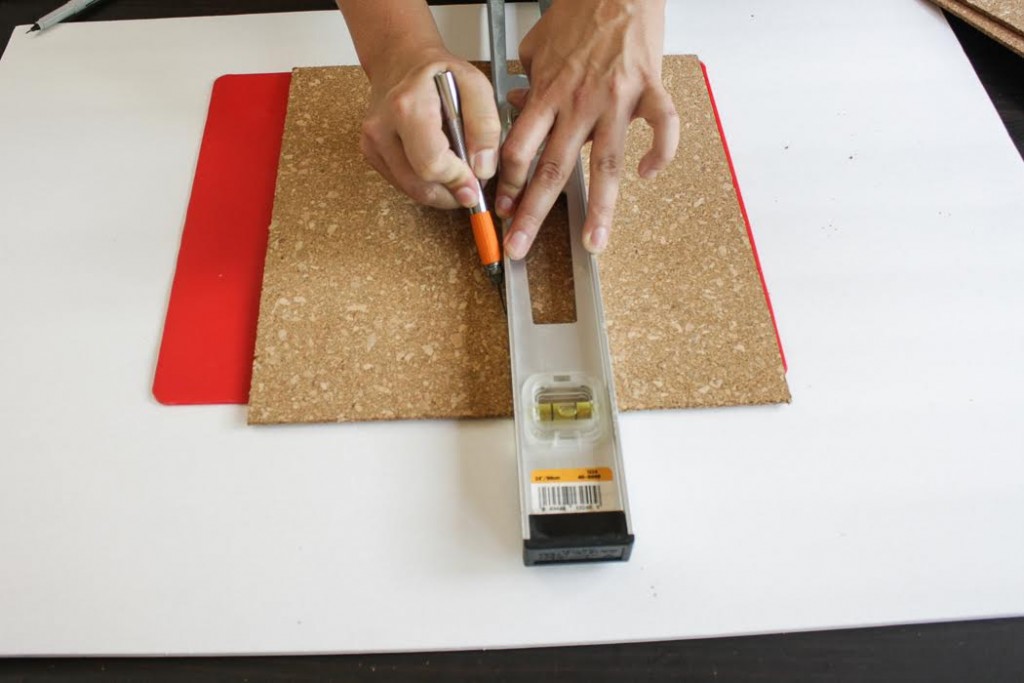
Step 1: Cut one of the cork tiles in half.
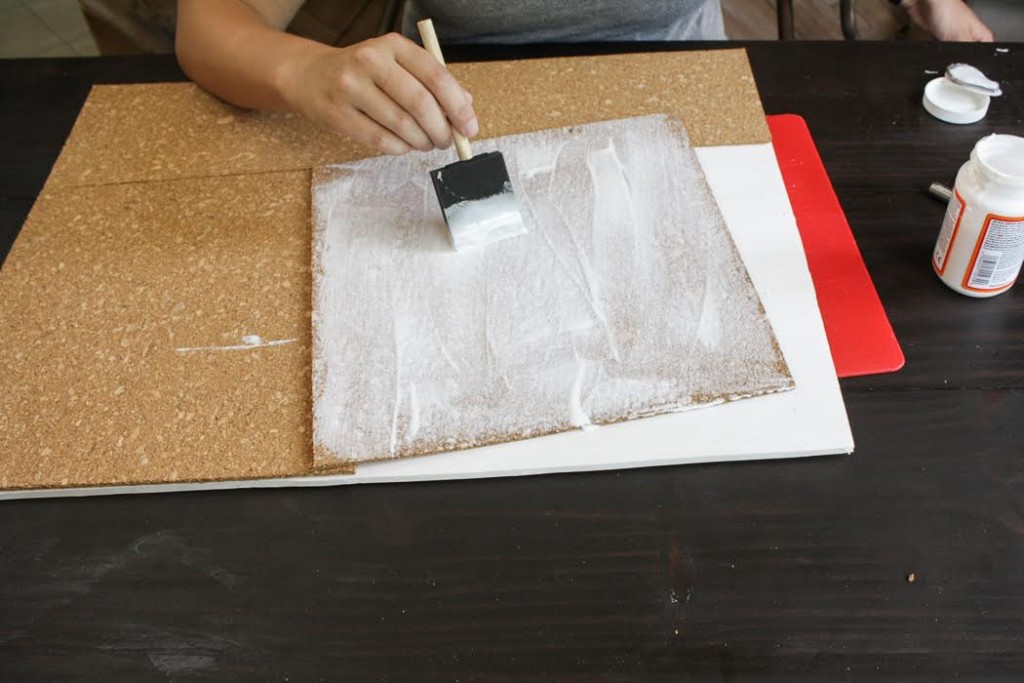
Step 2: Mod Podge your cork tiles onto your foam core board. Be sure to apply Mod Podge to both the board and the back of the tiles to ensure good adhesion. Allow the Mod Podge a couple of hours to dry.
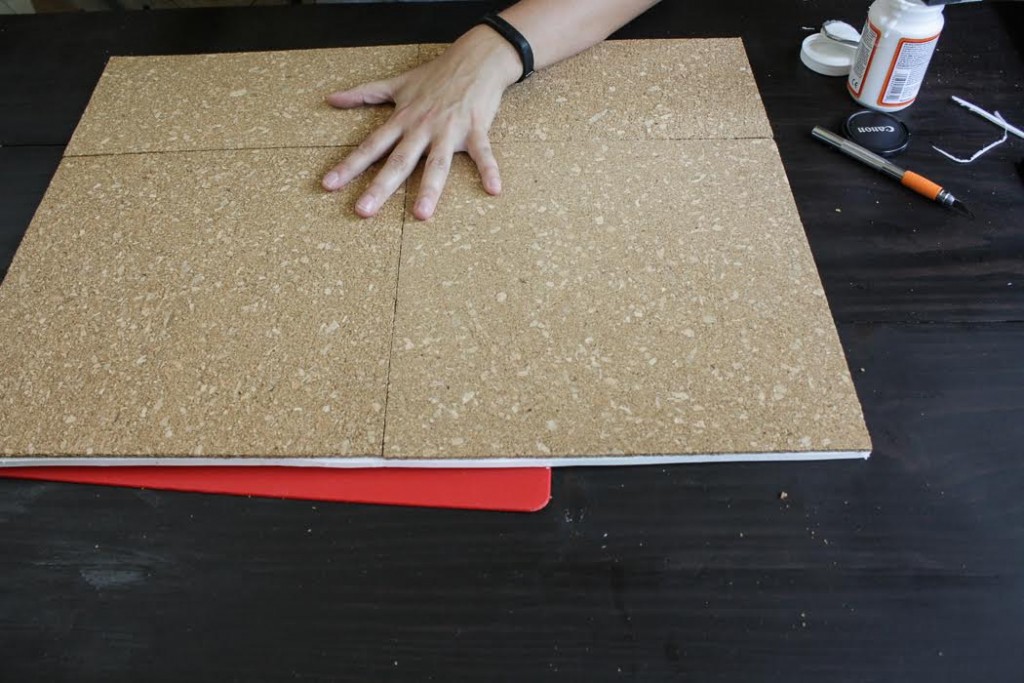
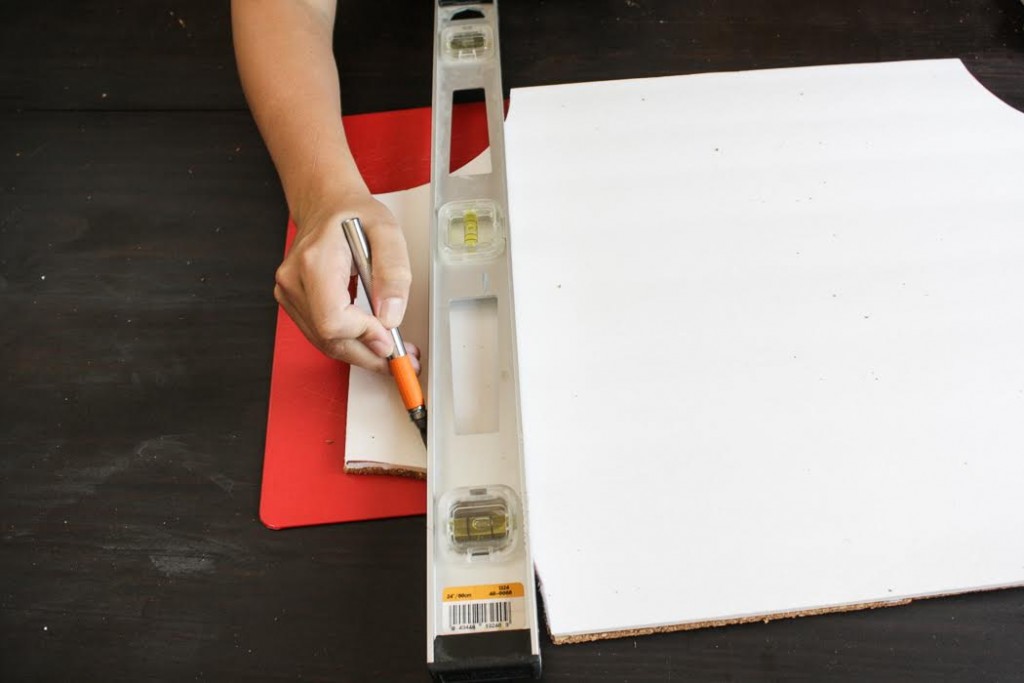
Step 3: Once your Mod Podge is dry, trim off the excess foam core board with your craft/exacto knife.
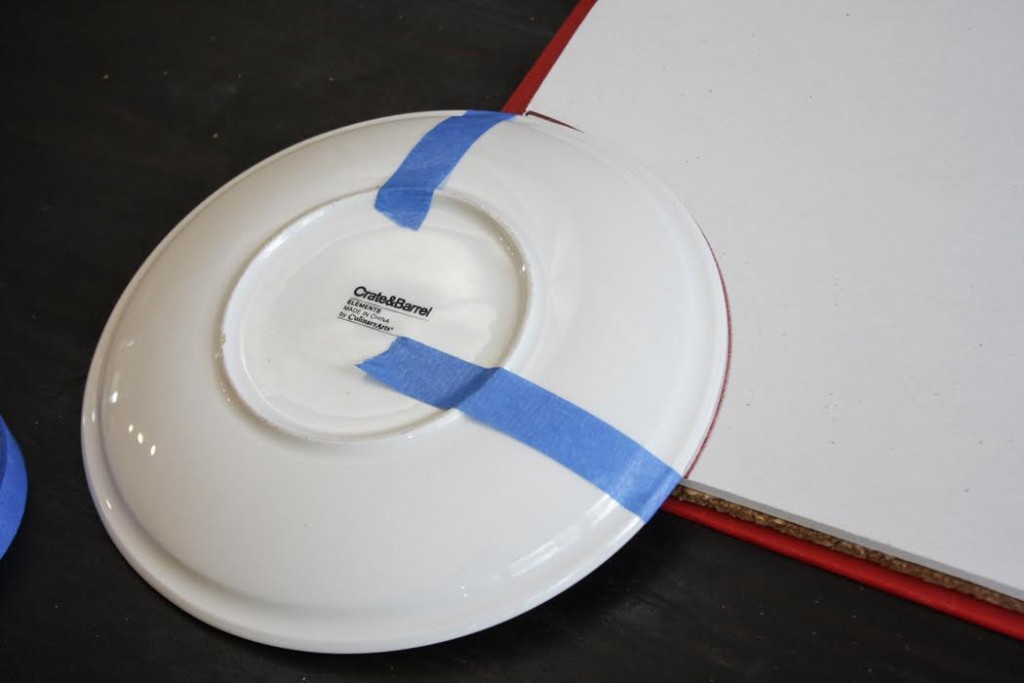
Step 4: Now you are ready to create the curved corners. I used a salad plate as a template for my curves. Be sure to line up whatever round object you use the same way on every corner. I used painter’s tape to ensure mine lined up correctly every time.
Step 5: Use your craft knife to cut out the curved areas. I recommend flipping your board over to cut from the foam core side.
Step 6: I realized after I cut my curves out that my shape was not as square as I wanted it to be, so I trimmed two of the sides off a bit more. This is totally optional. If you are happy with your shape already, you can skip this step. If you do, yours will just look a bit more rectangular than mine.
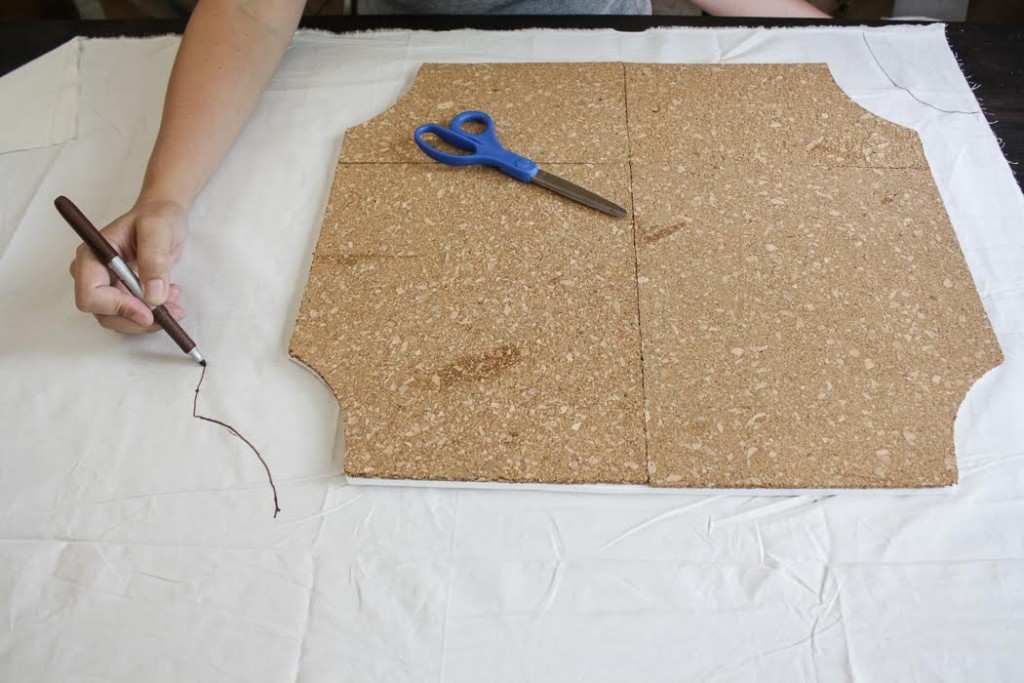
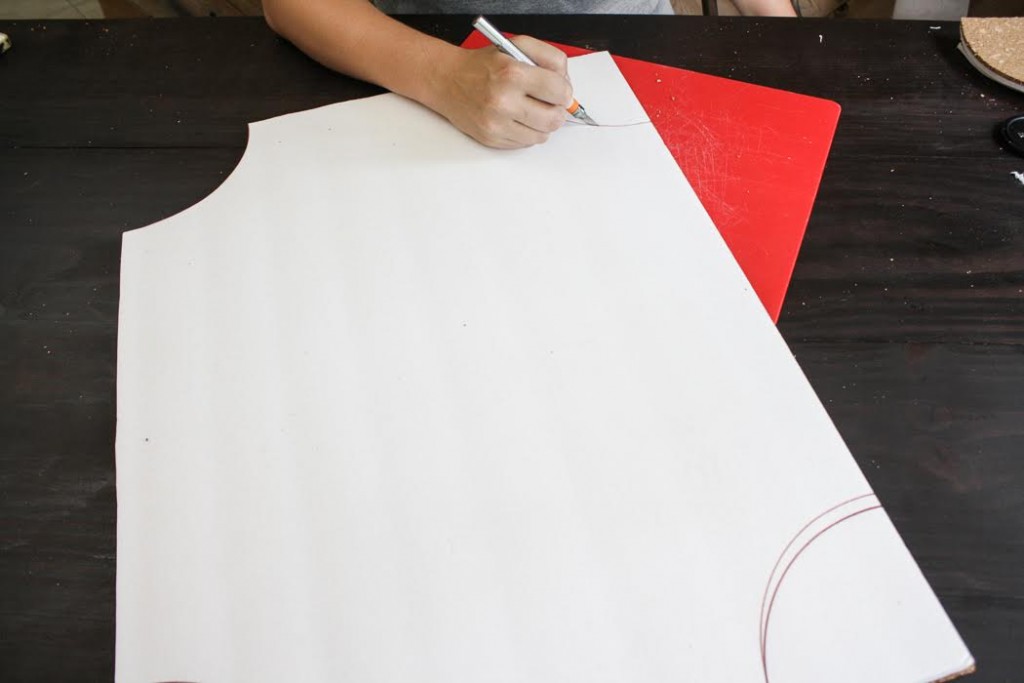
Step 7: Once you are happy with your shape, you are ready to cover the board with your fabric. Trace the shape of your board on your fabric, making it about 2 inches larger than the board itself. Then cut your fabric out.
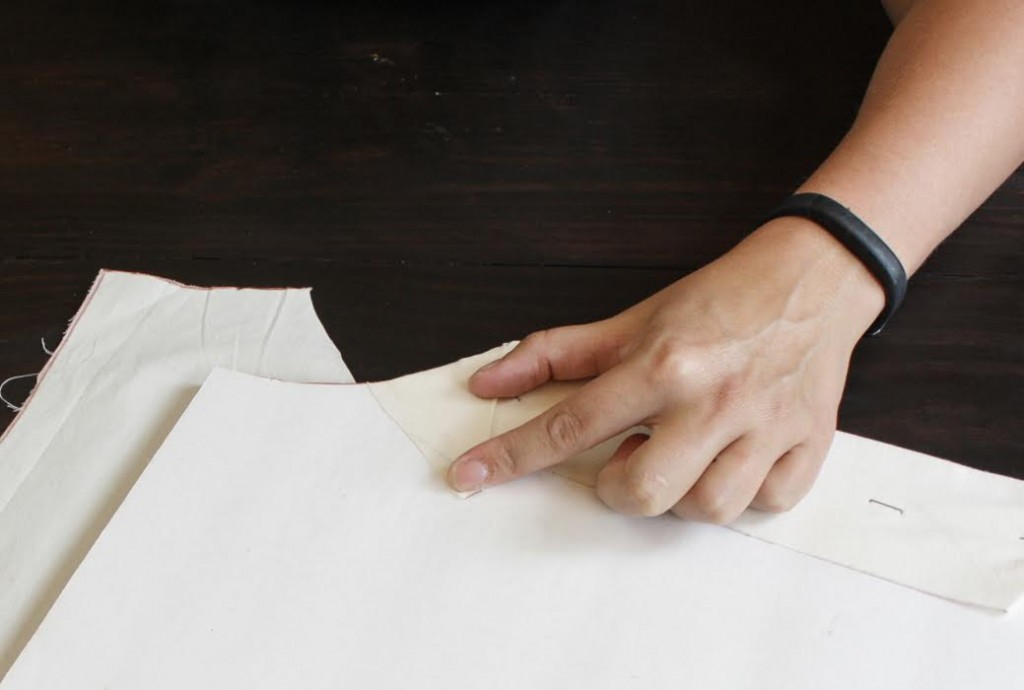
Step 8: Place the board cork side down on top of your fabric. Use a regular office stapler to secure the fabric to your board. To work your way around corners, cut the fabric in the middle of the curved area first so that you can pull the fabric to fit closely around the curve.
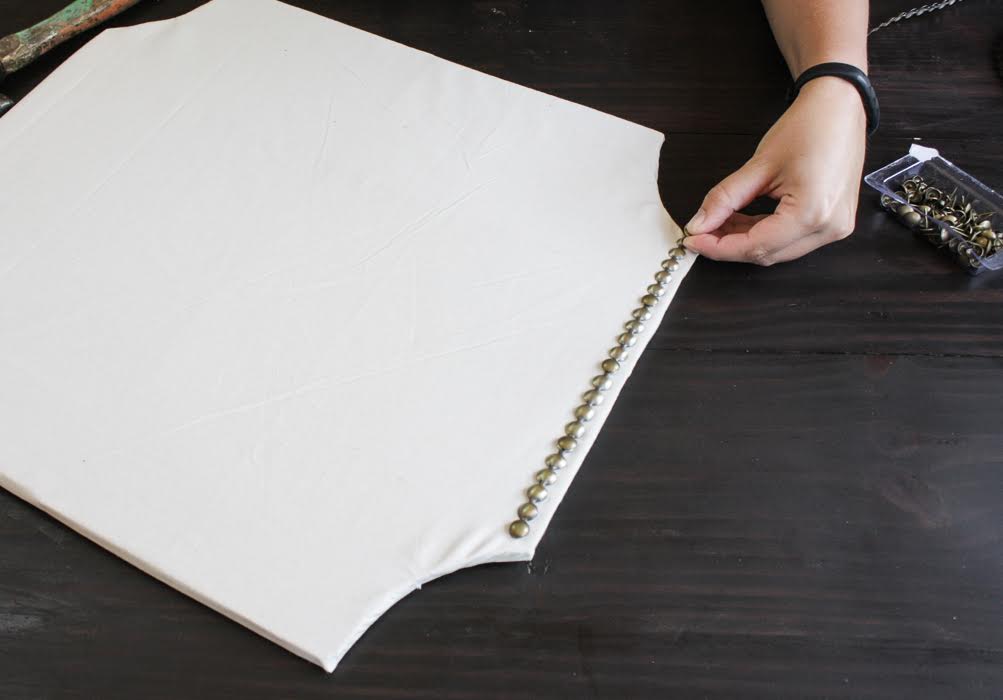
Step 9: Once your fabric is secure, you are ready to attach your nailhead trim. I used strips of nailhead, as opposed to individual nails, to make this step move quickly. To attach the strips to the board, you insert a nail into the holes that appear on the strip every so often. There is a slight color difference between the nails and the trim strip, at least for the brand I used (Dritz Home). You may be able to avoid this with a different brand.
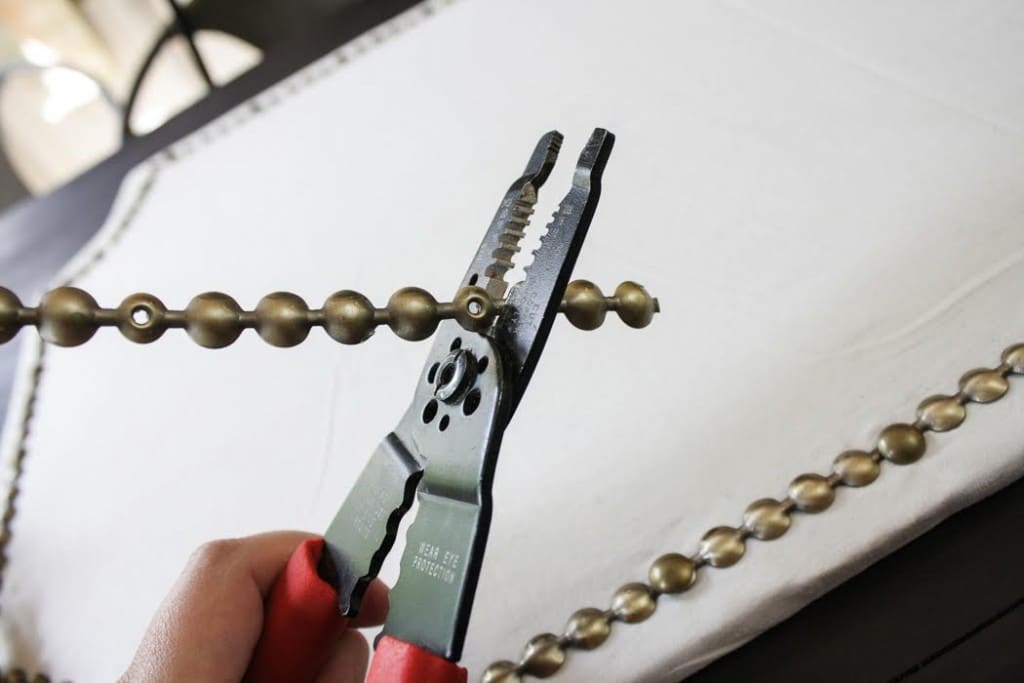
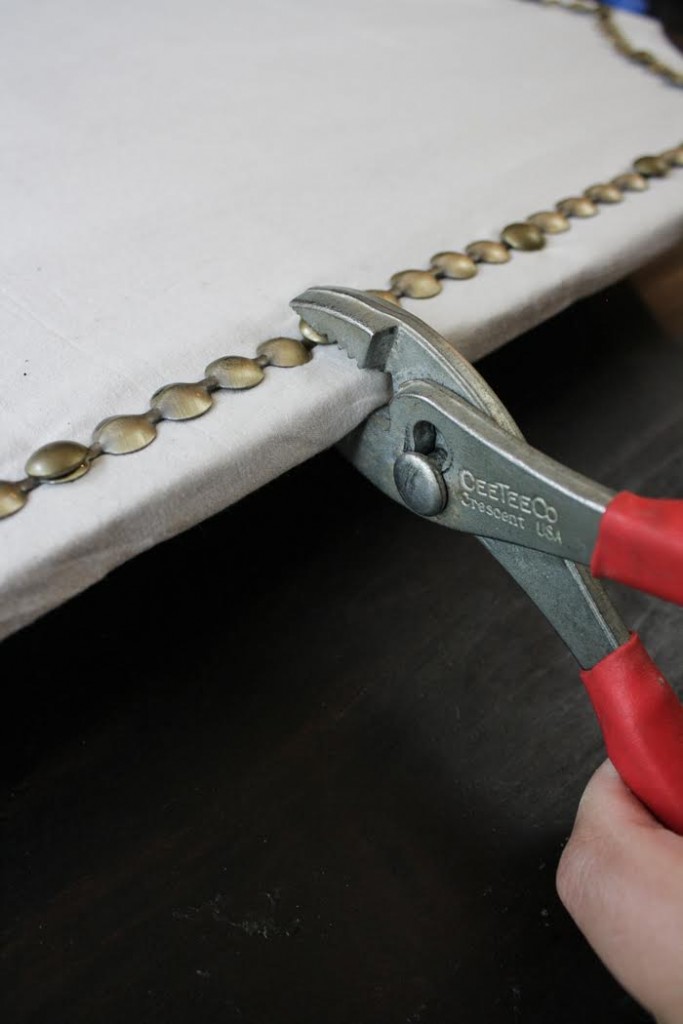
Step 10: I used wire cutters to easily cut the strips so that I could secure each strip with a nail in the corners–this ensures that they are firmly attached. The nails insert easily through the cork board and foam core, but the nails are long enough that they poke through the other side, so I used a pair of pliers to squeeze the nails a bit so that they no longer poked through the back of the board.
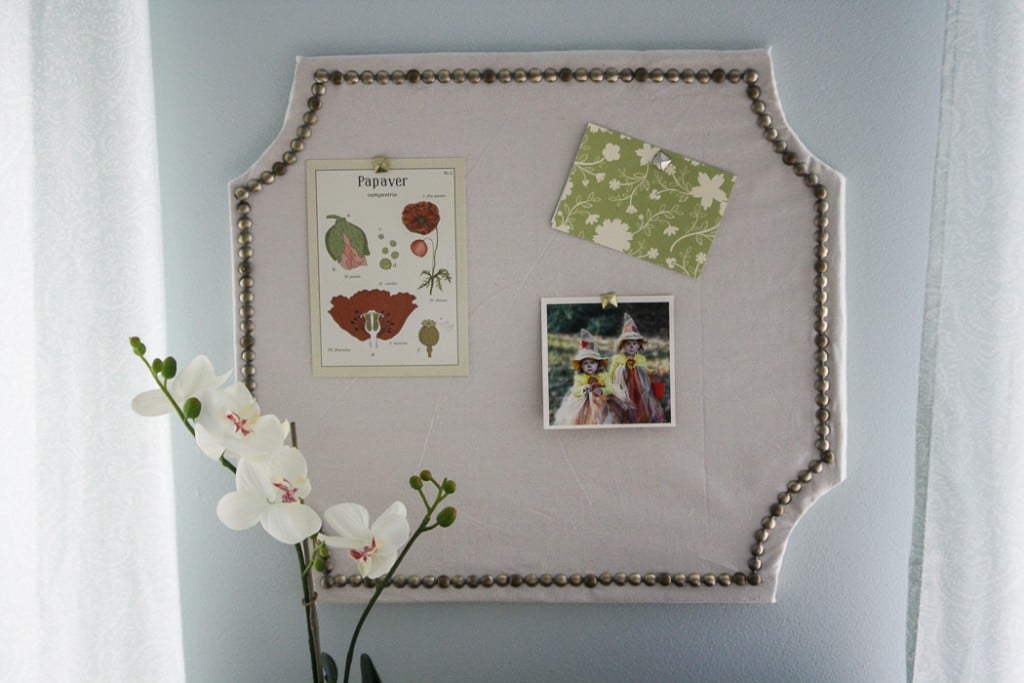
Use picture hanging command strips to hang your pin board wherever you like!
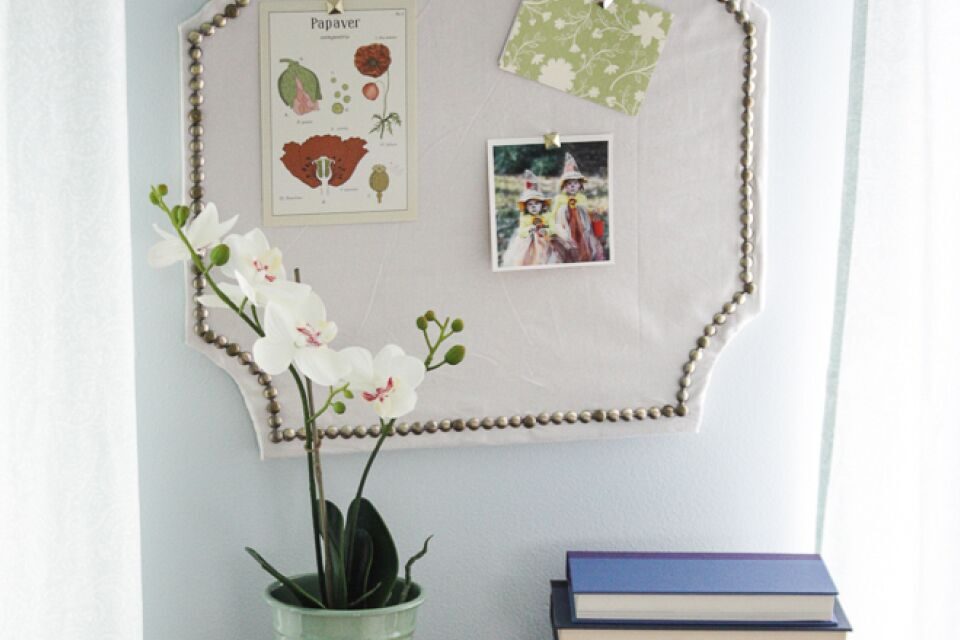
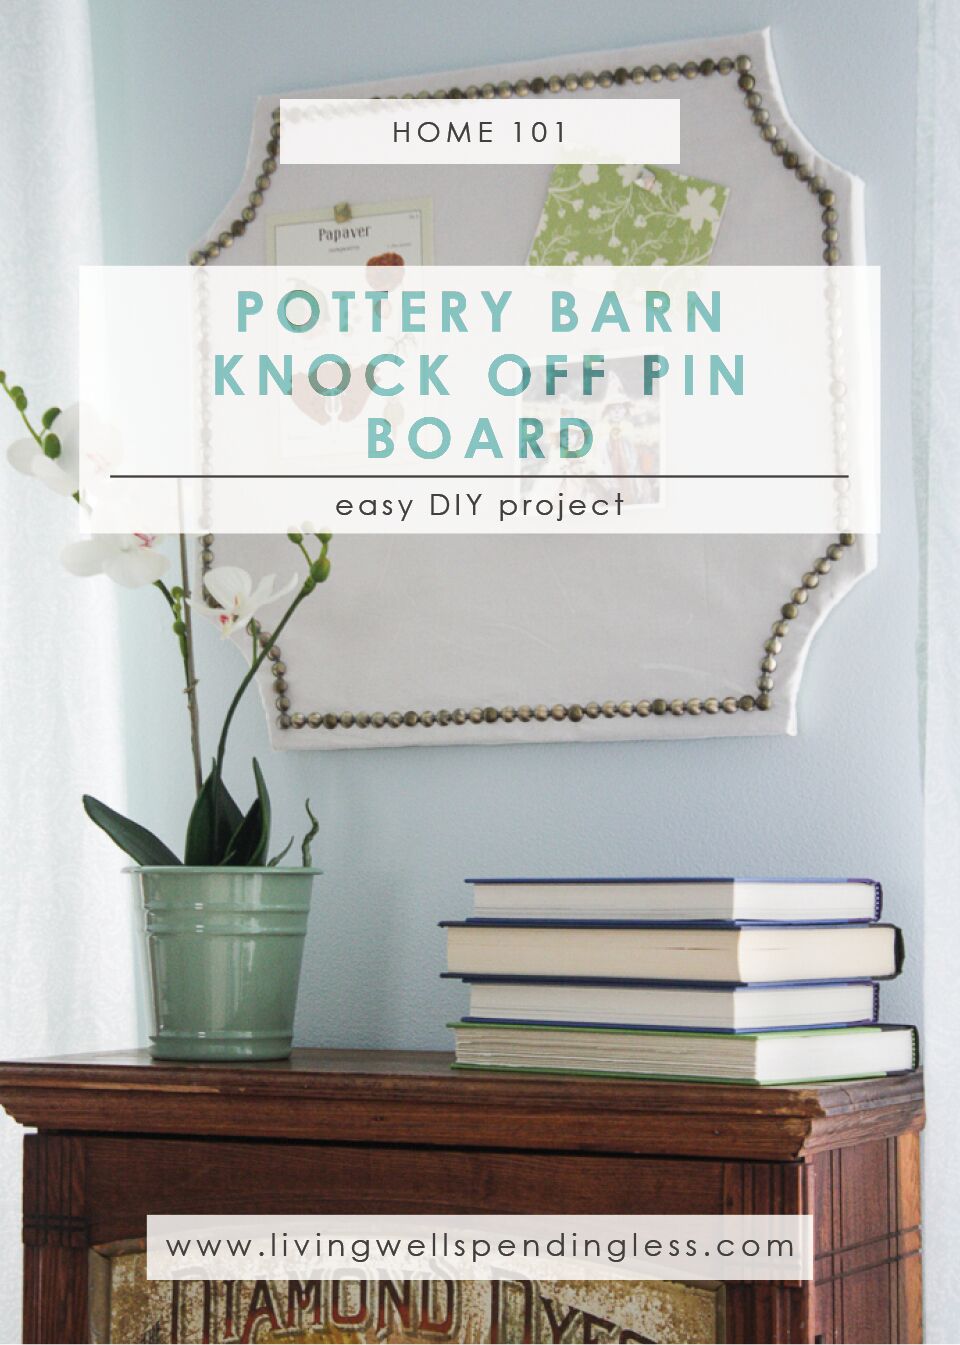
And that’s it! It took me about an hour and $25 in materials to make this gorgeous pin board–that’s a savings of $134 from the Pottery Barn version Talk about living well and spending less!

Latest posts by Tasha Agruso (see all)
TAKE BACK CONTROL OF YOUR HOME LIFE
 Ever feel like you just can't keep up? Our Living Well Starter Guide will show you how to start streamlining your life in just 3 simple steps. It's a game changer--get it free for a limited time!
If you love this resource, be sure to check out our digital library of helpful tools and resources for cleaning faster, taking control of your budget, organizing your schedule, and getting food on the table easier than ever before.


Bravo! We are trying to update my tweens room and I love this DIY! Trying it this weekend!
A-MA-ZING !
This is so cute! I need to make one!
What a beautiful and feminine style and design, I really love it, looks so beautiful!