


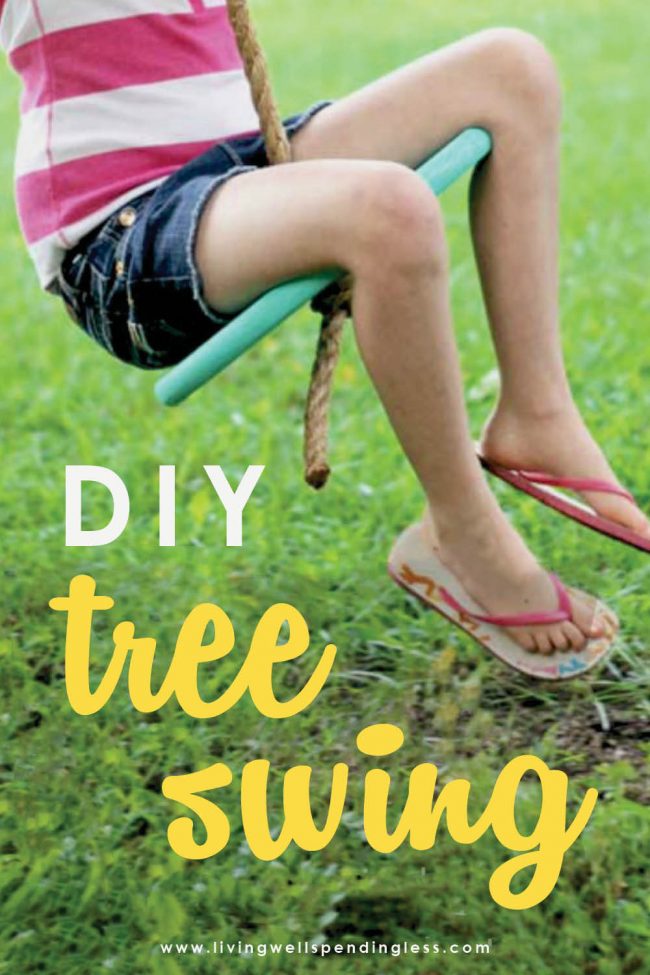
Make this simple DIY tree swing in less than an hour, with just a few basic supplies, and give your kids hours of fun!
DIY Tree Swing
Here is what you need:
18 or 24 inch wooden round (found in the furniture making section at Lowes, etc.) 25ish feet of 1 inch rope (you’ll need enough to hang from a secure tree branch to the ground plus about 3 more feet) some exterior paint in any color a drill with a 1 inch spade bit a paint brush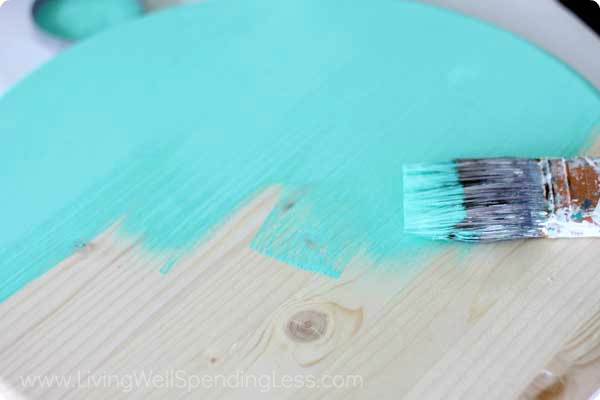
Step 1: Paint the entire wooden round, both sides, with two or three coats of exterior paint. Any color will work, or if you want to get the kiddos in on the action then let them help you paint it. You could even get fancy and let them paint on their name or anything else they wish – it would look awesome to have a swing for multiple kids that they all designed themselves.
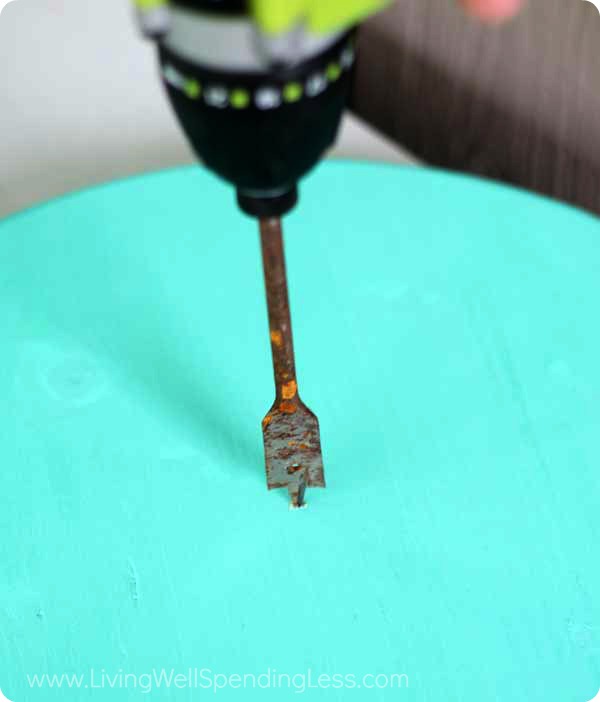
Step 2:Once completely dry, drill a hole right in the middle of the round with the one inch spade bit, going all the way through. You can either do it by eye or use a tape measure and get it precise (which I recommend.) Slow and steady is best when working with spade bits, let it drill in a bit and then pull it out so the chips get out of the way.
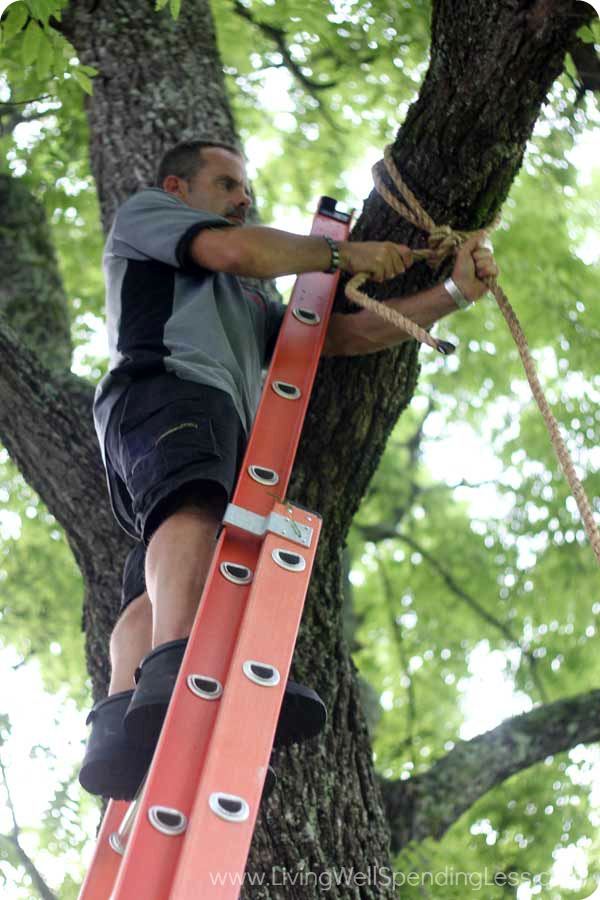
Step 3: You want to hang your rope from a good, solid tree limb (or get your husband to do it – that’s what I did.) You want to make sure that the rope goes almost all the way to the ground and it nice and secure. We wrapped it around twice then tied it off with a really great knot to hold it all in place.
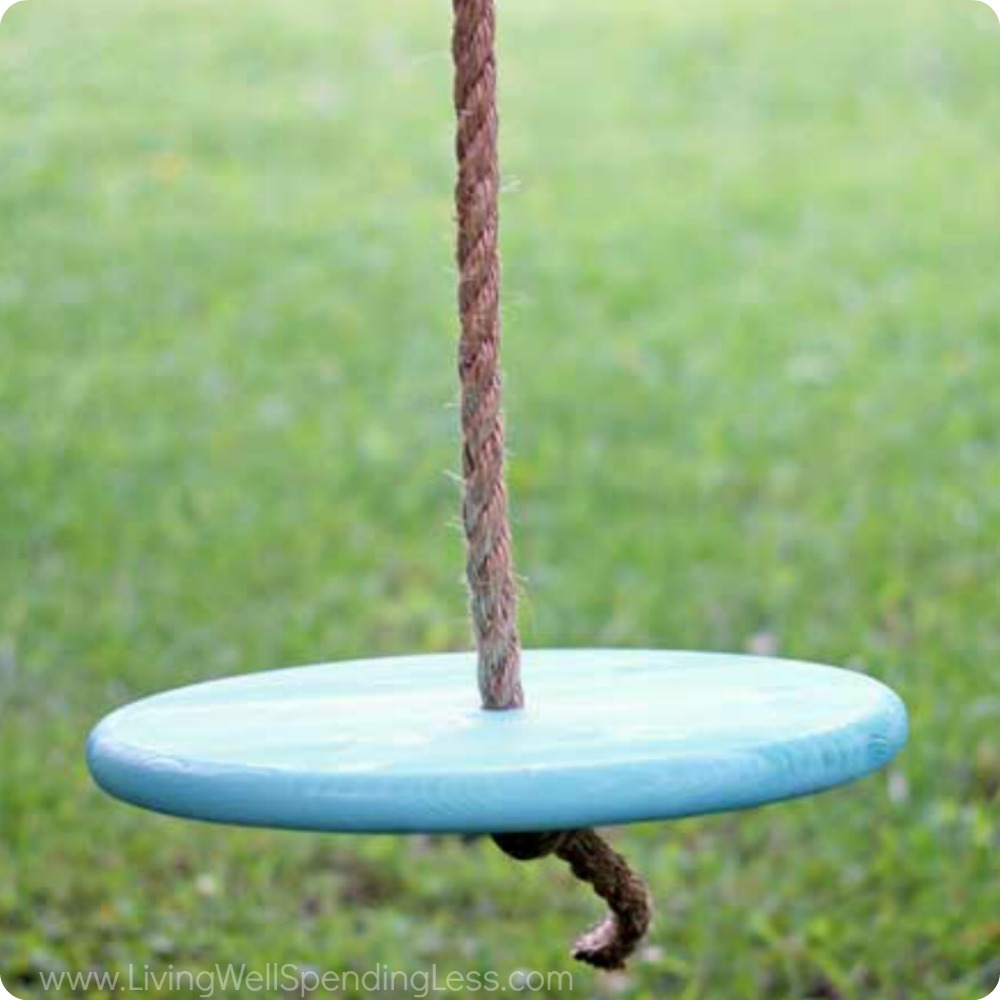
Step 4: Thread the end of the rope through the hole from top to bottom, and then tie a good secure knot in it from the bottom of the swing.
Step 5: And that’s it! It’s seriously easy to make this swing, and besides drying time it really takes less than half an hour of work. It’s just about painting, drilling, hanging – DONE. Besides just making a swing to have fun on, when you let your kids help with small projects like this it helps build memories as well as self-esteem to let them learn they really can do things on their own. Happy Summer!
Check these out these other DIY projects:
PIN FOR LATER:

Gina Luker
Latest posts by Gina Luker (see all)
- DIY Tree Swing - July 14
TAKE BACK CONTROL OF YOUR HOME LIFE
 Ever feel like you just can't keep up? Our Living Well Starter Guide will show you how to start streamlining your life in just 3 simple steps. It's a game changer--get it free for a limited time!
If you love this resource, be sure to check out our digital library of helpful tools and resources for cleaning faster, taking control of your budget, organizing your schedule, and getting food on the table easier than ever before.


I have to agree that round wooden swings are a great addition to the home specially when you have kids around! I recently got mine from https://treeswingstore.com/wooddiscswing/ and right now the kids and my wife are enjoying it every afternoon! I’m planning on getting more since I’ve got lots of trees in my Arizona home’s backyard!