
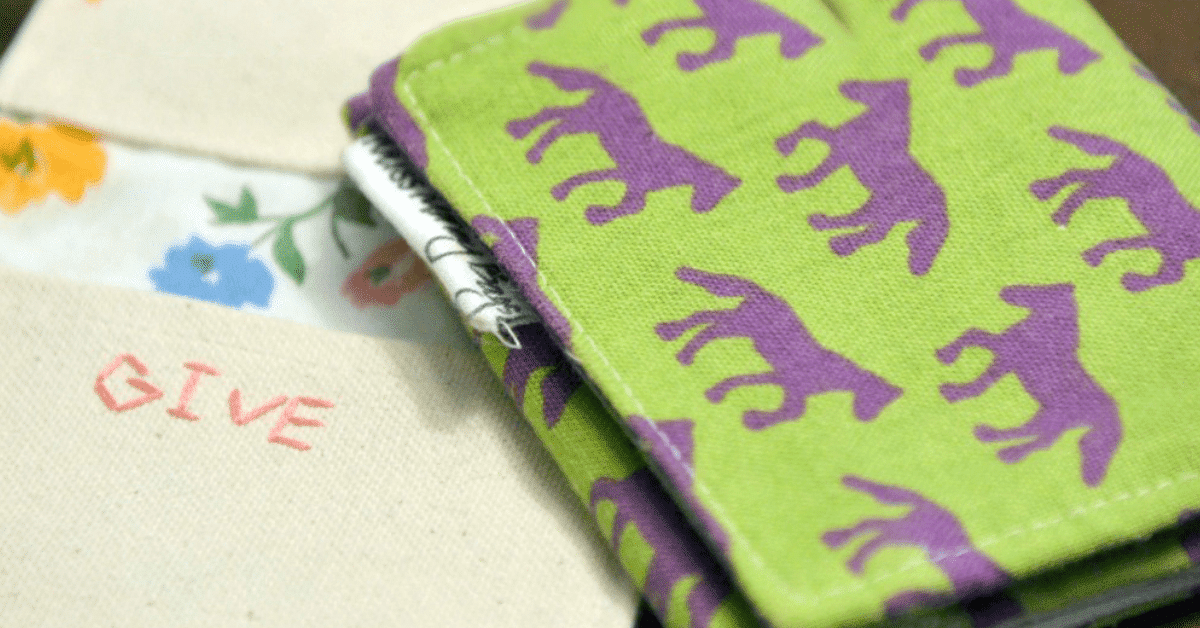
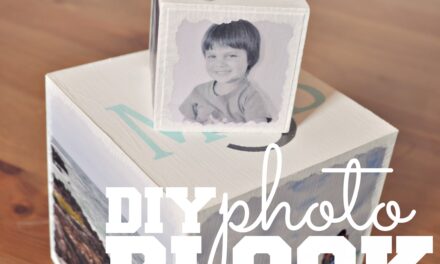
Looking for a great stocking stuffer? This awesome Give Save SPent Wallet is perfect and encourages your kids to manage their money.
Today I am so excited to host a tutorial from the amazingly talented Sarah of Miss Money Bags. I was introduced to Sarah last year when she graciously sent me one of her handmade Cash Envelope Wallets, as well as a “Save, Spend, Give” wallet for each one of my girls. We absolutely LOVED them and have been using them ever since! If you are a Dave Ramsey fan, or know someone who is, these wallets make the perfect gift! I love that they are both gorgeous AND super sturdy, and I’m so honored that Sarah is willing to share this fun tutorial (including an AWESOME video!) with us today! She is not a blogger, so be sure to give her lots of comment love & encouragement, and be sure also to check out her very cool Etsy shop! ~xoxo, Ruth
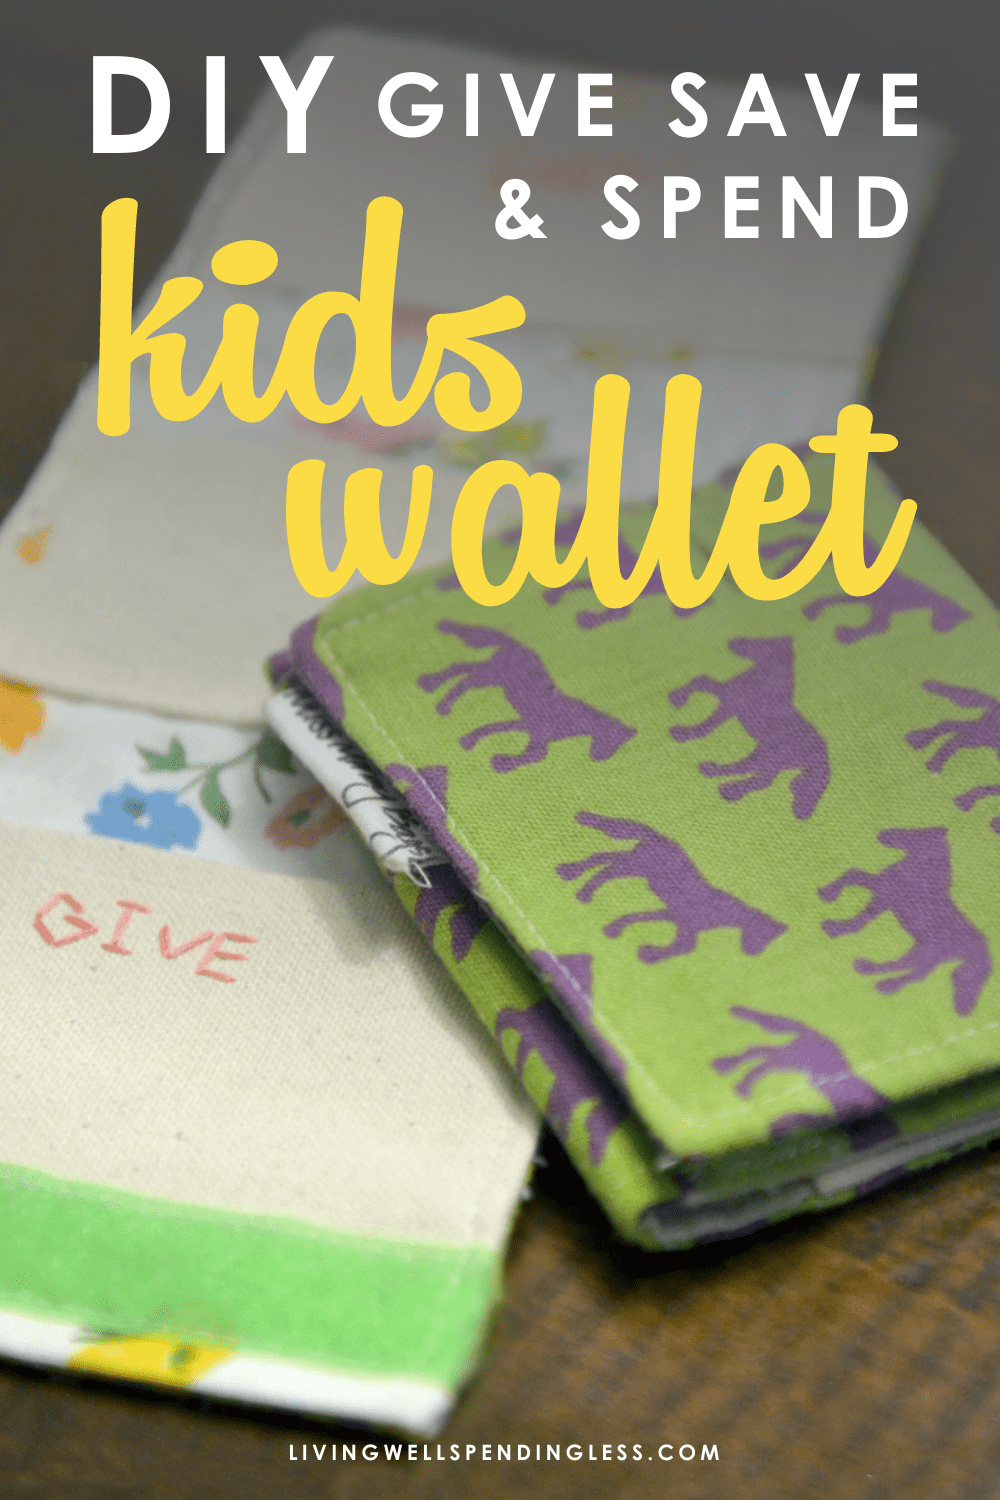
DIY Give Save & Spend Kids Wallet
Hi everyone! I am Sarah and I am so happy to visiting today!
Y’all I love this project so much! I have sold tons of kids wallets like this, and made one for every kid I know. It’s simple, quick and budget friendly! I love non-toy gifts and this is by far my favorite to encourage children to start practicing stewardship. I hope you will give it a try and let me know how you did. Enjoy!
Here’s what you need:
5 1/2″ x 12″ pieces of fabric ( cut 1 each of outside fabric, inside fabric & interfacing) 5″ strip of Velcro (cut 2) 3 1/4″ x 5″ pieces of canvas (cut 3)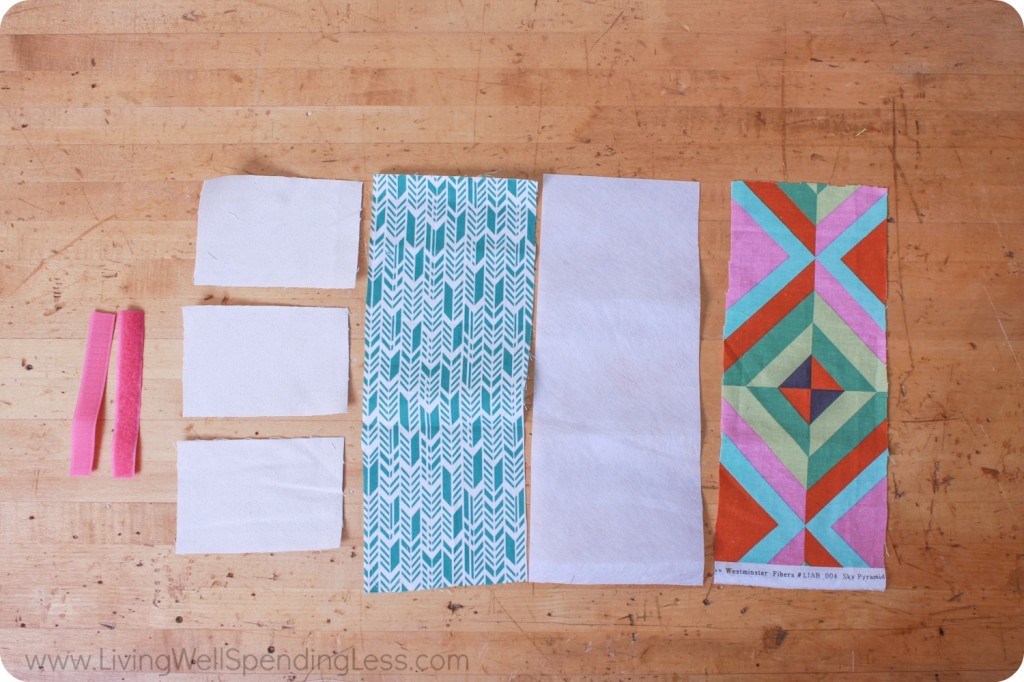
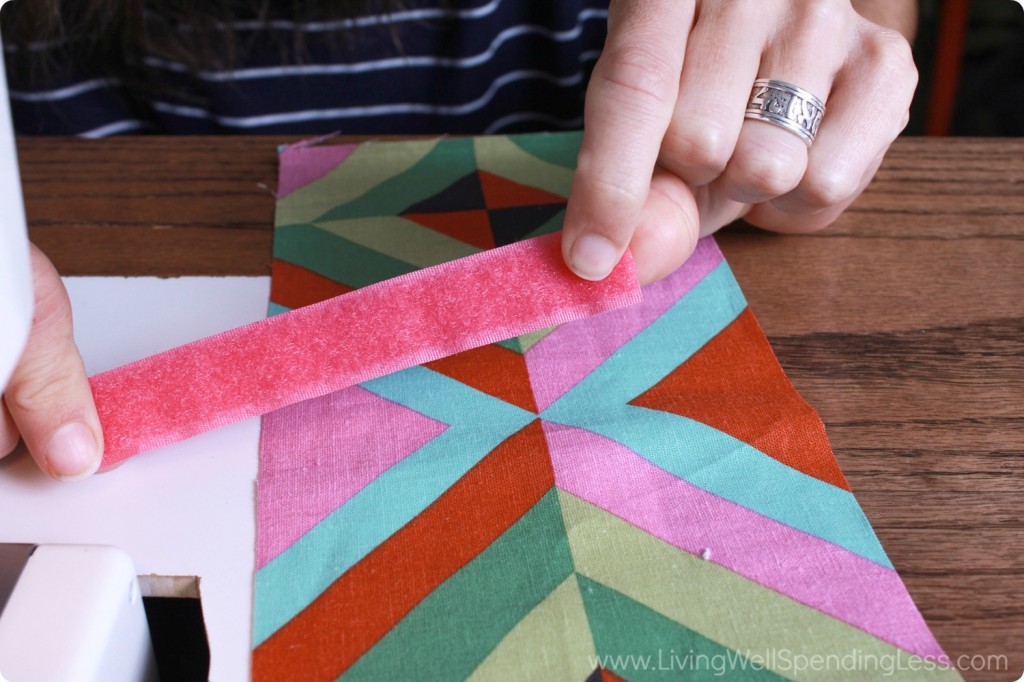
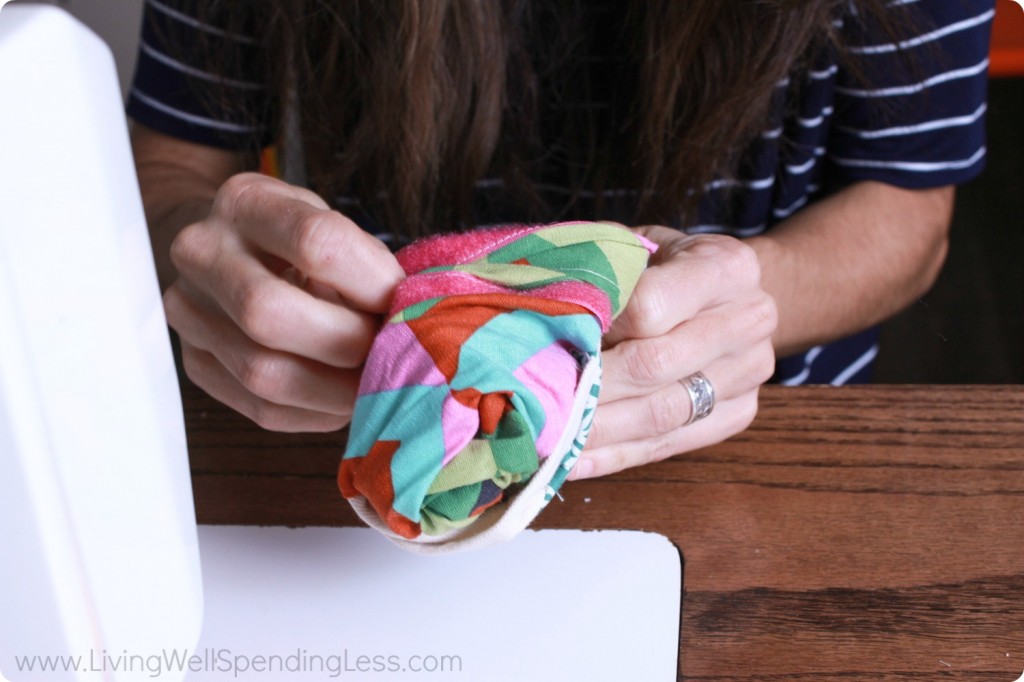
Step 1: Cut your fabric, Velcro and canvas to size.
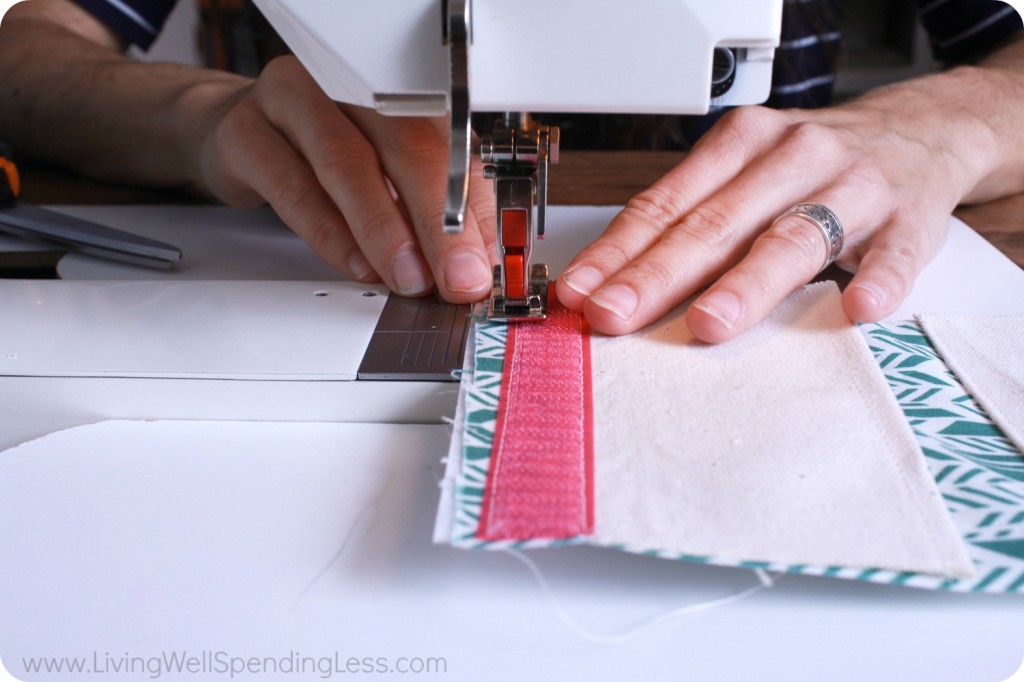
Step 2: Turn the inside fabric face down and lay the interfacing on top. Fold down 1/4″ on the short end. Lay the “fuzzy” side of the Velcro across the fold and sew the top and bottom edges.
Step 3: Repeat step 2 with the outside fabric using the sticky side of the Velcro.
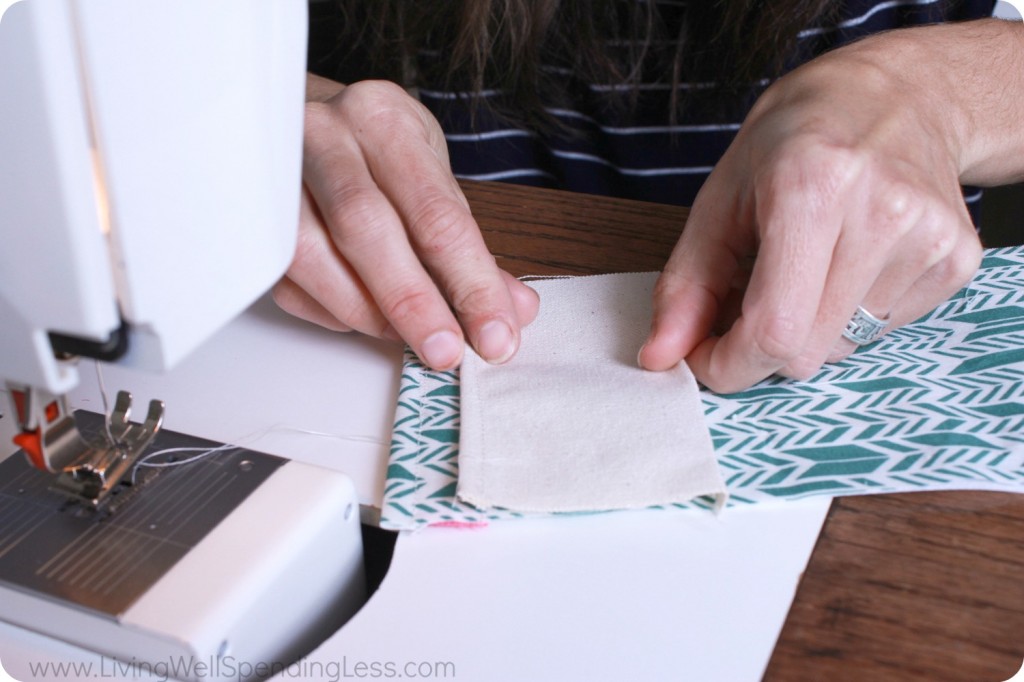
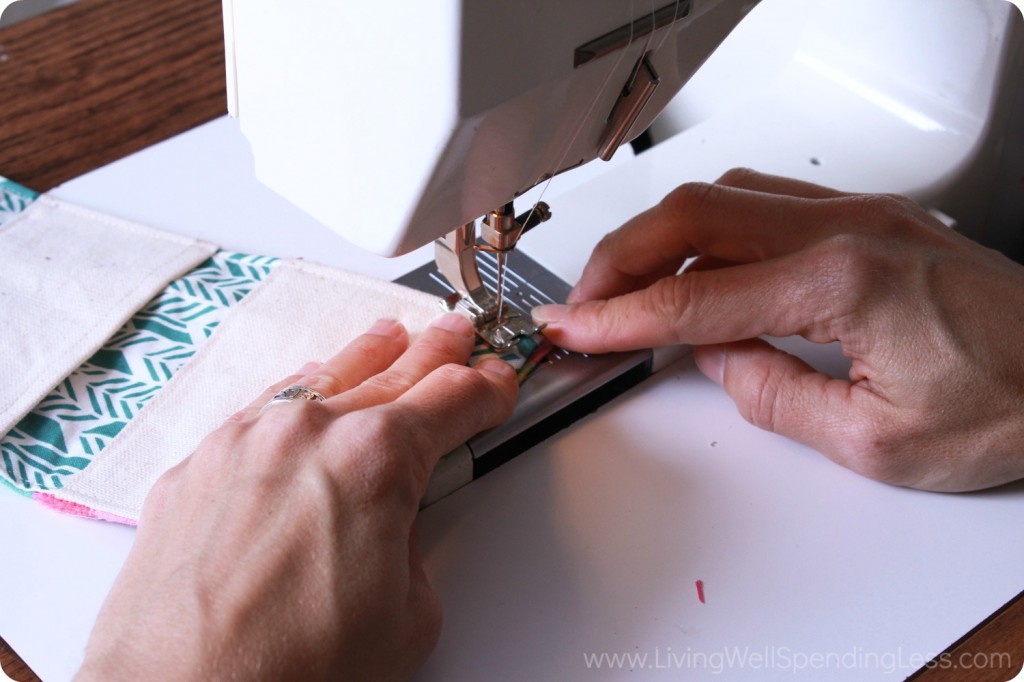
Step 4: Next, we’ll make 3 pockets from the pieces of canvas. Fold down the top of the first pocket 1/4″, then turn it another 1/4″ and sew across the top. Fold or press the bottom 1/4″ and sew the pocket to the inside lining 1″ from the top (just below the Velcro).
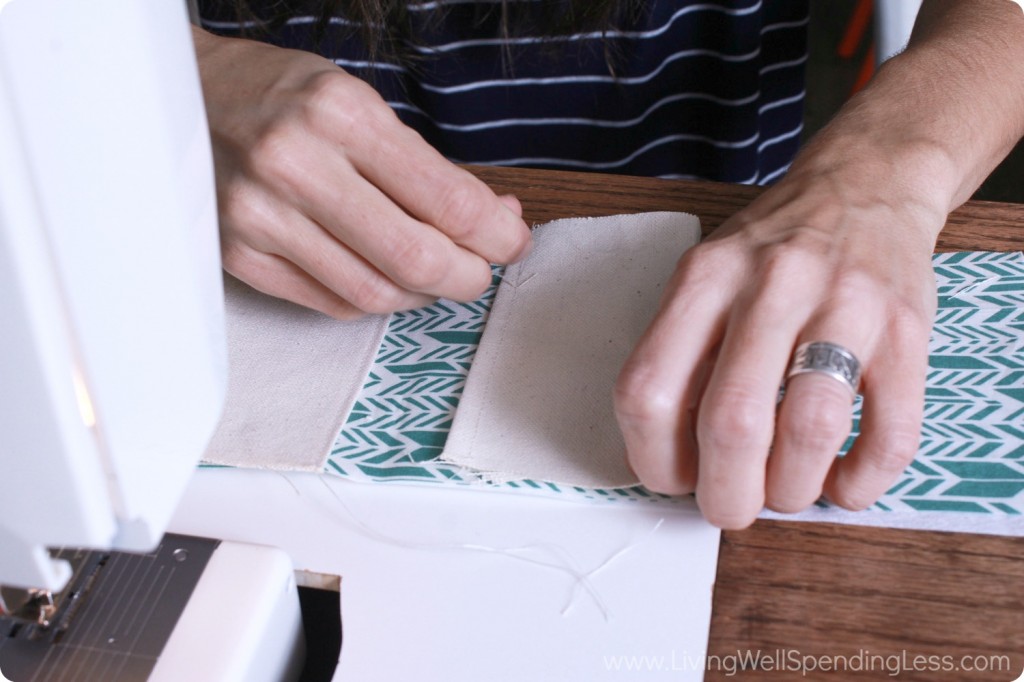
Step 5: Sew the second pocket top the same way. Fold or press the bottom of the second pocket and sew it 1″ below the first. Then repeat with the third pocket but leave the bottom raw (no fold). Place the third pocket 1″ below the second. Lay the “scratchy” side of the Velcro over the bottom of the third pocket. Sew the Velcro in place along both sides.
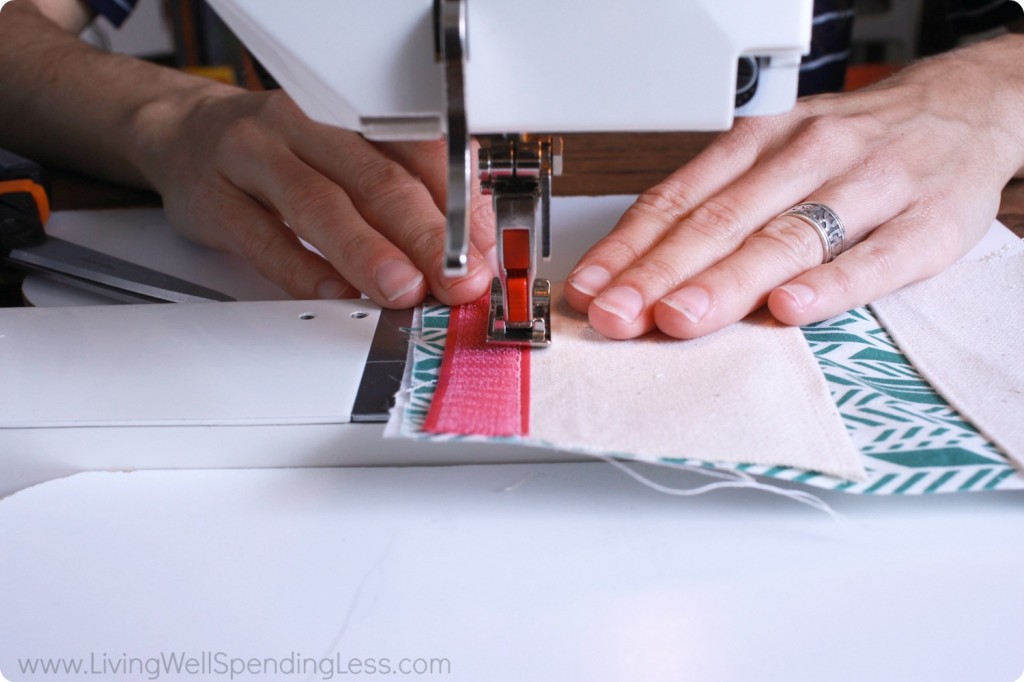
Step 6: Lay the inside and outside fabric side by side. Place the “fuzzy” side of the Velcro on the outside of the 3rd fabric piece 1/4″ from the top. Sew the top of the Velcro making sure to leave the bottom edge. Make sure the bottom edges are just below the bottom edge of the first pocket.

Step 7: Lay the outside fabric on top of the inside fabric, right sides together. Starting on the Velcro end (secret pocket) sew along 3 sides ( long sides and bottom). Don’t sew the pocket side! Turn the wallet right side out and use a pointed object to make a great square corner. Press.
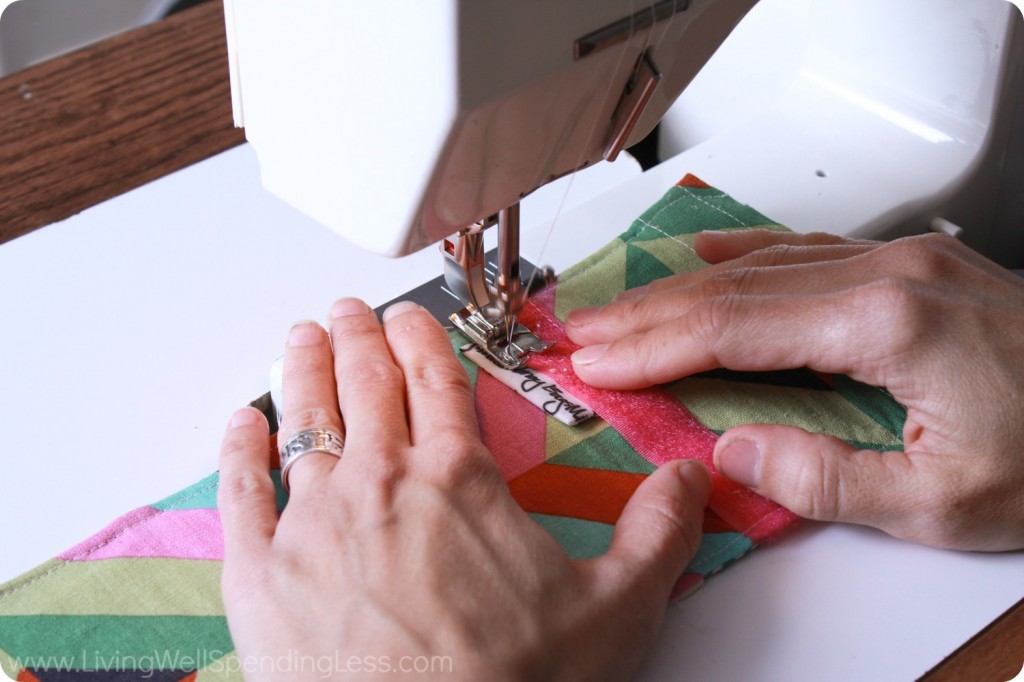
Step 8: Top stitch along the outside edge. Begin 1/2″ from the edge and quickly angle over to 1/4″. This angle catches the top edge and makes a great finished top. Top stitch around the rest of the wallet making sure to angle the other side when you reach the top
Step 9: Sew along the bottom edge of the Velcro on the outside fabrics to make the secret pocket! Embroider the words: Spend, Save and Give on all the pockets. (You can also use fabric paint!)
Other DIY projects:
PIN FOR LATER:


Latest posts by Sarah Clark (see all)
- DIY Give Save & Spend Kids Wallet - December 8
TAKE BACK CONTROL OF YOUR HOME LIFE
 Ever feel like you just can't keep up? Our Living Well Starter Guide will show you how to start streamlining your life in just 3 simple steps. It's a game changer--get it free for a limited time!
If you love this resource, be sure to check out our digital library of helpful tools and resources for cleaning faster, taking control of your budget, organizing your schedule, and getting food on the table easier than ever before.


I think there are 4 pieces of Velcro, not two. As I’m making this along with the video I am missing the part where two extra pieces of Velcro appear?
This is so cute! My daughter LOVES my wallet. So now I found a perfect solution. Can’t wait to see if she likes it just as much as mine.
This is a great idea. We use those piggy banks that have sections for giving, spending and saving. But this is a fun way to keep the money accessible for the kids to use.
I think there is an error in the “what you need” paragraph. Those canvas squares are much longer than 1/4″. Maybe it’s supposed to read 3 1/4″?? Best guess.
Thanks for catching that! Yes you are right. I’ll make that fix right now. Thanks again!! 🙂
Woah! That’s so talented! I’m itching to go make about 20 right now! I just finished up making lap desks for the kids in my life (that’s an amazing $6 DIY that lasts a lifetime! I still have mine from when I was a little girl). These would be a goof companion gift. Thanks for posting! I’m going to go check out the shop too:)