
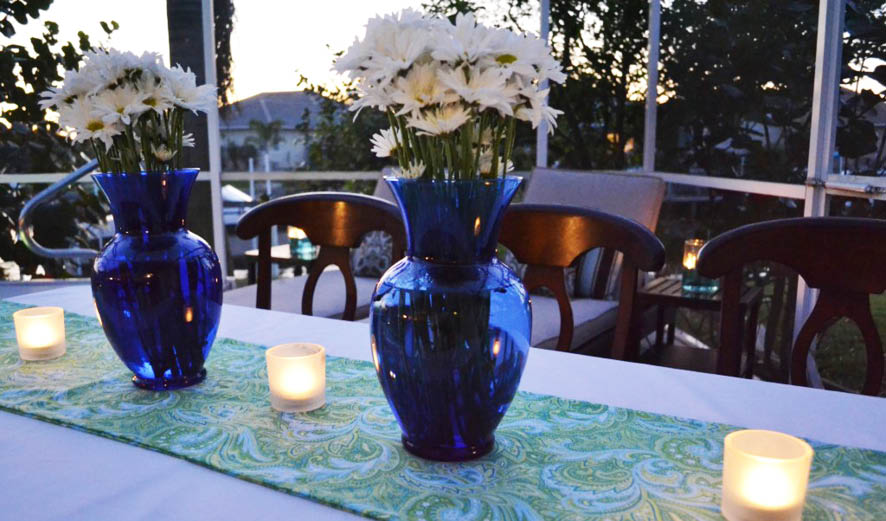

Want to create the perfect party table without spending a ton of money? This easy DIY tutorial will show you how to make a fabric table runner for less!
Maybe it’s because my birthday is in March that I’ve got parties on the brain. Last week I shared how to make paper garlands, a DiY project I did for my dear friend’s daisy-themed 40th birthday party. This week I am going to show you how to make the fabric table runners we used to decorate the tables.

This is a very easy project but you will need a sewing machine, as well as thread, iron & ironing board (starch helps too), and a length of fabric at least 20 inches longer than the length of the table you want to make the runner for.

What I love about this project is that while these table runners add a great pop of color to any party setting (and you can make them match any color scheme), they are infinitely reusable and look great after the party too.
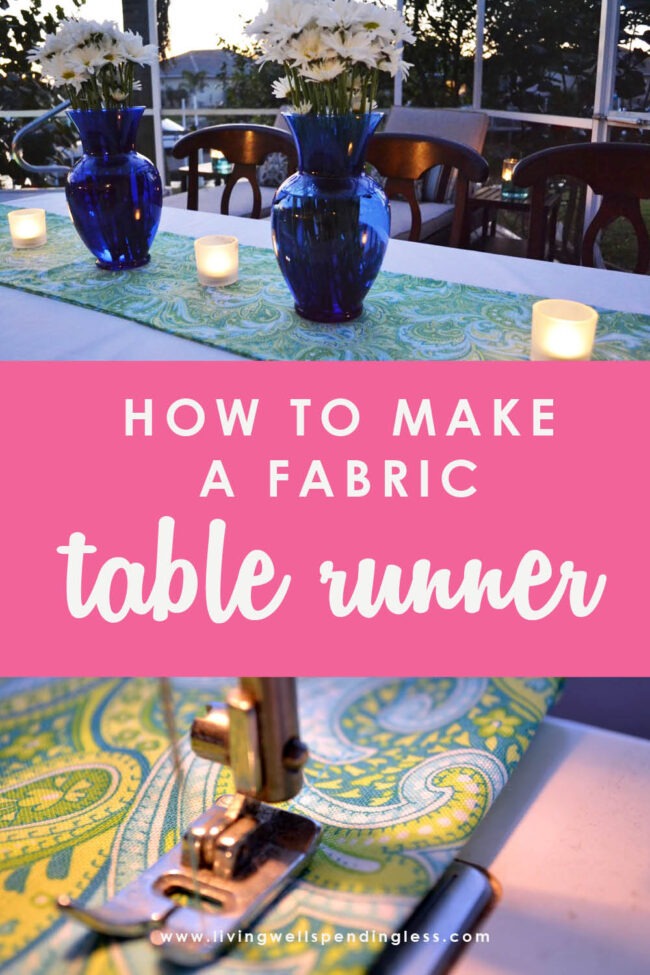
How to Make a Fabric Table Runner

Step 1: Measure your table lengthwise (if that is the way you want your runner to go), the cut a length of fabric approximately 20 inches longer. I used a pinking shears to prevent the edges from fraying, but all the raw edges will be hidden, so it is not essential.

Step 2: Lay out the fabric flat, then fold over a third of the fabric lengthwise. Line it up so that it is parallel to the edge, then cut using edge as a guide. You can save the excess third to make another runner or use it for other craft projects.

Step 3: Fold the fabric in half lengthwise so that the right sides are facing each other. Starch and iron the whole piece, ironing the fold flat.

Step 4: Sew the sides opposite the fold together, creating a long tube.

Step 5: Sew one end together.

Step 6: Clip the corners of the sewn end. This will help prevent the excess fabric from bunching up when you turn it inside out.

Step 7: Flip the fabric so that the right sides are facing out, taking care to press out the corners as flat as possible.

Step 8: Lay runner out and iron flat.

Step 9: Fold unsewn end in so that raw edges are hidden. Iron flat.

Step 10: Sew around all edges leaving a 3/4-1″ margin, depending on desired look. You can sew in one continuous rectangle or do four intersecting lines (like below).

I bought the fabric (it was in the quilting section) on sale at JoAnn’s for $4 a yard. I bought 7 yards, which made 4 runners of varying sizes, making the price per runner about $7 each.


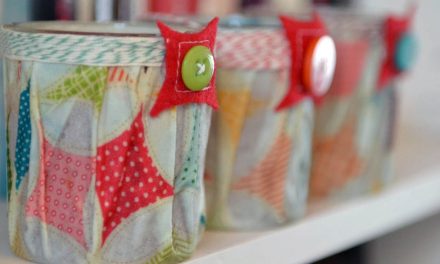
Other DIY Projects You’ll Love:
PIN FOR LATER

Ruth Soukup
Latest posts by Ruth Soukup (see all)
- Stop Worrying About Money - July 19
- How to Fit In More Fitness - April 28
- The Most Powerful Decision You’ll Ever Make - April 27
TAKE BACK CONTROL OF YOUR HOME LIFE
 Ever feel like you just can't keep up? Our Living Well Starter Guide will show you how to start streamlining your life in just 3 simple steps. It's a game changer--get it free for a limited time!
If you love this resource, be sure to check out our digital library of helpful tools and resources for cleaning faster, taking control of your budget, organizing your schedule, and getting food on the table easier than ever before.


This seems totally doable with clear directions. You don’t specify how wide the runner should be. Is there a general rule for that? My table is 32” wide. How wide should I make my runner? Thanks.
It looks like she uses 2/3 of the fabric folded over, so the final width will depend on the width of your yardage. The most common widths are 45″ and 60″ which would give you 15″ and 20″ respectively before the seam allowances. (If I did all that correctly!)
Thanks for the tutorial! I’m thinking about making some of these for a wedding. What type of fabric do you recommend for a table runner?
These are great and you make it look so easy! I’m especially grateful for the tip towards the end…the folding the ends inward then sewing – duh! I’ve done a few projects and gotten to that point, wondering how to get the best “clean” look. Ahem. THANK YOU!!! 🙂
Awesome tutorial! I think I’ll make a few of these for myself. I don’t necessarily like having a full tablecloth… so making a few different table runners may be just the answer for me. Thanks for sharing!
If you do make some, be sure to post a picture on the LWSL facebook page so I can see them! 🙂
Happy birthday, fellow March baby! (Mine was Sunday 🙂 I love the tutorial and the fact that you made these for a cost of about $7 each for customized party decor. Great ideas!
Thanks Tanya!