

For the past few years I’ve made sugar cookies for Valentine’s Day and this year I really wanted to do something new. Then I stumbled across Bakerella’s Cake Pop Book and discovered a whole new obsession. I think if I could do nothing but make cake pops for the rest of my life, I would be a happy, happy girl.
They are SO fun to make! The are pretty easy too, so if you are still looking for a fun treat to make with your kids for Valentine’s Day tomorrow, hurry on over to Jo-Anns or Michaels for some candy coating and lollipop sticks & get busy.
Supplies Needed:
1 box cake mix (we used pink!) 1 container ready-made frosting (also pink!) small heart-shaped cookie cutter wax paper meltable candy coating (available at craft stores) sprinkles or nonpareils (optional) a block of styrofoam (Husband brought me home some from work) lollipop sticks (available at craft stores) small treat bags (available at craft stores) ribbon cardstock & stamps for tags (optional!)I highly recommend buying the book–the instructions are very detailed and the ideas are awesome! These hearts are definitely amateur level compared to the cool stuff she does in there.
Step 1: Bake a box cake in a 9×13″ pan according to the package directions. Let cool completely. Crumble the the cake into a large bowl, making sure to break down any large clumps so you don’t get lumpy hearts. Mix in 3/4 of the can of frosting so that the crumbs stick together. It should be similar to the consistency of Play-Doh.

Step 2: Press a lump of the crumb mixture into the cookie cutter, then press out onto a wax-paper covered cookie sheet. Repeat until all the mixture is used. Refrigerate overnight or place in the freezer for 15-20 minutes until firm.

Step 3: Melt the candy coating in the microwave according to package directions. If it is too thick (mine was), add vegetable oil, 1 teaspoon at a time, until it reaches the desired consistency. Dip the tops of the sticks into the coating, the stick into the bottom of the heart. Let set for 5-10 minutes.

Step 4: Pre-poke holes in your block of styrofoam. Carefully dip hearts into melted candy until coated.

Step 5: Place into pre-poked holes to dry. If desired, you can dip half the heart into nonpareils, but let it set for a few minutes first or the coating will be too runny.

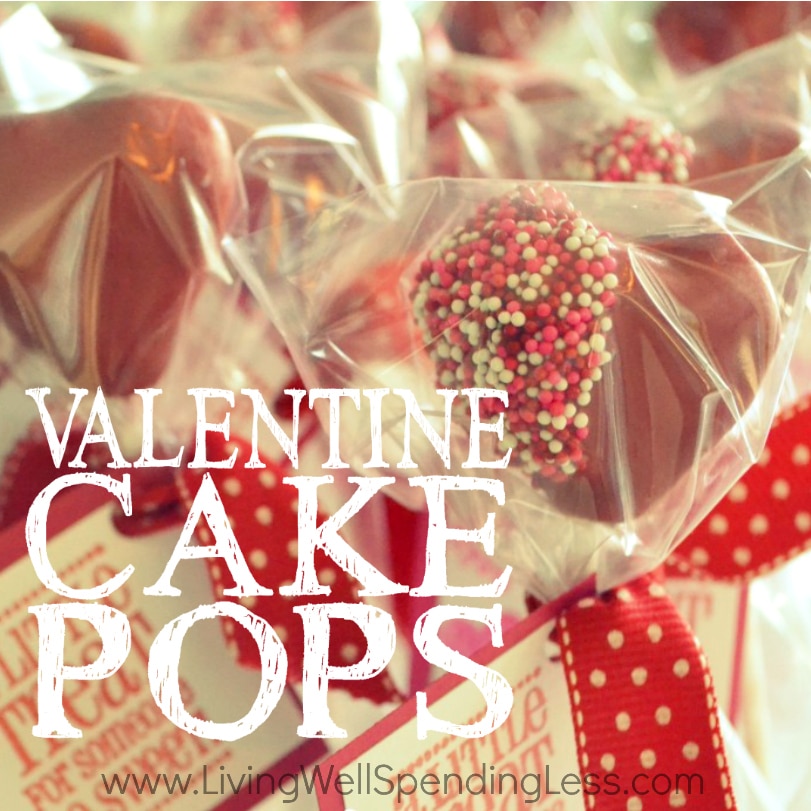
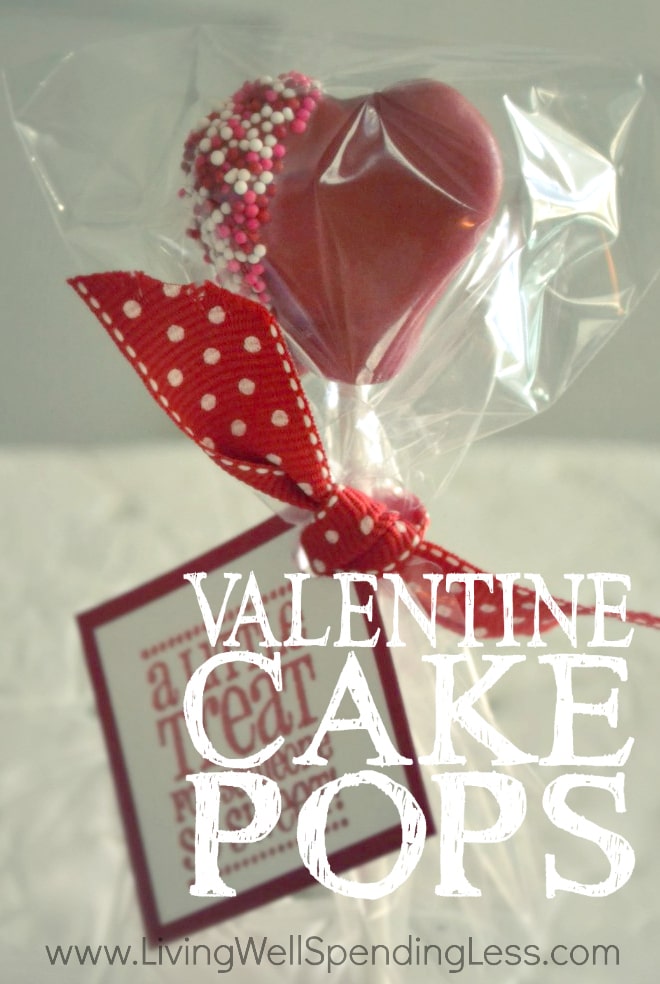
Step 6: After candy coating has hardened completely, cover heart with small treat bag and secure with a pretty ribbon and tag, if desired. (We used a Valentine’s stamp set we had from last year, but you could also print something or just write the tags by hand.)

TAKE BACK CONTROL OF YOUR HOME LIFE
 Ever feel like you just can't keep up? Our Living Well Starter Guide will show you how to start streamlining your life in just 3 simple steps. It's a game changer--get it free for a limited time!
If you love this resource, be sure to check out our digital library of helpful tools and resources for cleaning faster, taking control of your budget, organizing your schedule, and getting food on the table easier than ever before.


Oops! Totally meant to say something about the ribbon and tag. Totally recognized it and *love* how perfectly it fits this project! 🙂
Oh, goodness. These are *adorable*!! I’ve always wanted to make cake pops…but have been a little intimidated by them, to be honest! lol I even checked the cake pop book out from the library and looked and looked and looked at the pages! lol I couldn’t even renew it b/c of the high demand. 🙁 As always, great job on the tutorial – I’m pretty sure I have that same little heart cutter in my drawer…I guess that means I’ll have to try this out someday! 🙂
Those are SO cute! Great job!
This could make for a very cute idea for my son’s birthday in a couple of weeks! I may have to think about this one.
I need to try this!