
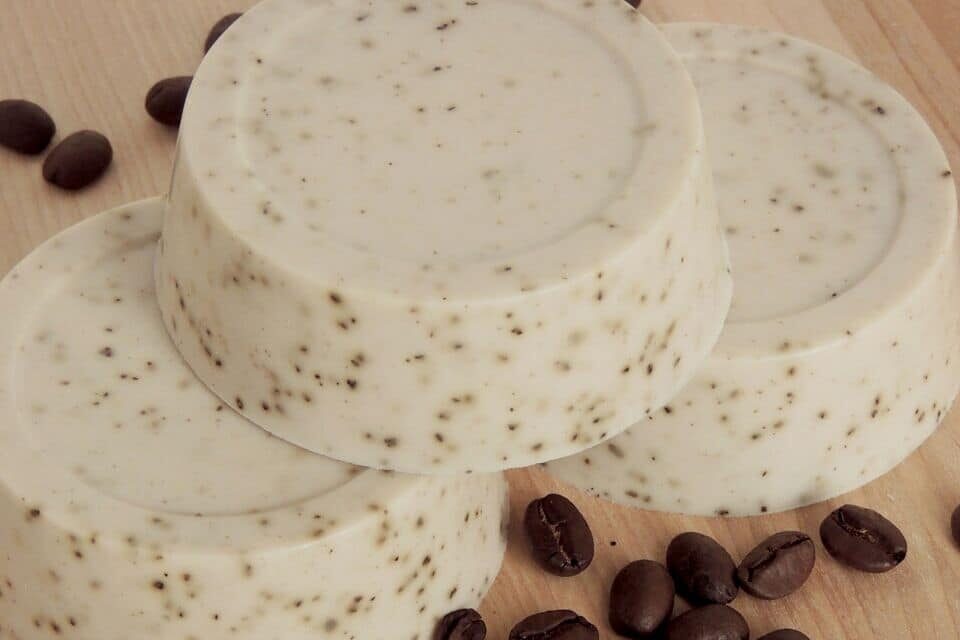
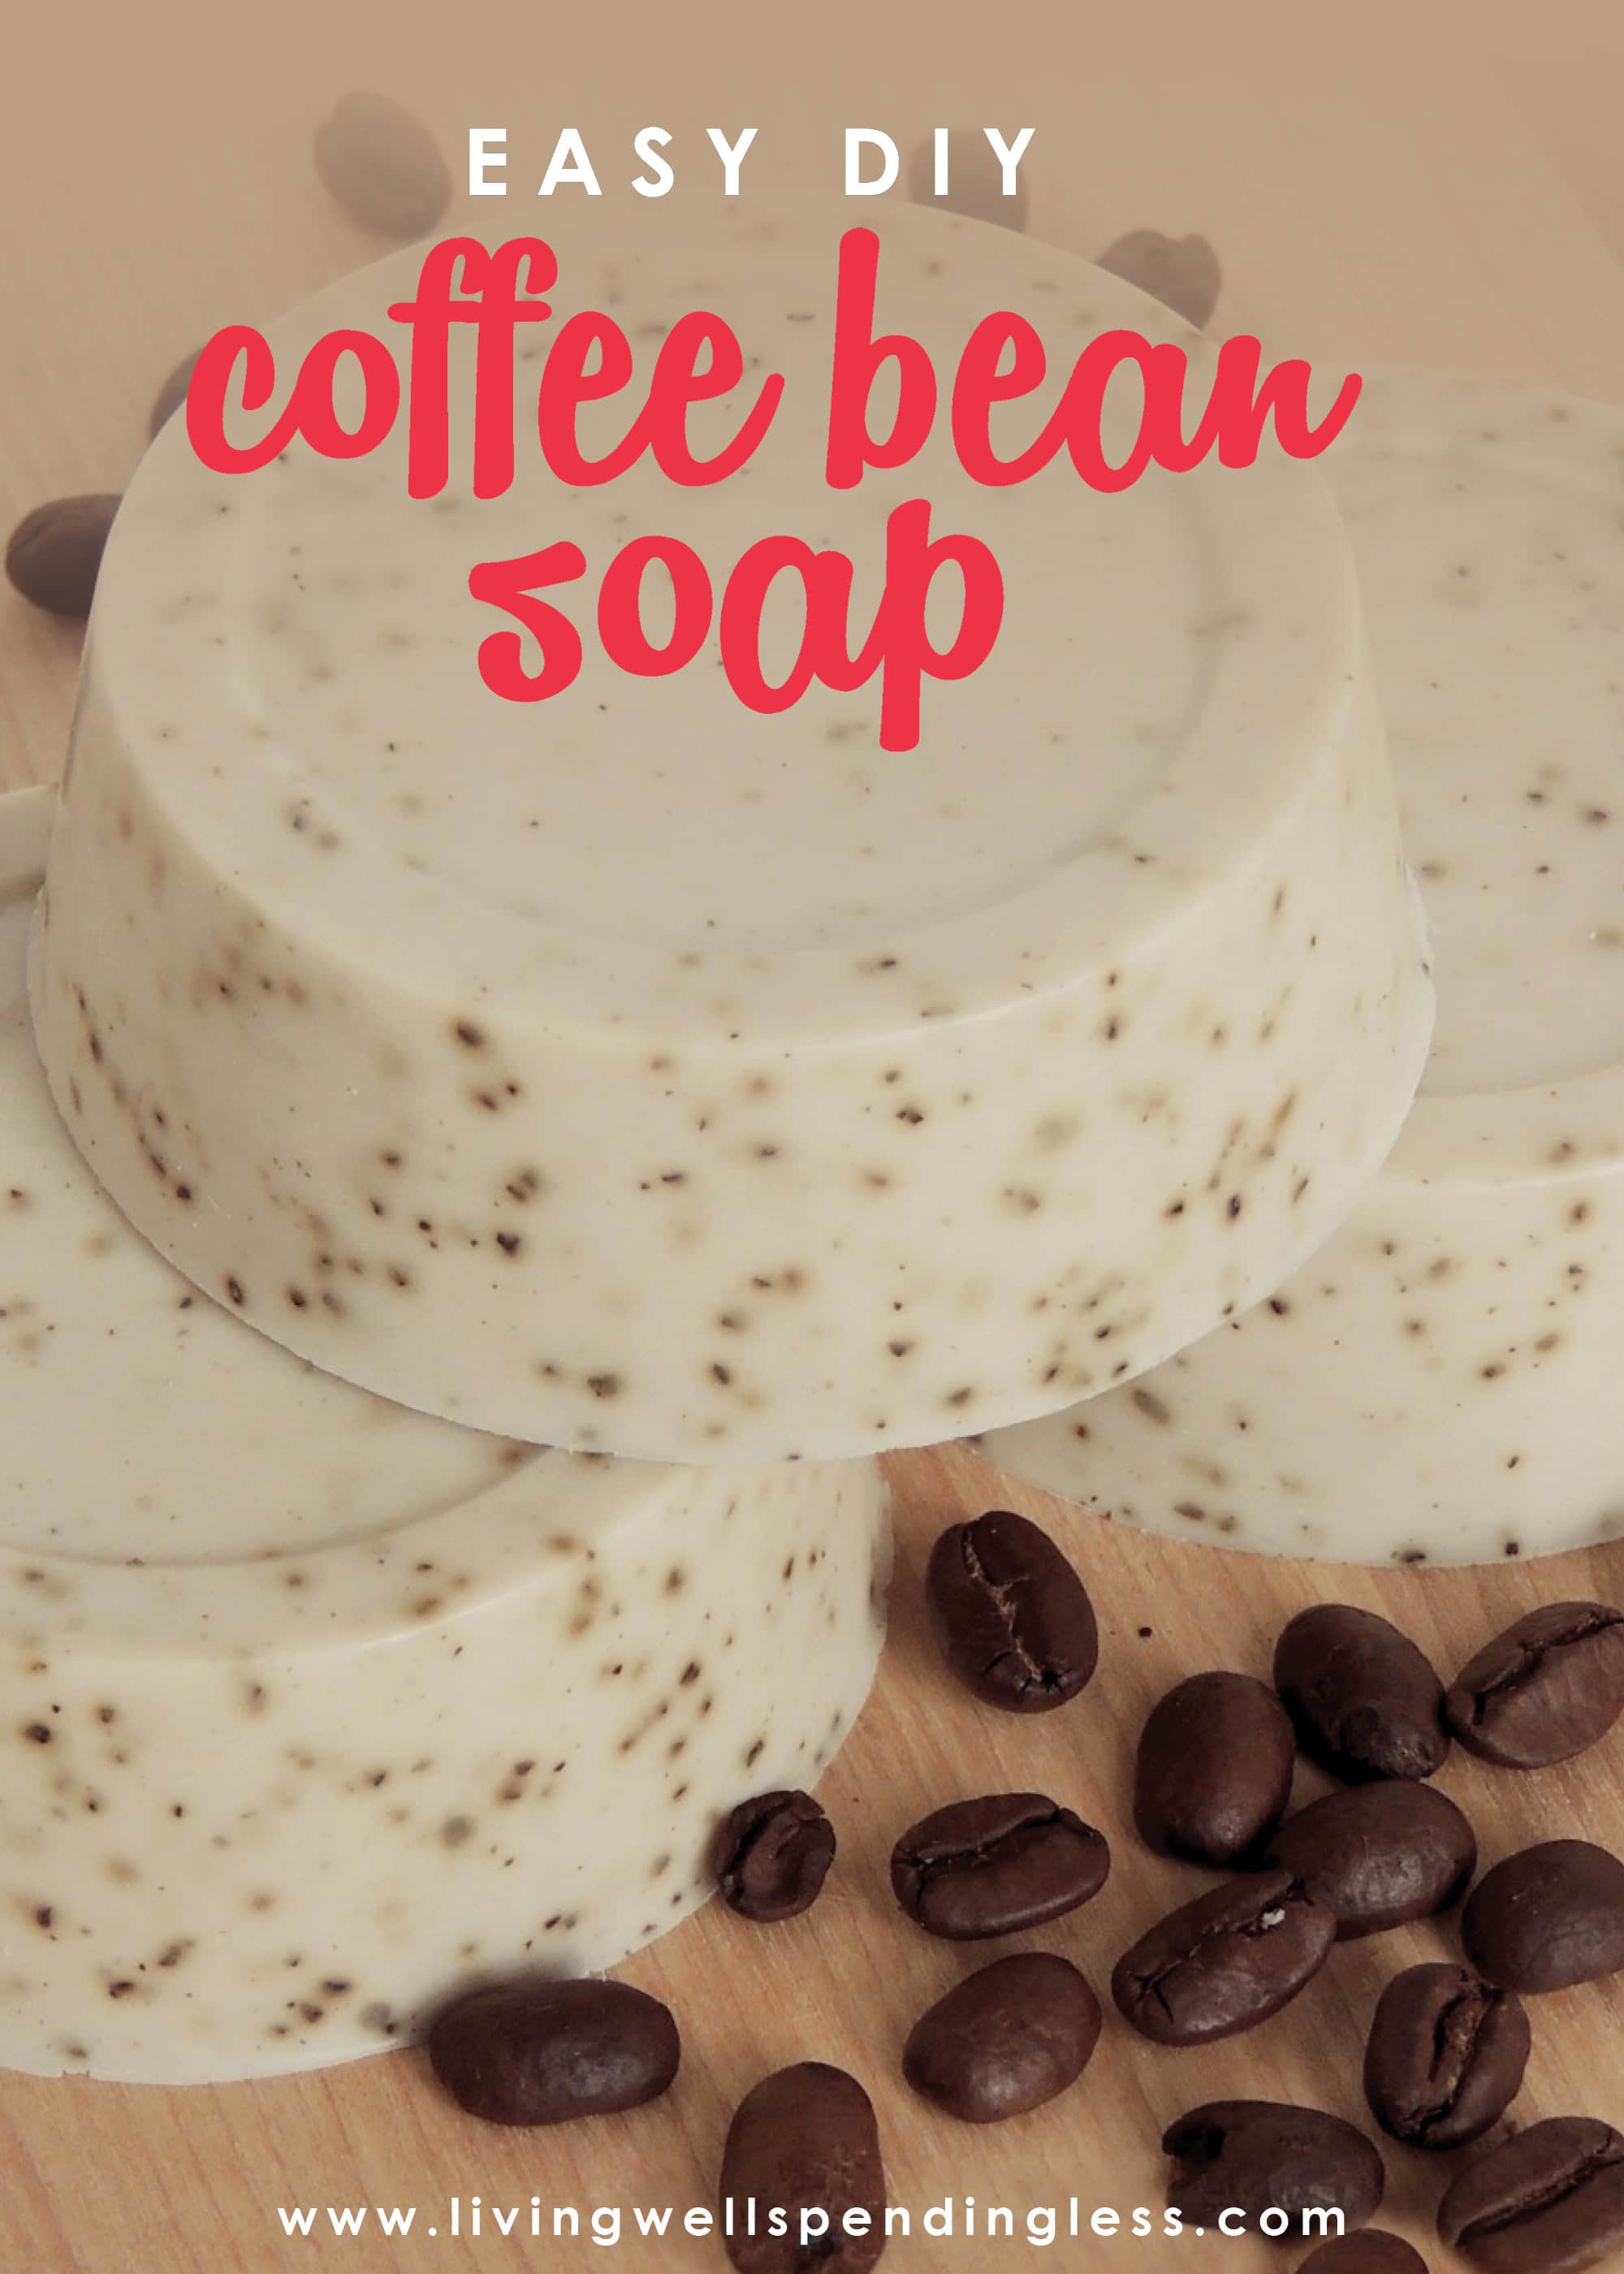
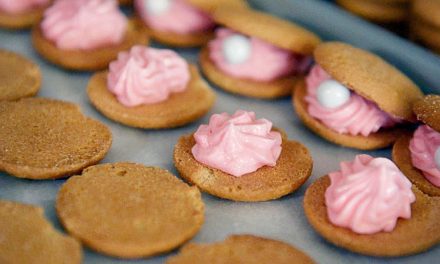
Are you looking for an easy DIY gift idea? These homemade DIY coffee bean soap bars are luxurious and smell delicious. They’re so easy to make!
About 7 months ago I found myself wandering the aisles of my local Michael’s craft supply store looking for what I would need to make one of my most favorite DIY projects to date: homemade soap.
Now I’m all for adventure, but for a long time I was really afraid of trying to make my own soap. It’s a fairly complicated process, and a potentially dangerous one too. Soap made from scratch requires working with lye, an extremely caustic chemical that can burn your skin on contact. Traditional soap making requires a well-ventilated area, rubber gloves, protective eye-wear—practically a hazmat suit! After reading several long lists of recommended safety precautions and procedures online, I just about gave up my dreams of ever trying to make soap then and there. So when I learned there was a method to make my own soapy creations that didn’t require working with lye, I was all over it!
DIY Coffee Bean Soap
If you’ve ever wanted to try your hand at soap making but found yourself a little put off by the thought of possibly losing an eye to lye, then this is the guest post for you! Today I am going to share with you how to make a simple, three-ingredient coffee soap.
Here’s what you need: 1 lb package of melt-and-pour soap base Ground coffee beans Fragrance oil A soap mold
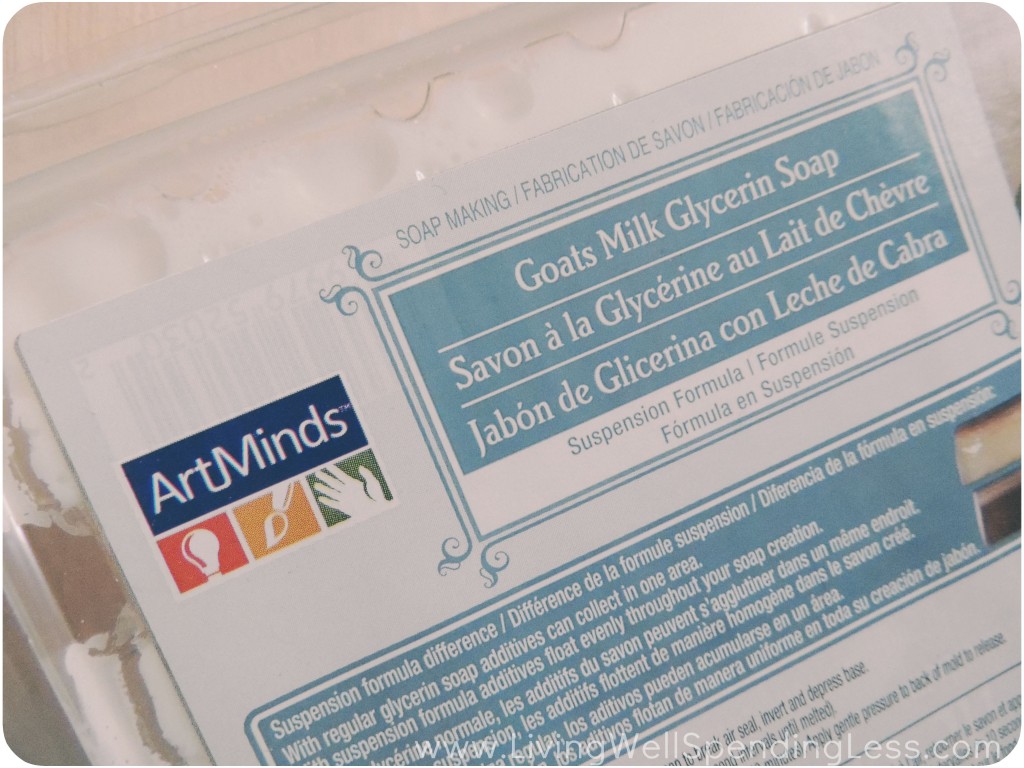
I decided to use a goat’s milk soap base, although there are a variety of base types to choose from. I also decided to use a soap base with a “suspension formula” so that my additives—in this case, ground coffee beans—would stay evenly suspended in the soap. It’s not critical your soap base do this too; I simply liked the look of it!
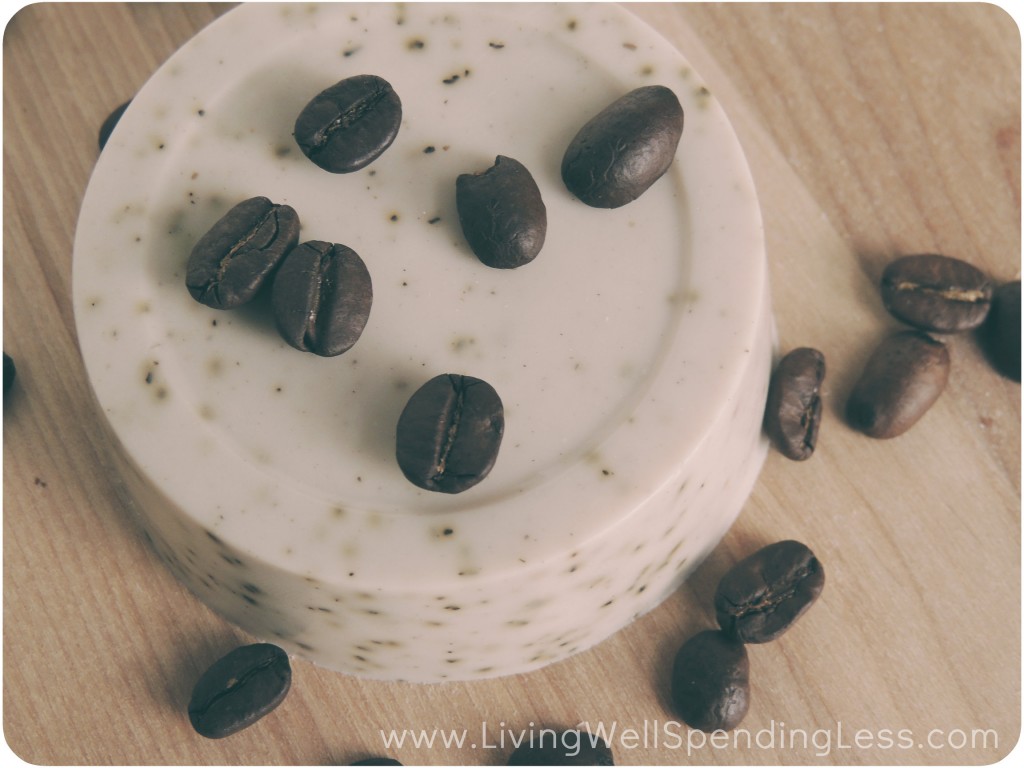
I don’t particularly enjoy drinking coffee, but I absolutely love the way coffee smells, so I decided to use ground coffee beans as my additive for this soap. Coffee is also great for the skin, and ground beans can also work as an exfoliant!
When the coffee beans are combined with the soap, however, it becomes difficult to make out their smell even though the soap base is unscented. So I also added a “milk and honey” fragrance oil designed for soap making that I purchased online. Craft stores will typically sell fragrance oils for soaps, so choose a fragrance you love!
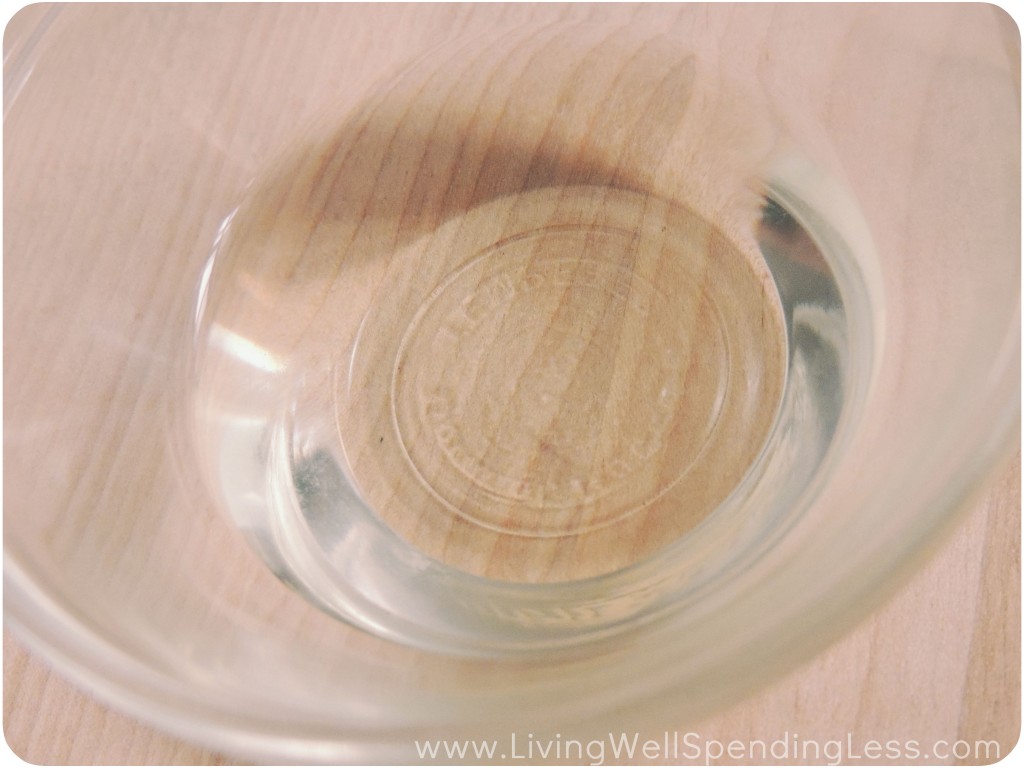
Step 1: Figure out how much soap base you will need. Some soap molds explicitly note how many ounces of soap they hold, while others don’t. If yours don’t, try this trick: fill up your soap mold with water and then carefully pour the water in your mold into a large measuring glass or cup. This should tell you roughly how many ounces of soap base you will need to fill your mold. For my molds, I needed at least 10 ounces of soap base
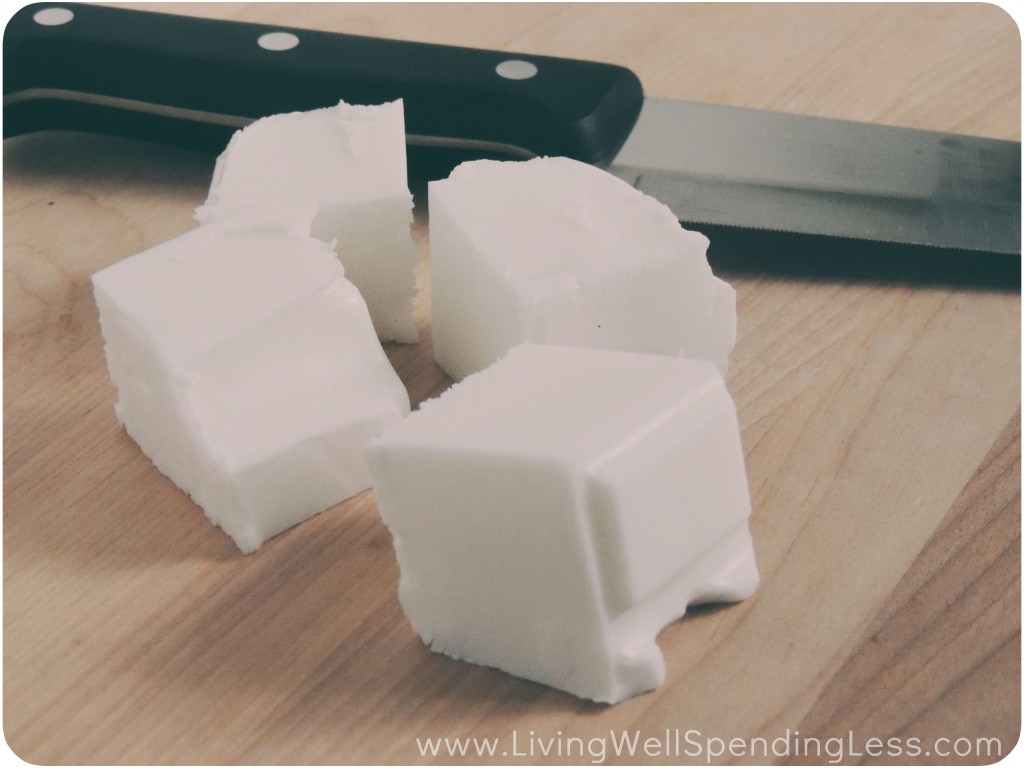
Step 2:Cut up your soap base into cubes. This will help the soap melt faster and more evenly.
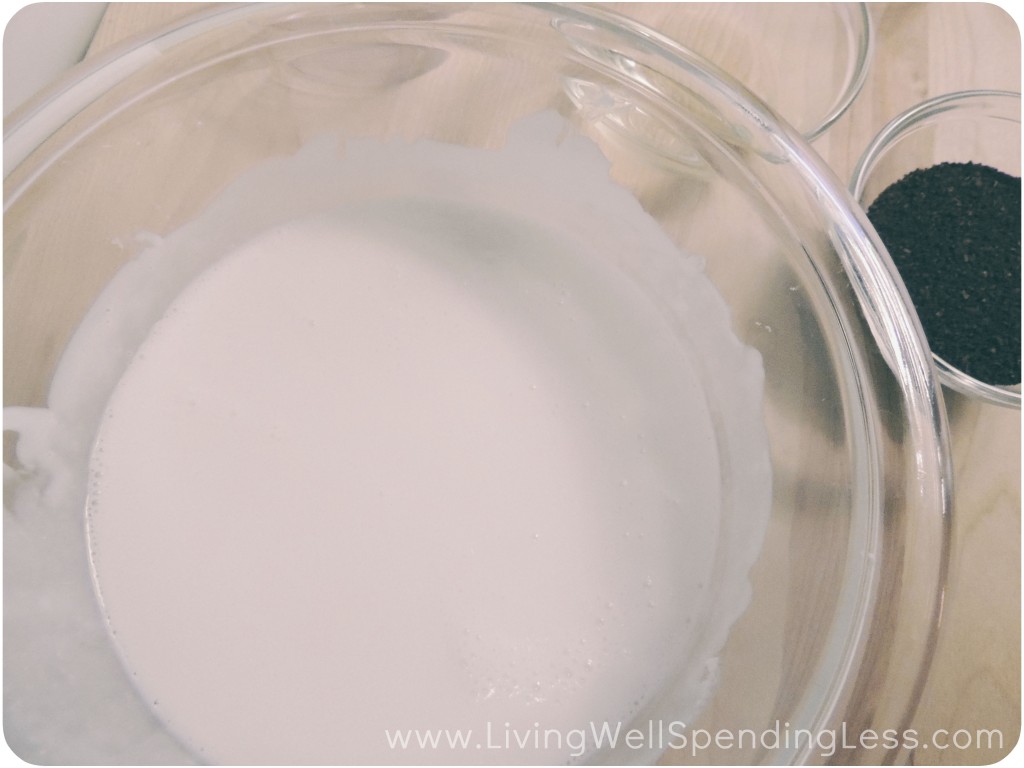
Step 3: Place your soap in a microwave safe container (I used a Pyrex bowl) and microwave it in 15 second intervals, stirring after each interval until your soap has melted all the way. Keep an eye on your soap as it is melting in the microwave as it can really foam over. Soap heated for too long can lose its moisture, and you don’t want that. Your soap may have a few bubbles in it when all is said and done, but that’s okay. Once this is done, you will want to work relatively quickly to complete the next 2 steps.
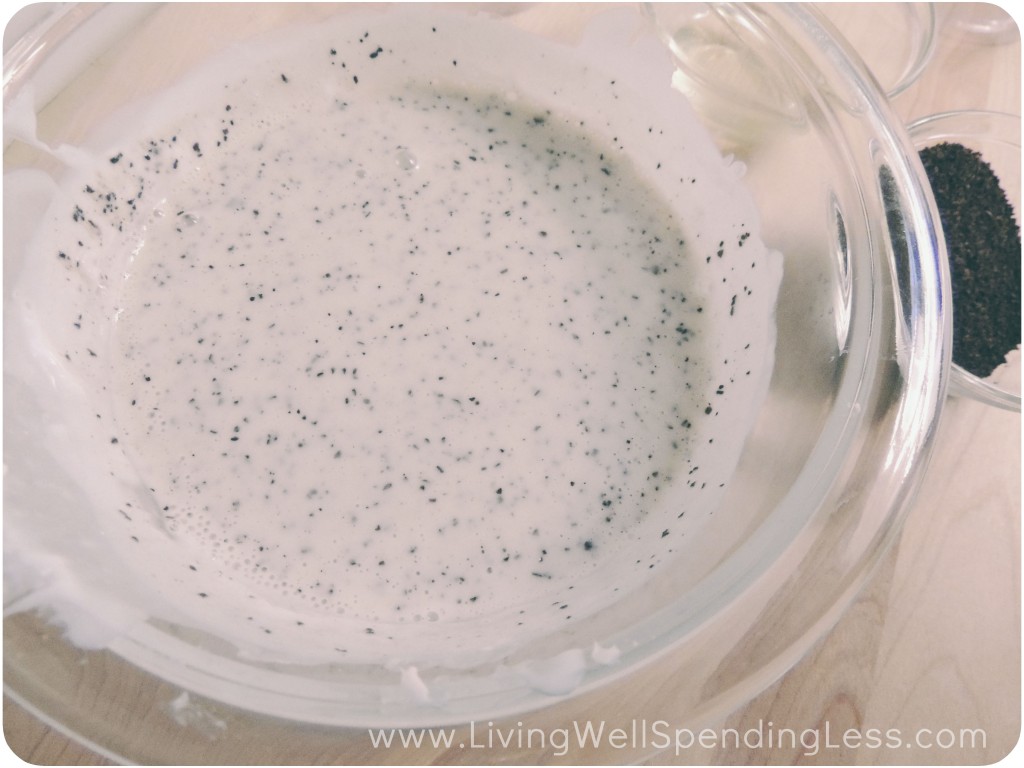
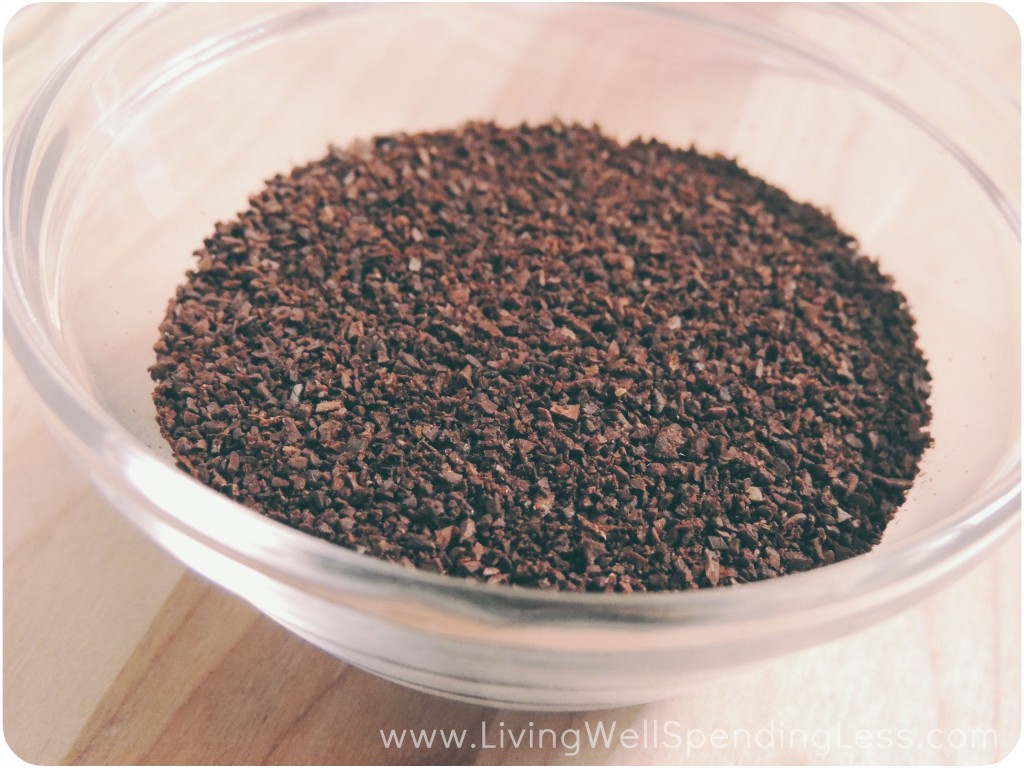
Step 4: Add in your coffee grounds and stir. I sprinkled them in until I felt my soap was sufficiently coffee-filled. It’s okay to eyeball it!

Step 5: Add in your fragrance oil and stir. Different brands of fragrance oil will have different recommendations on the packaging as to how much fragrance oil you should use per ounce of soap. Follow the directions on the packaging to determine how much oil is best for your volume of soap.
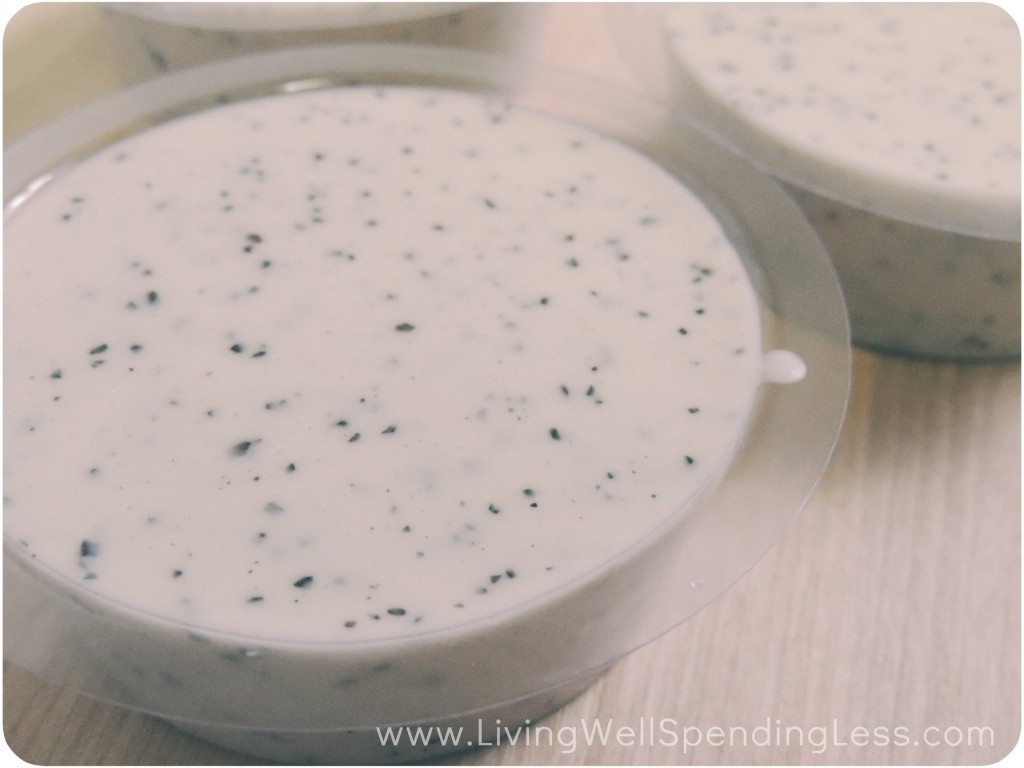
Step 6: Pour your soap into your molds. If the top of your soap is left with bubbles once you’ve poured it, you can remove these bubbles by spraying a spritz or two of rubbing alcohol about 5-10 inches away from your soap. I took an old Bath and Body Works spray bottle that was near empty and cleaned it out, filled it with alcohol, and applied 1-2 spritzes until my bubbles were pretty much gone.
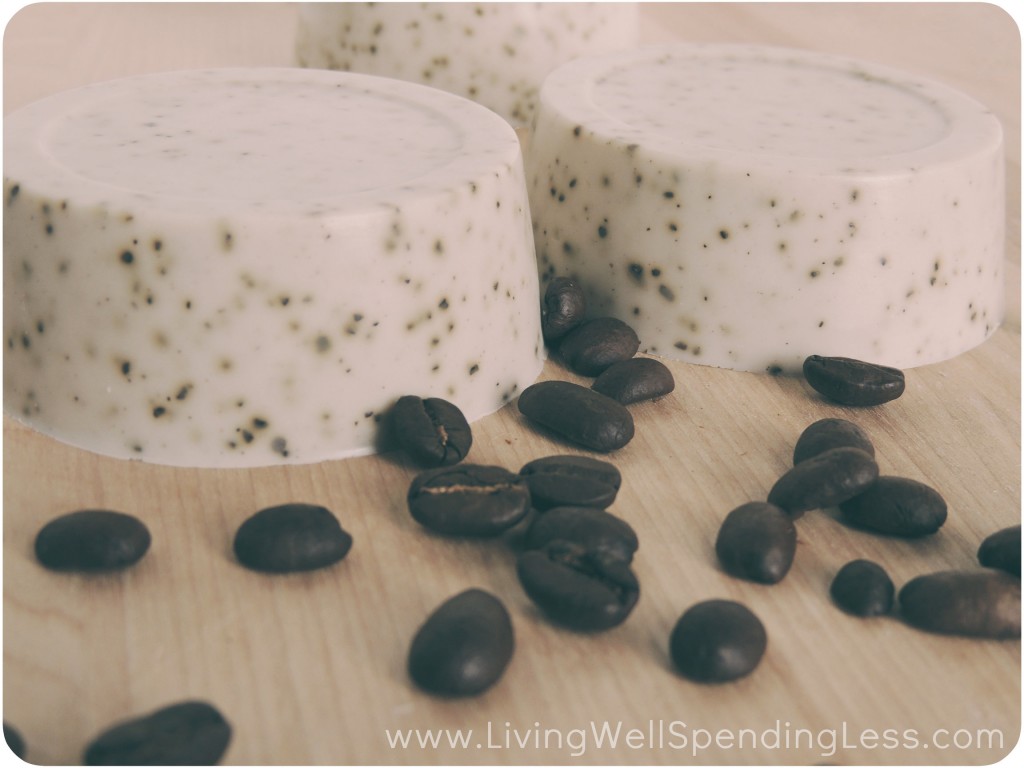
Step 7: Wait. Resist the temptation to touch your soap until it has hardened, which could take one to three hours or more depending on the size of your mold. When it’s ready, pop your soap out of your molds and enjoy! If you find your soap doesn’t want to slide out of your mold, try sticking the mold into the freezer for several minutes. The soap will shrink a bit and should pop right out!
I hope you enjoyed this coffee soap tutorial! When sold at craft fairs or in naturals stores, soap similar to this can sometimes run you upwards of $6 or $7 a bar! Why pay that when you can purchase an entire case of melt-and-pour soap base for the same price and have fun making your own soap while you’re at it? These little soaps feel luxurious, make great handmade gifts, and are super affordable–especially when you make them in bulk.
If you’re looking for some more soapy inspiration, you might enjoy these tutorials on how to make a Coconut Exfoliating Soap, a Jasmine Dead Sea Salt Soap, or my personal favorite: Sweet Almond Honey Oatmeal Goat’s Milk Soap!
Other DIY Projects You’ll Love:
PIN FOR LATER:

Gabby Whitaker
Latest posts by Gabby Whitaker (see all)
- DIY Lemon Sugar Scrub - April 21
- DIY Coffee Bean Soap - January 27
- DIY Scented Candle - November 18
TAKE BACK CONTROL OF YOUR HOME LIFE
 Ever feel like you just can't keep up? Our Living Well Starter Guide will show you how to start streamlining your life in just 3 simple steps. It's a game changer--get it free for a limited time!
If you love this resource, be sure to check out our digital library of helpful tools and resources for cleaning faster, taking control of your budget, organizing your schedule, and getting food on the table easier than ever before.


Hi there, You have done a great job. I will definitely digg
it and personally recommend to my friends. I’m sure they will be benefited
from this site.
The hubby and I made this, and we loves it! We bought a soap making kit from Michaels (which had the soap base, oils, and molds), and then added our coffee. We grind our own coffee, and didn’t think about changing the coarse-ness of the grind. Needless to say, there are (giant) bits of ground coffee on the bottom of my shower… I would definitely recommend using a finely ground coffee for this project!!
How much was that kit from Micheals? I wanted a cheaper alternative to organic soaps from the health food store.
I bought 2 pounds of shea butter soap base and a set of 3 4oz. molds for less than $15 at Michaels.
While this is a fun, cheap alternative to Handcrafted soap, if you are looking for a NATURAL or ORGANIC soap, I recommend your local Soapmaker. These bases still are filled with detergents and chemicals and are NOT natural. At the very least, purchase a high quality soap base from a soap supplier online, such as Wholesale Supplies Plus, or Brambleberry =)
A 2 pound block of melt and pour goat milk soap bas is between $10 to $11 at Michael’s.
I love homemade soaps. I’ll have to try this one.
This looks great! I can’t wait to try it:)
What fragrance oil did you use please?
She used milk of honey. I’m going to look for coffee scented oil.