Welcome back to the Beginner’s Guide to Cleaning! We’ve now tackled our living spaces, kitchen, and bathrooms, which means at this point, your house quite possibly looking better than it has in years!
I’m hoping that motivation is starting to get contagious, because this week we will be tackling the room or rooms that most often get completely ignored. Because let’s face it….while our living room, kitchen, and even the bathrooms are public spaces, our bedrooms are a little more private. And while privacy is nice, it is also very easy to just shut the door and ignore the mess.
But a clean bedroom is not easier on the eyes, it is a sanctuary from a hectic life. It your place to refresh and recharge, to get a good night’s sleep each evening so that you are ready to start your day. From a health standpoint, it should be kept relatively dust free to reduce the amount of allergens in the air while you sleep. And maybe it is just me, but I honestly believe there is nothing better at the end of a long day than snuggling into a well-made bed!
Once again I will walk you through the steps for cleaning the surfaces most commonly found in this zone, giving detailed instructions for how to clean each one. If you are already a bedroom-cleaning whiz, much of it may be review—feel free to skip to the end of the post, or add your own tips & tricks in the comments below! At the end of the post you will get a printable checklist to use as you tackle your bedroom.
Are you ready? Here we go!
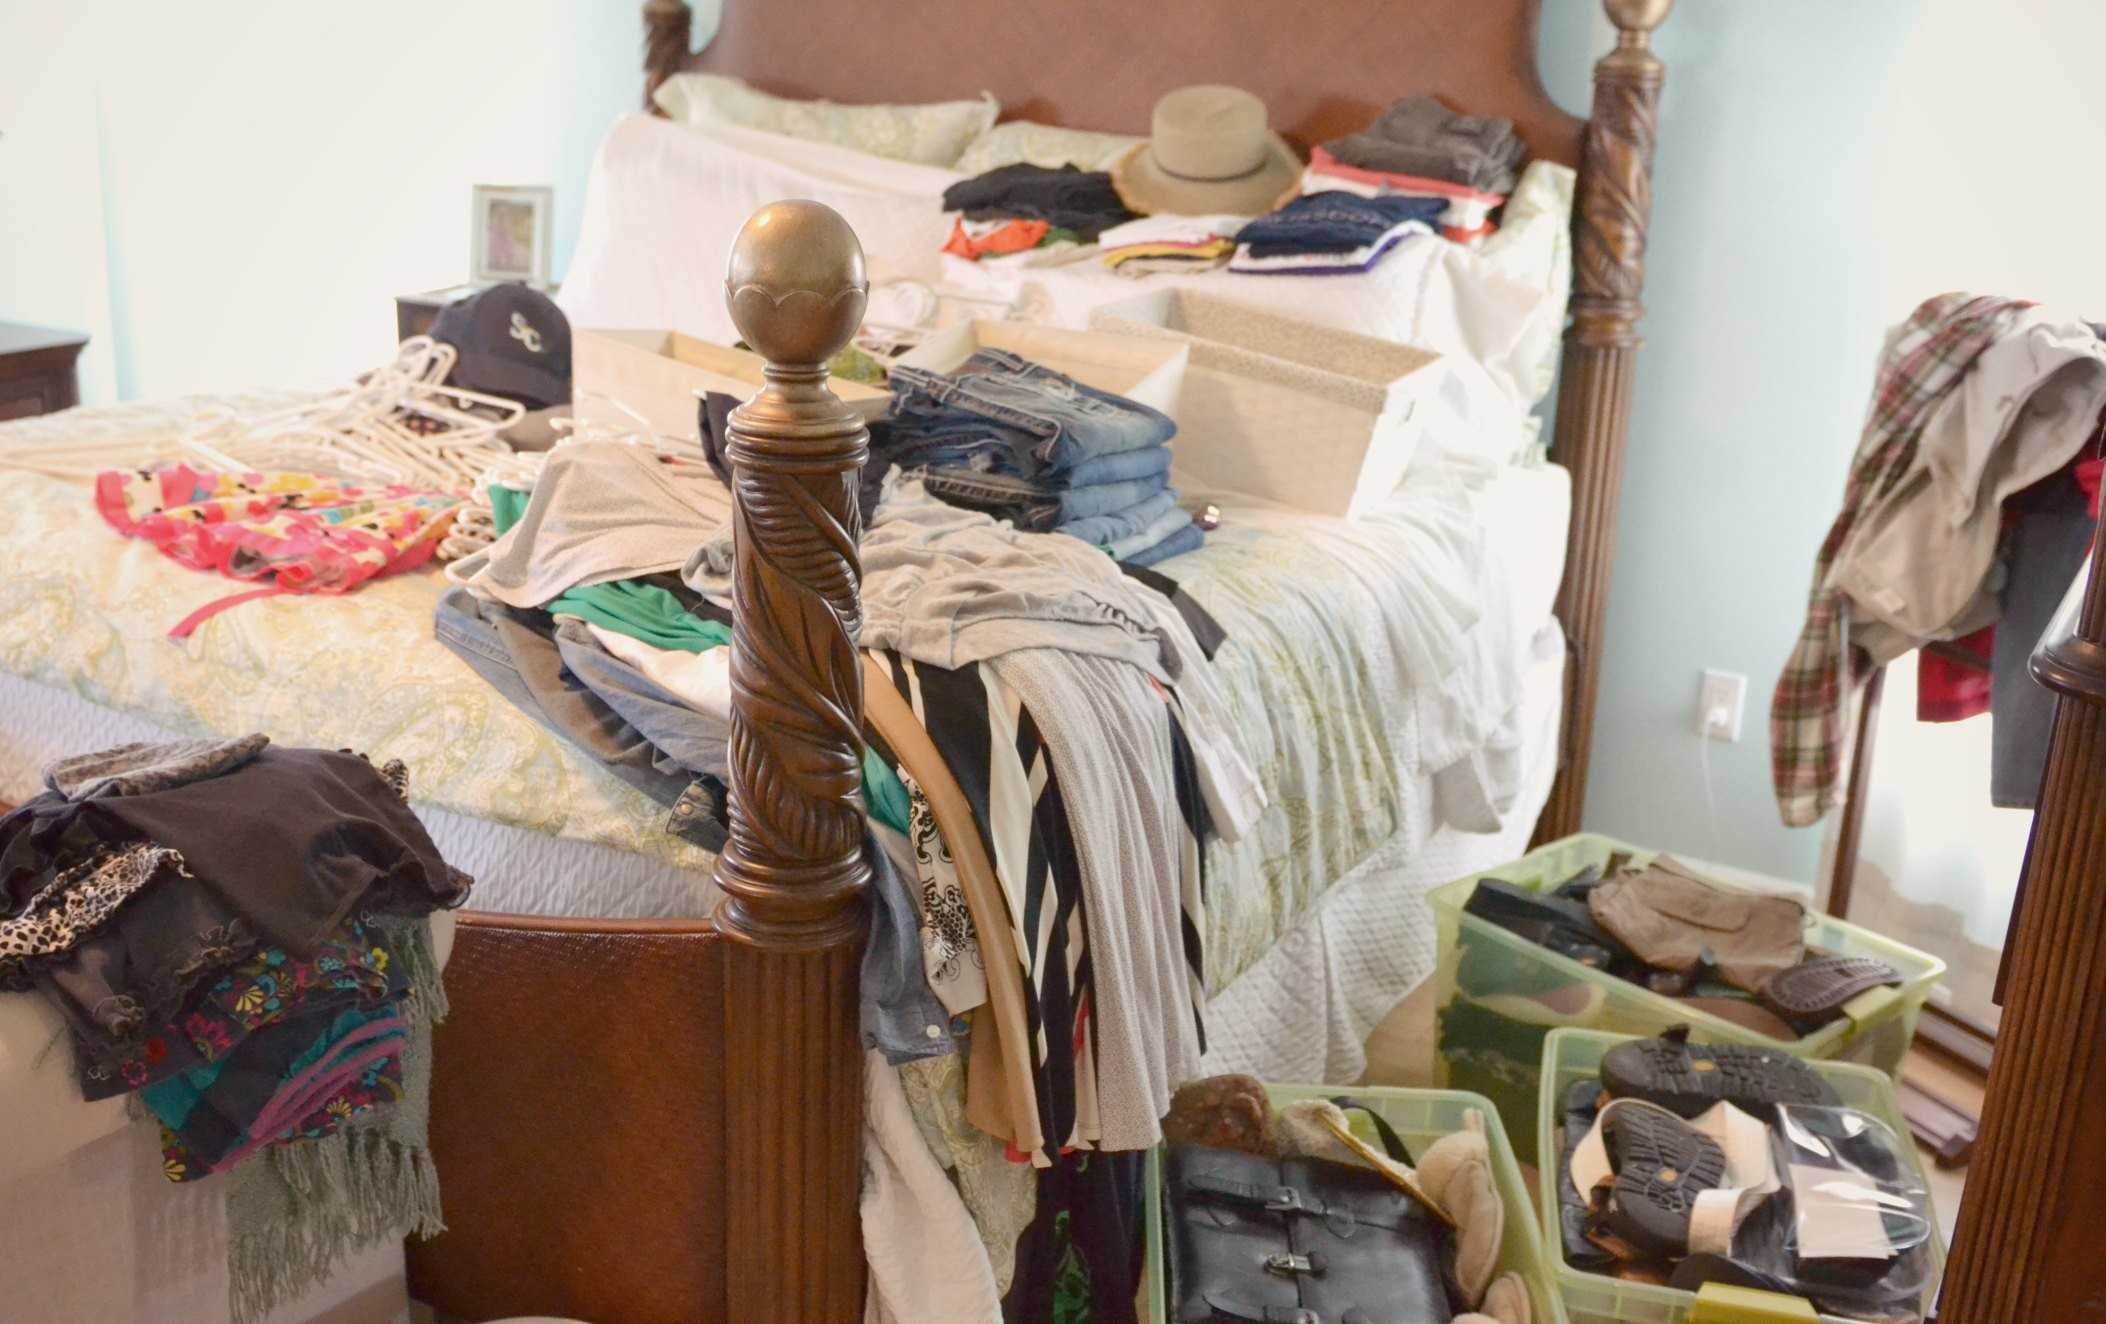
Supplies needed: A large basket + a large box
How-To: Start by stripping the bed; wash sheets while cleaning the rest of the room. Pick up any items lying around the bedroom, including any clutter that has collected on dressers and chairs. Hang clothes and place other items in appropriate baskets to be put away. (A great task for kids!) Use a large box to collect toys, clothing, and other items that are no longer used or needed, then donate items as soon as possible, before they find their way back into the house. If you are feeling extra motivated, you may want to try decluttering & organizing your bedroom closet before you begin. The 40 Hanger Closet Challenge is a great place to start. Or, if you are tackling your kids’ rooms, you may want to consider removing most of their toys.
Supplies needed: Vacuum with hose attachment, hand vacuum, or portable wet dry vac, warm soapy water, rag
How-To: Vacuum excess dust from top of fan and/or upper ledges. Use wet rag to gently clean blades; rinse and repeat if necessary.
Supplies needed: reusable or disposable dusting wand
How-To: Run duster over all horizontal surfaces, including bookshelves, the tops of light switches and fixtures, picture frames, clocks, mirrors, and any knick knacks or figurines.
Supplies needed: Glass cleaner, squeegee, rag
How-To: Spray glass; run squeegee against glass from side to side, wiping blade with rag as necessary.
Supplies needed: washing machine, iron & ironing board, duster, mild soapy water & rag
How-To: If curtains are washable, remove curtains and wash in cold water on permanent press. Tumble dry on low and remove while still very slightly damp. Iron and re-hang. If curtains are dry clean only, consider having them cleaned or spot clean with mild soapy water. For blinds, dust gently with dusting wand until all dust is gone. If necessary, spot clean gently with a wet rag and mild soapy water.
Supplies needed: Murphy’s Oil Soap, Furniture Polish, rags
How-To: Fill sink or bucket with warm water and a few capfuls of Murphy’s oil soap. Use rag moistened with oil soap mixture to clean all wood furniture, including bookshelves or hutches, desks, tables, and dining chairs. I also like to use this mixture to clean my leather furniture, although it does not specifically say on the bottle that it is intended for leather, so be sure to test a small hidden area first! Once wood is clean, polish surfaces with an oil-based furniture polish. Apply polish to damp cloth, rub on surface, than buff off with a second dry cloth.
Supplies needed: Vacuum with hose attachment, dish soap, rag
How-To: Start by vacuuming along baseboards to pick up any loose dirt, lint, or pet hair. Fill sink or bucket with mild soap solution, then wipe baseboards clean with wet rag.
Supplies needed: Vacuum, baking soda, stain remover, dish soap, rag
How-To: Before beginning, be sure to check whether bag or canister is full, and empty if necessary. Also check rollers to make sure they are free of strings or debris. Vacuum rugs to remove all loose dirt and surface hair. Fill sink or bucket with mild soap solution, then spot clean rugs with stain remover and/or mild water solution. To deodorize after spot cleaning, sprinkle rug with baking soda, let sit for 20 minutes, then vacuum again. Be sure to get under bed!
Supplies needed: Broom & dust pan, dust mop, wet mop.
How-To: Before beginning, move as much furniture from the floor as possible. Starting at one end of the room, carefully sweep loose dirt and hair towards the center of floor. Methodically make your way around the room, sweeping all dirt towards the center into one pile. Sweep into dustpan and throw away. Next, do a sweep of the floor with your dust mop to remove any remaining dust or hair. Spot clean any sticky or dirty spots, or mop entire floor with wet mop and let dry.
Supplies needed: Clean sheets & blankets, bedspread or duvet, pillows
How-To: (For step-by-step photos, check out this tutorial on how to make a perfect bed.) Start by smoothing the mattress cover & pulling it tight over all four corners. Unfold fitted sheet (check out this tutorial for how to fold a fitted sheet), then spread out over bed. Fit corners over mattress and smooth with your hand. Unfold flat sheet and spread over bed with finished edges facing down. The top of the sheet should be even with the top of the mattress, the sides should hang down equally, and there should be plenty of extra at the bottom to tuck into mattress. Spread blanket over flat sheet, checking to make sure it hangs equally on both sides. Tuck blanket and flat into bottom of mattress to hold sheet in place, then fold and tuck bottom corners. Fold top of blanket and flat sheet over about 12-15”. Tuck sides under mattress, if desired. Spread bedspread or coverlet over blankets, then fold additional blanket or duvet to cover bottom half of bed. Fluff pillows and arrange at top of bed.
Of course now that you know just what to do, it is time to get to work!
Just to review, here is your sixth assignment:
The LWSL Beginner’s Guide to Cleaning:
The LWSL Beginner’s Guide to Cleaning:
Part 1: Getting Started Part 2: Cleaning Supply 101 Part 3: How to Clean Your Living Space Part 4: How to Clean Your Kitchen Part 5: How to Clean Your Bathroom Part 6: How to Clean Your Bedroom Part 7: Laundry 101 Part 8: Home Maintenance & Seasonal Cleaning* * *
Did I miss anything? What are your biggest challenges to keeping your bedroom clean?
Have you heard the news? It’s the 12th Anniversary of our LWSL Holiday Planner! For…
LWSL & Co. Favorite 5 It seems crazy that it's fall already, but we can…
Lisa's Favorite 5 I'm a busy wife, mom, and gigi, so I'm all about finding…
Feeling like your finances are out of control can be downright scary. Don't miss these…
Amanda's Favorite 5 Do you spend so much time pouring into everyone else in your…
Danny's Favorite 5 Need some gift ideas for the Dads in your life? I've got…
Simplify your life in just 3 simple steps. Get our Living Well Starter Guide, absolutely free!
View Comments
Thank you for this post, Ruth. It's definitely easier to start cleaning if you follow someone else's checklist.
Really very good tips! I will try some of these cleaning tricks at home. Thanks for the detailed information!
Love all of your tips and ideas. I'm an "organizing junkie" as well. I love how you started the cleaning at the top of the room. I've seen friends of mine doing housework and they do it completely wrong! LOL. I was always taught that you clean " top to bottm" and one day, when I was a young teenager, it hit me! Duh@... If I vacuum then dust then clean my ceiling fan blades - I'm basically undoing everything I've done prior to cleaning the fan or using the broom in the corners for potential cobwebs. Thanks for clearing that up. Maybe now my friends won't think I'm being bosdy. Lol. Thanks agsin. Love your blog!!
Thank you for sharing, Ruth,I always forget to clean the baseboards and the window blinds! Thank you for reminding me!
Thank you for the print out. Really looks helpful i remembering everything to get done when cleaning the living room. Was disappointed when I printed it out that the black printed out too. Seems a real waste of ink. I know it looks pretty, but I would have not printed it out had I known the black would have printed too. Take care.
Wow, these are amazing tips. Definitely gonna print this out and make this into my to do list for spring cleaning! :-)
Hug,
Cathy
I need to do this asap!
Something that I do after stripping bed is sprinle a mixture of baking soda with a couple of drops of Lavendar essential oil on my mattress . I leave it for 15 - 20 minutes, then vacuum. It deodorizes mattress. In the spring I also take mattress off of bed frame and wipe this too,use my clothes steamer over surface of mattress and then flip mattress.
One of the best things we've done for our cleaning is to have a home for everything. Much like the 40 hanger closet, but expanding it to the rest of the room too. If my box for Christmas fabric is full (our bedroom is part craft room) than I have to decide what to get rid of so the lid fits back on. If a sock drawer is hard to close than we start purging. It helps cut down on clutter having a set place and amount of space available for our different items.
Great tips. Tidiness is not my strong suit. :( I'm lucky in that my husband usually takes care of cleaning the bedroom. This post reminded me that I need to clean the vents in the bathrooms, though. They're yucky! Our baseboards definitely need a good swiping, too.