
Looking for a Valentine’s Day project for kids? This easy DIY embroidery project is adorable, kid-friendly and easy to do with kids of any age.
We are in full Little House mode over here, and I gotta say, I am loving every minute. As I told Husband last night, our girls may never score a 1600 on their SAT, but my oh my, will they be able to sew, bake, & pickle like nobody’s business!
Last week, inspired by one of the projects in the Little House Craft Book, Princess and I took it upon ourselves to learn embroidery. It was something I have never done before either, so we learned together. She was completely hooked almost immediately. I was frankly amazed at how quickly she picked it up! She proudly completed a practice sampler, then begged me to come up with a “real” project we could do.

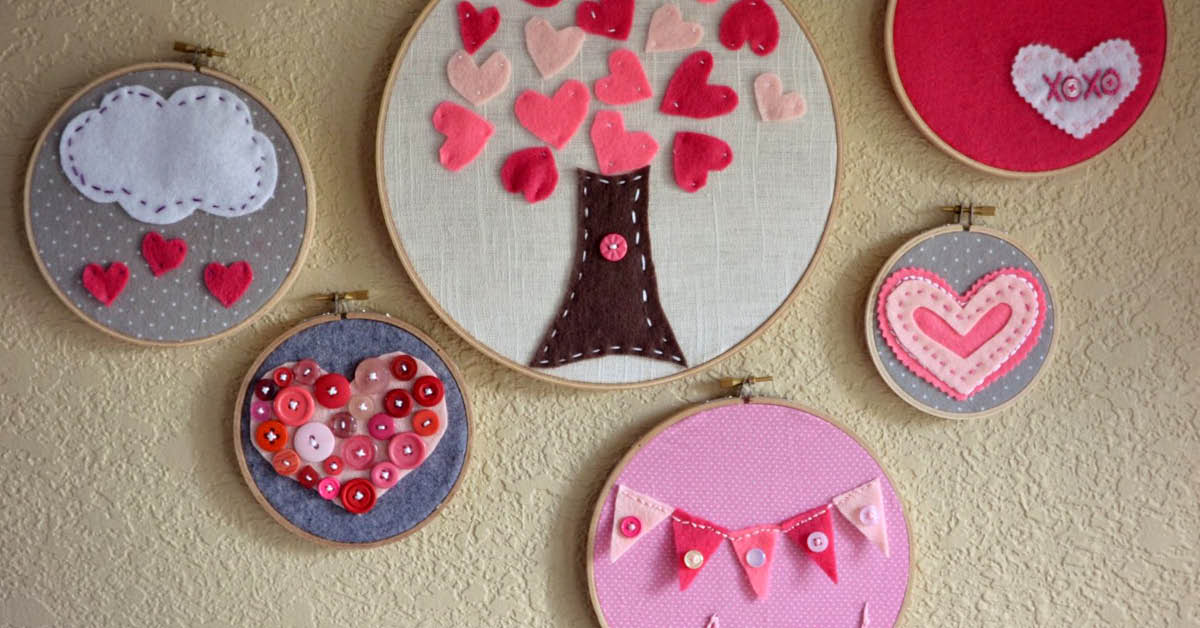
I knew I had seen some cute embroidery hoop art around the web here & there, particularly at Meg’s craft weekend house and of course on Etsy too. I decided we’d try some of our own, Valentine’s Day-style. They turned out SO cute!
We pulled out all the felt and fabric and buttons (leftover from this cute-as-a-button baby shower) we could find and got to work. I am not kidding you when I tell you we worked on them for almost 12 hours straight, breaking only to go to dance class. I have never seen Maggie so happy, focused & content. She did three of our six finished hoops almost entirely by herself–the only thing I did was cut out some of the felt pieces and re-thread the needle when necessary. Annie didn’t sew but was greatly entertained by sorting buttons–she spent hours separating them all by color and then helped me arrange and glue them in place on the button heart. You can hear them clinking in the video below.
All in all I’d say it was probably the most fun DiY project we’ve ever done together. Who knows? At the rate we’re going, by Valentine’s Day we may have filled up the whole wall!
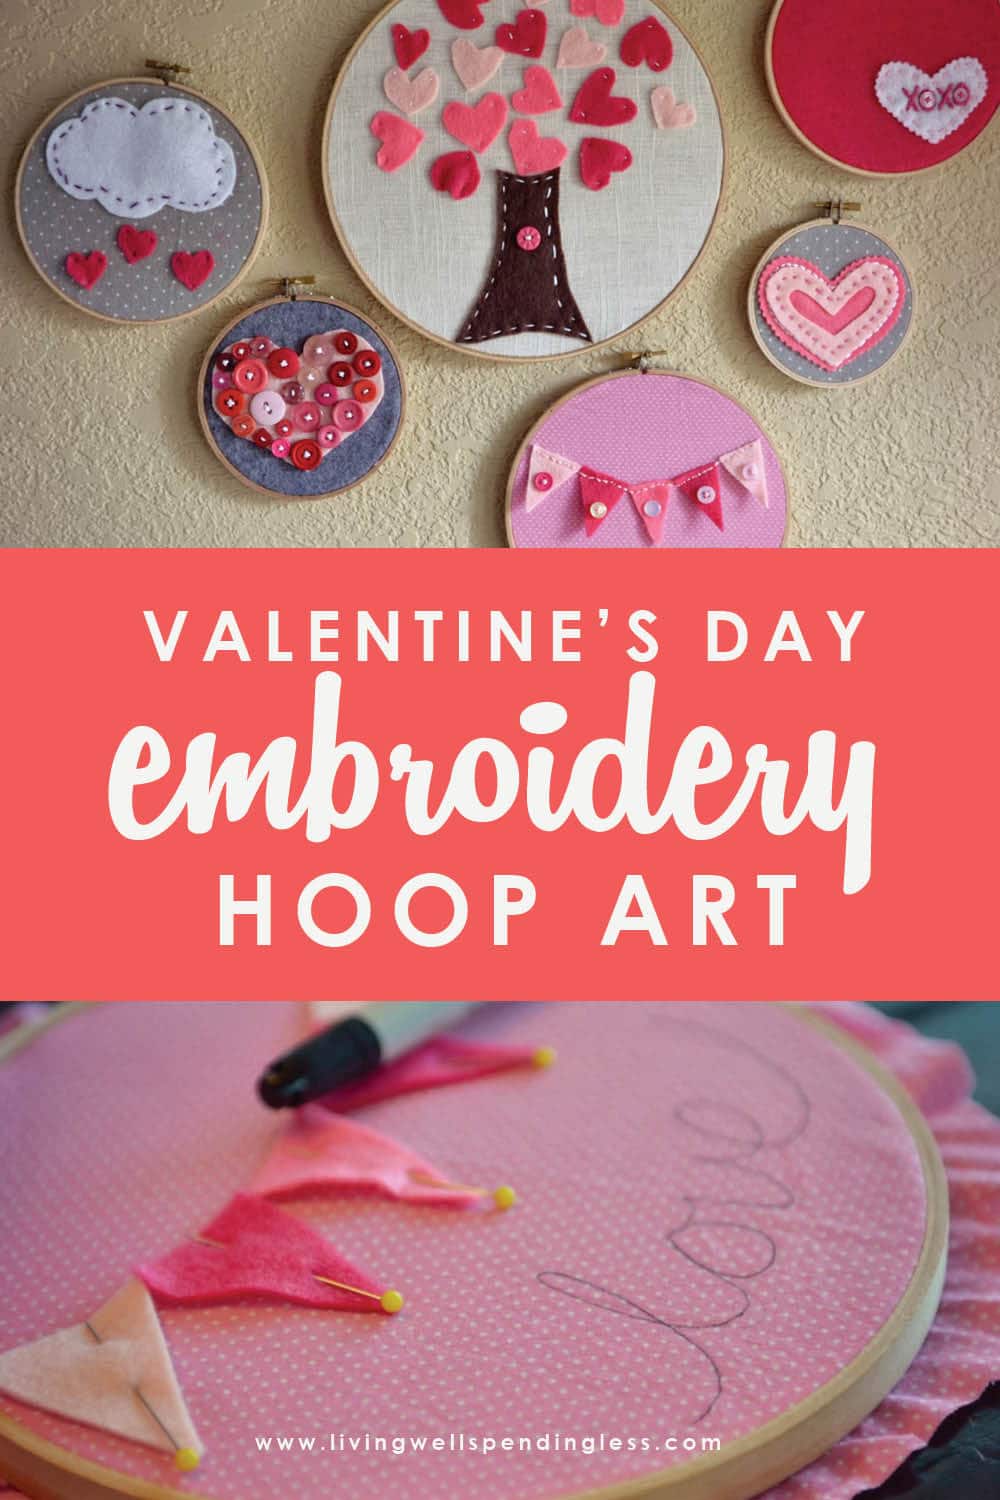
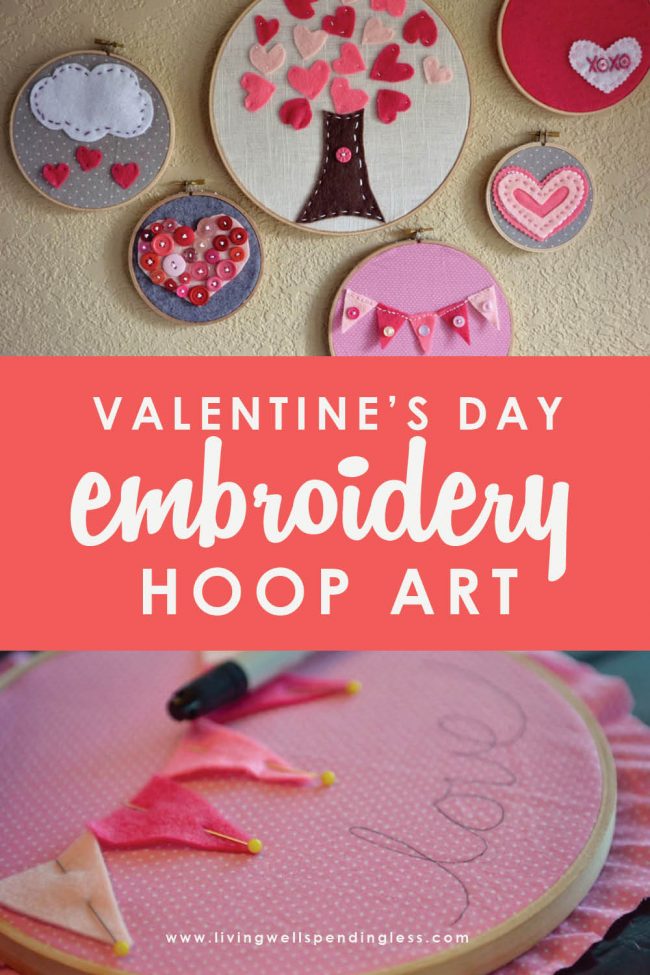
Valentine’s Day Embroidery Hoop Art
Here is what you will need:
embroidery hoops in assorted sizes felt–we used 3 different shades of pink, white, & grey for these projects scrap fabric (we used grey flannel, a natural linen, and some swiss dotted pink) embroidery thread & needles assorted pink & red buttons tacky glue (or hot glue) scissorsThe first step is threading your needle. Separate the embroidery thread into two threads of three strands each, then thread one through the eye of the needle until the needle is in the middle of the thread and tie the two loose ends together in a knot.

Before you start, you’ll want to learn a few basic stitches. For this project, we only used three different stitches–the traditional straight stitch, which is simply going in and out of the fabric at regular intervals, as shown on the tree trunk here:

The next two stitches, the chain stitch and the back stitch, are a little harder to explain so we made a very quick (and slightly out of focus) little video to show how to do them. Or at least to show how WE did them. Keep in mind that we are just learning this stuff from this kids embroidery book we got at the library. We could be doing it completely wrong. But it’s what worked for us. 🙂
Here is the chain stitch step by step, just in case this makes more sense:

Once you’ve got the various stitches figured out you can decide on your design and choose your background fabric. Cut out your felt pieces and pin them in place. This part is pretty simple.


If you are adding words, carefully draw them in place with a pen or ultra fine tip marker. You could also use an embroidery pencil, which would then be erasable, but we didn’t have one of those.

Once you are satisfied with your design, simply stitch all the pieces in place using one of the three techniques shown above.

For the button heart we first glued the felt heart to the background with tacky glue, then Annie arranged a variety of pink & red buttons on the heart until she was satisfied with how it looked. We then glued them in place–again with tacky glue–one at a time, until they were all glued in place. Later, once the glue was dry, I stitched all the buttons in place.

It turned out just darling!
 #valentine #craft #kids")
The other ones turned out great too:


Honestly, I can barely tell the difference between the ones Maggie did and the two I made!

Any guesses? Which design do you like best?
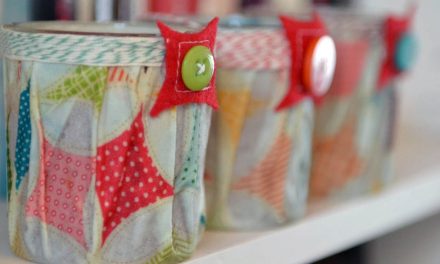
Other DIY projects:
PIN FOR LATER:

Ruth Soukup
Latest posts by Ruth Soukup (see all)
- Stop Worrying About Money - July 19
- How to Fit In More Fitness - April 28
- The Most Powerful Decision You’ll Ever Make - April 27
TAKE BACK CONTROL OF YOUR HOME LIFE
 Ever feel like you just can't keep up? Our Living Well Starter Guide will show you how to start streamlining your life in just 3 simple steps. It's a game changer--get it free for a limited time!
If you love this resource, be sure to check out our digital library of helpful tools and resources for cleaning faster, taking control of your budget, organizing your schedule, and getting food on the table easier than ever before.


If some one wants expert view concerning blogging afterward i advise him/her to pay a visit this weblog, Keep up the good job.