
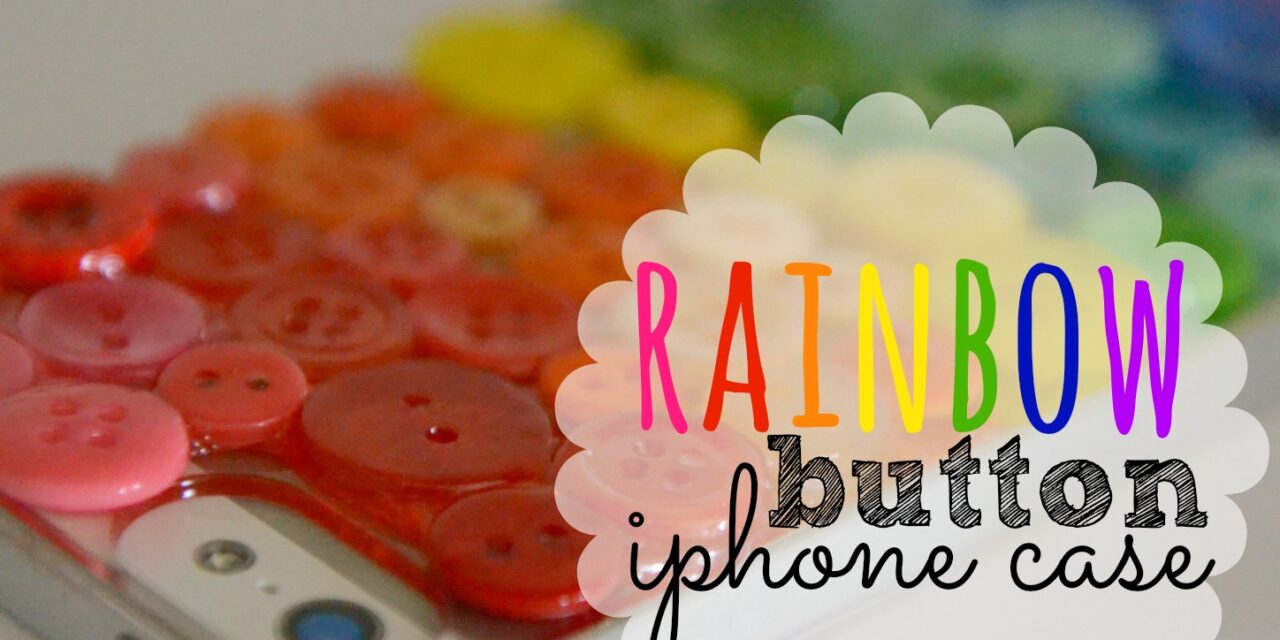
 I cannot even tell you how excited I am about today’s project. I’m actually giddy. Rainbow buttons + an iPhone? Oh my heavens, that is craft nirvana right there!
I know I am a little late to the party when it comes to this whole iPhone thing….I held onto my broken, barely functioning, old-school first generation Android phone for over two years, just waiting to ride out my contract so that we could switch carriers. You know, because I’m thrifty! Finally, in January, Husband and I joined the ranks of the iPhone devotees. I can say with all honesty that I finally get what all the fuss is about.
But back to what this post is all about–making said iPhone C.U.T.E. The thing about iPhones is that they are really, really breakable, which means a case is pretty much a necessity. There is no shortage of darling cases available, but holy moly, have you looked as some of the prices for those darling cases? Crazy! After discovering this bargain-priced clear case on Amazon for only five bucks I decided it was time to get a little bit crafty.

Here is what you need:
iLuv clear iPhone case assorted colorful buttons e-6000 glue Mod Podge or Sealer (optional)

Step 1: Sort your pile of buttons by color and size, keeping the small & thin ones for your project. This is a GREAT task for kids! If you don’t already have a button collection, you can buy a bulk pack of buttons at JoAnn’s for just a few dollars. (Be sure to use a coupon. They also accept competitors coupons and you can use multiple smart phone coupons in one transaction which gives you NO excuse for not using at least one!) I still have a lifetime supply of buttons left over from this Cute as a Button baby shower I threw for my goddaughter last year!

Step 2: Do a test run of arranging the buttons on your phone to make sure you have enough of each color.
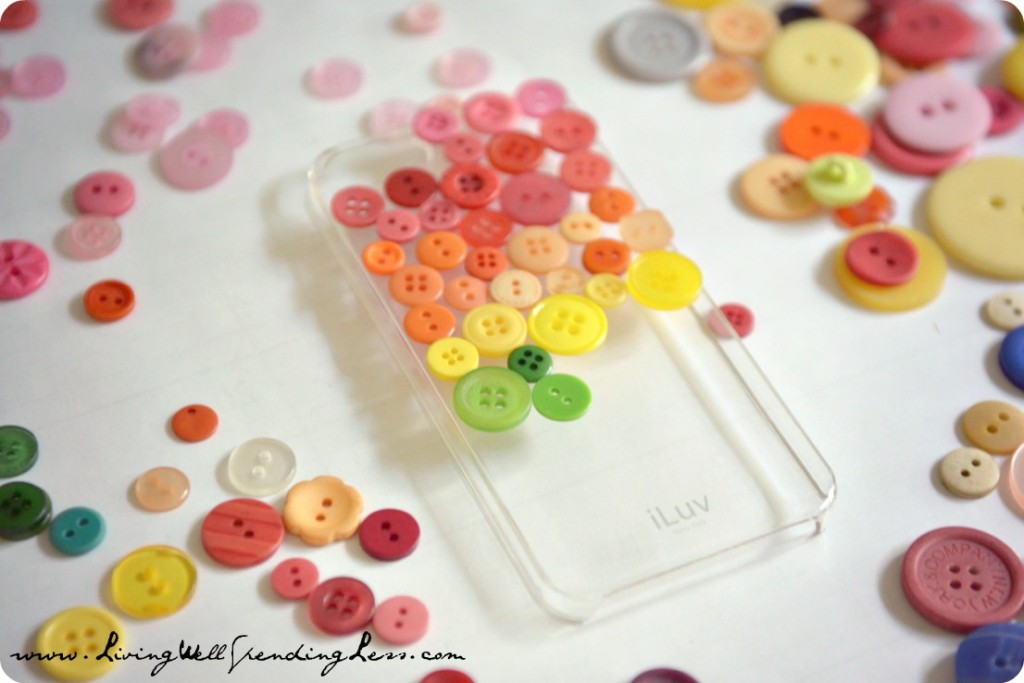
Step 3: Carefully spread the e-6000 glue over the top quarter of the phone case, being careful to not let it run over the edge. Arrange your buttons, then continue adding glue & buttons in quarter sections. Let dry for 24 hours.


Step 4: Once the e-6000 glue has set completely you can add extra shine by adding a layer of Mod-Podge or sealer. I used Mod Podge for the first layer because a.) that is what I had and b.) I’m not sure I can complete a craft project without using at least one of the following: Mod Podge, felt, burlap, or chalkboard paint. However, since Mod-Podge is NOT water resistant & it might get sticky if it gets wet, I later got some acrylic sealer and added an extra layer of protection.

Once the sealer has dried completely, simply slip onto your phone and wait for the compliments to start rolling in.

How easy is that? This would make SUCH a great gift for all those iPhone junkies in your life! I also found this clear MacBook clamshell and I am seriously considering adding a little rainbow button action to my computer as well. If you are looking for something a little simpler but still custom, you could slip a favorite photo behind the clear case or use some of the Martha Stewart all surface acrylic paint to add a pretty design. The possibilities are endless!

* * *
How do (or would) YOU customize your iPhone?
TAKE BACK CONTROL OF YOUR HOME LIFE
 Ever feel like you just can't keep up? Our Living Well Starter Guide will show you how to start streamlining your life in just 3 simple steps. It's a game changer--get it free for a limited time!
If you love this resource, be sure to check out our digital library of helpful tools and resources for cleaning faster, taking control of your budget, organizing your schedule, and getting food on the table easier than ever before.


What an awesome iphone case. Thanks for sharing this wonderful idea.
always i used to read smaller content that also clear their motive, and that is also happening with this paragraph which I am reading at this
time.
What’s Happening i am new to this, I stumbled upon this I’ve found It
absolutely helpful and it has helped me out loads.
I’m hoping to contribute & assist different customers like its aided me. Great job.