DIY Mason Jar Candy Pedestals
These DIY Mason Jar Candy Pedestals are so cute & super easy to make using mason jars &...
Read MoreMEMBER LOGIN

SIMPLE SOLUTIONS FOR A STREAMLINED HOME LIFE
START HERE
HOME 101
FOOD MADE SIMPLE
SMART MONEY
LIFE SKILLS
VISIT OUR SHOP
SIMPLE SOLUTIONS FOR A STREAMLINED HOME LIFE
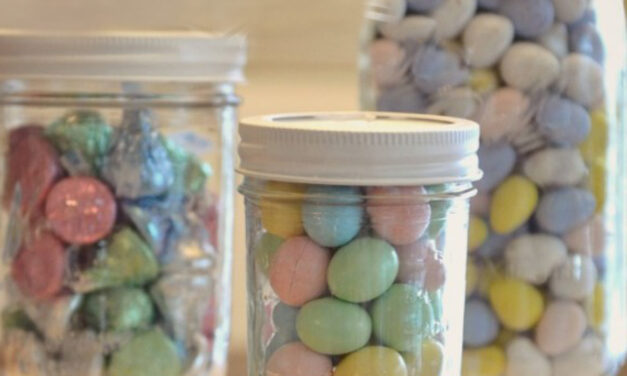
These DIY Mason Jar Candy Pedestals are so cute & super easy to make using mason jars &...
Read More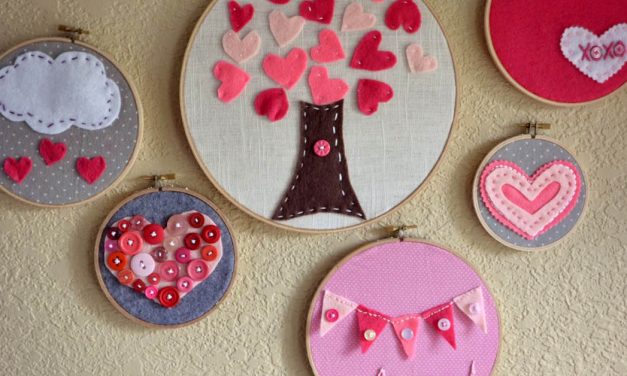
Looking for a Valentine’s Day project for kids? This easy DIY embroidery project is adorable, kid-friendly and easy to do with kids of any age.
Read More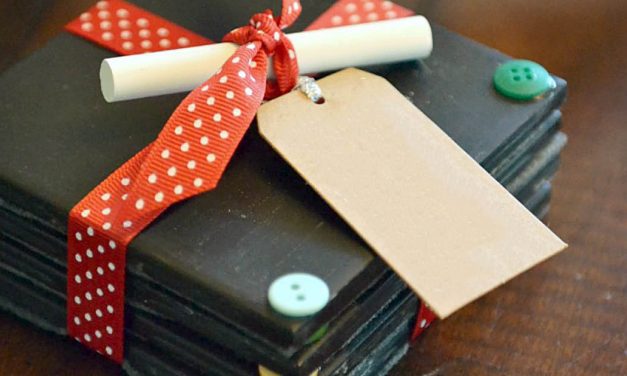
Looking for the perfect DIY gift for teachers, family, or friends? This tutorial for DIY chalkboard coasters is easy, affordable, and from the heart! It’s an awesome project for kids to help with and makes the best end-of-year gift for teachers too!
Read More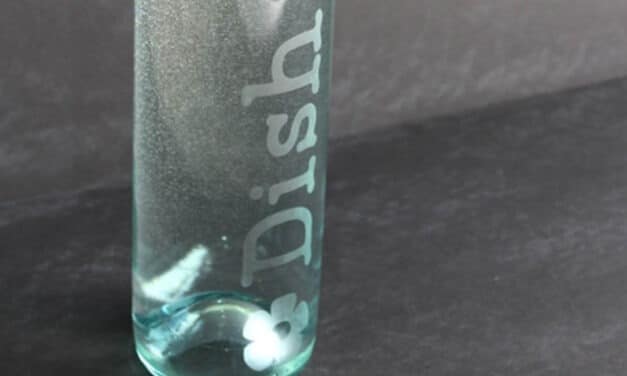
Want to learn how to make your very own custom etched glass? This easy DIY etched glass tutorial walks you through it in simple steps!
Read More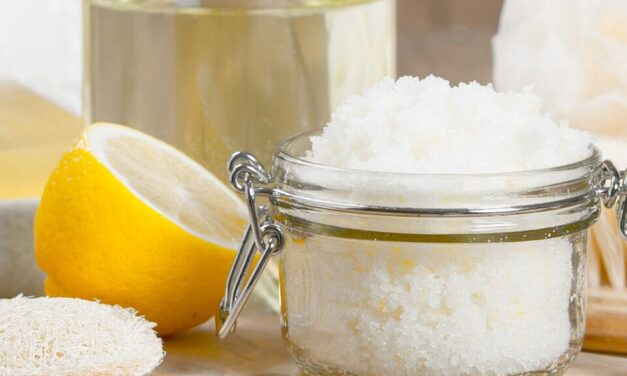
Learn how to make this DIY lemon sugar scrub gift in only three ingredients and just 5 easy steps. It’s completely customizable and so super simple to make!
Read More

Hormones Metabolism and Mindset with Dr. Edie Wadsworth
