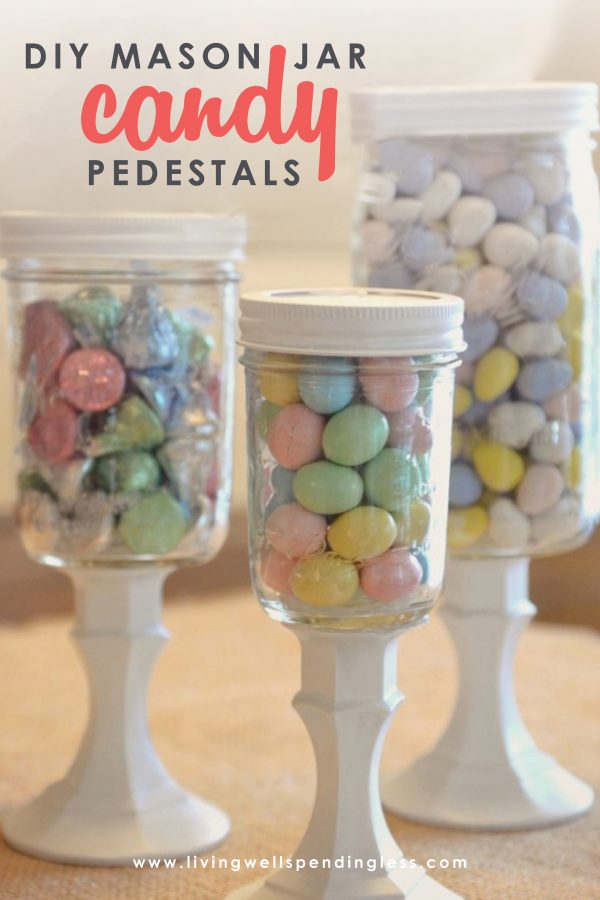
These DIY Mason Jar Candy Pedestals are so cute & super easy to make using mason jars & dollar store candlesticks! Swap out candy to use for different holidays.
I love to do crafts, but to be honest I don’t always have a lot of patience–or extra time–to invest into lengthy, time-consuming projects. I am all about squeezing in a little craftiness when you can! Luckily, these little candy jar pedestals, (of which I’ve been seeing various versions all over Pinterest), were a perfect project for that! The total time invested, not including the drying time, was probably about 15 minutes, split into short increments over the course of 2 days. It seriously could not have been any easier.
What I really love about this project, however, is that though I wanted to make them to display Easter candy, they are neutral enough to work for other holidays too–just swap out the candy! I later ended up adding chalkboard lids to the top, simply because I was working on a different chalkboard paint project a few days after I finished these jars and I thought it would be a cute addition. Thus, the chalkboard paint is totally optional!
DIY Mason Jar Candy Pedestals
Here is what you need:
3 mason jars, in varying heights (You could also use clean pickle or other jars if you’d prefer) 3 lids & lid rings 3 glass candlesticks (from the dollar store) hot glue (optional) e-6000 glue spray paint chalkboard paint (optional)Step One: Lightly spray paint your lids and candlesticks; allow to dry, then spray again. Repeat until covered. If you like, you can hot glue the lids to the mason jar rings before or after spraying. I did it before but I wasn’t very careful so if you look close it looks kinda crappy. I think next time I would spray first, then hot glue.
Step Two: After your candlesticks have dried completely, squirt some of the e-6000 glue on the base of your mason jars, let sit for 30 seconds, then set candlestick in place. Be sure to get it centered or your jar will sit crooked. (Not that I did that or anything. Nope, not me.)
Step Three: Let dry for 24 hours!
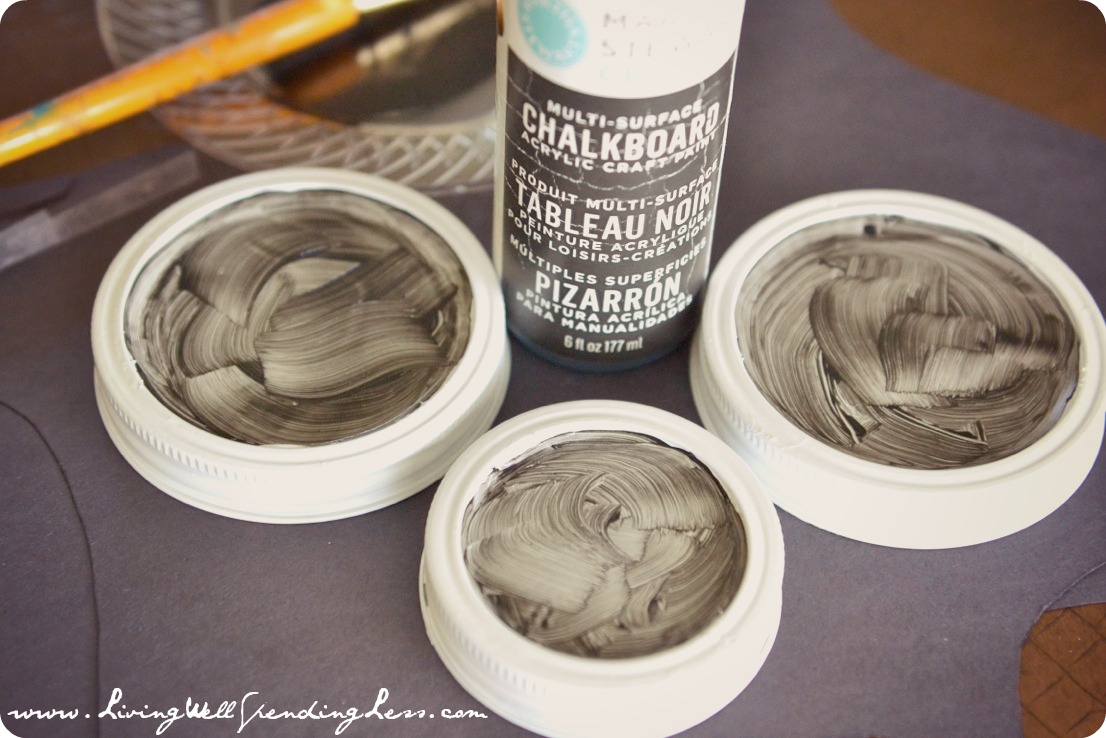
Step Four: (optional) Paint the tops of your lids with chalkboard paint to give it a little something extra. 🙂
Step Five: Fill your jar with lots of Easter candy! Try not to eat it all in 2 days. (A big thank you to Hershey’s for this yummy basket full of goodies!)
Other fun DIY Projects:
PIN FOR LATER
TAKE BACK CONTROL OF YOUR HOME LIFE
 Ever feel like you just can't keep up? Our Living Well Starter Guide will show you how to start streamlining your life in just 3 simple steps. It's a game changer--get it free for a limited time!
If you love this resource, be sure to check out our digital library of helpful tools and resources for cleaning faster, taking control of your budget, organizing your schedule, and getting food on the table easier than ever before.






You can turn your mason jars into gorgeous snow globes. All you have to do is empty the mason jar, and fill it with fake snow, glitter and plastic ornaments. Lastly, glue the toy mistletoe on the top of the lid, and screw it back on. If you are looking for mason jars of different sizes, head over to Premium Vials we offer wide range of mason jar mugs.
Hi I love the mason jars with the candle stick holders it’s beautiful. Do I have to use spray paint or can I use my acrylic paint and brush. Thank you Dorie
These are adorable! Dog treats can go in the jars for furry family members. But without my glasses, step one read “spray paint the kids.” This is why I don’t have children!!
LOVE these! Sending to family and friends for Christmas, filled with delights. Also including candles to be used when not filled with treats. Thank you