


A great sense of smell is a blessing—and sometimes a curse…!
While I’m quick to notice a friend’s new perfume, I’m also the first one to notice when the garbage disposal gets funky, or when something’s gone south in the fridge, or when someone forgot to take their lunch out of their backpack for a few days. (Ick!)
So when cleaning the house, getting it to smell fresh and clean is always part of my goal. One of the biggest challenges is the kitchen. Between onions, garlic, moldy cheese, and burnt food…well, it’s a whole plethora of less-than-idea scents. Unfortunately, the garbage disposal, fridge, freezer, and dishwasher can be the source. Then there’s the kitchen garbage! Even if you have perfectly clean appliances, chances are something smelly is going to go in the garbage can once in a while.
If you’re anything like me, while I love a clean-smelling house, I’ve grown leery of chemical cleaners. The great thing is that almost anything can be sparkling, shining clean and smelling fresh with just a few ingredients—most of which you probably have on hand already! The best part? They cost less and you know they’re 100% safe because you probably use these same ingredients for cooking and baking!
It’s time to tackle those kitchen odor offenders, safely and naturally. These natural cleaning tips will help you get your kitchen smelling fresh without using chemical commercial cleaners and solutions.
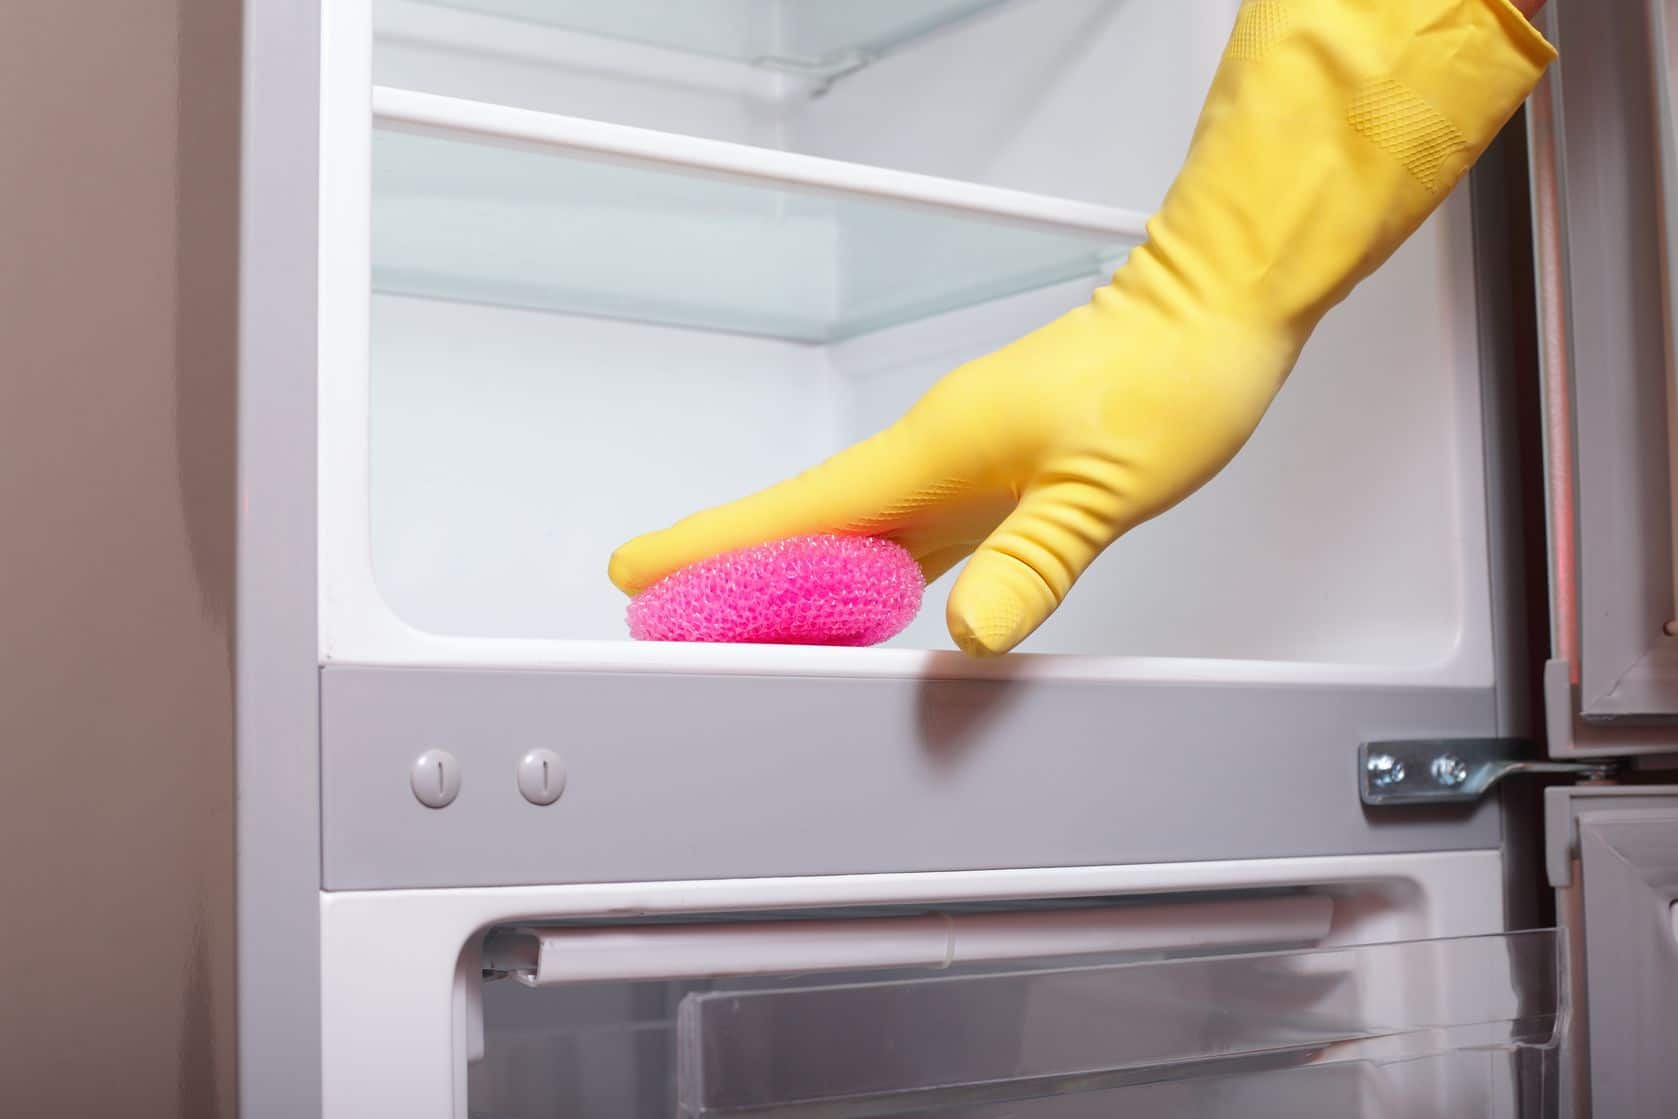
1. Fridge & Freezer
When your fridge and freezer start to get a little stale (or worse), it may be time for a good deep clean. Great news! Cleaning your fridge thoroughly takes less time than you think.
Gather Supplies First gather your supplies. Here’s what you’ll need:
- Old towel for floor
- Baking soda
- Bucket of water
- Paper towels or rags
- Multipurpose spray
- Butter knife or putty knife
- Trash bags
- Cooler
Prepare After turning off the circuit breaker to the outlet, unplug the fridge. You may also want to put down a towel to protect floors from any spills (especially if you have wood flooring in the kitchen).
Remove Food Take all food out of the fridge. Place items in a cooler, wiping off lids and jars as you go. If you have any leftovers, assess each to decide if you’ll be able to eat them in the next meal or two. Check all produce and get rid of anything looking wrinkled or past its prime. Check produce for any signs of spoilage (wilting, brown spots or mold). Check dates on bottles and jars and toss anything that’s expired. If it’s close to the expiration date and your family will never use that entire bottle of pickle relish you purchased for ONE recipe six months ago—toss it!
Remove Shelves and Drawers Carefully wipe down each shelf with water and vinegar, or a water and baking soda solution (to absorb odors). For stubborn crust, use a butter knife or putty knife to gently loosen the gunk.
Soak Start shelves and drawers soaking in a sink or empty Rubbermaid bin filled with more warm water and more baking soda, plus a few drops of liquid soap.
While they’re soaking…
Wash Inside of Fridge Use your spray or a cloth dipped in the cleaning solution. Thoroughly wash built-in fixtures, the bottom of the fridge, and the nooks and crannies of the door. Your butter knife may come in handy again here to get in some of the cracks where crumbs and food particles tend to collect. Be sure to clean door seals and gaskets very thoroughly and dry impeccably. This will prevent mildew and keep the seal tight and working at maximum efficiency.
Clean Doors and Back of Fridge Wash refrigerator door and sides using spray and a paper towel. If you can enlist the assistance of someone, move the fridge away from the wall and vacuum or dust off the coils on the back (where dust can accumulate and lower the efficiency of your fridge). Be sure to clean the top of the fridge as well. It’s a major spot for dust, grease and dirt collection.
Dry Inside with Cloth Be sure the inside is fully dry and clean before replacing shelves and bins. You should wipe each bin dry with a soft cloth or paper towel. After their soak in the bin, they should be spotless and looking great!
Refill Fridge Fill fridge and freezer with the items you removed. Use a folded paper towel or shelf paper to line drawers and keep condiments from leaking in the door. Add an open box of baking soda in the back of the fridge and freezer to absorb odors.
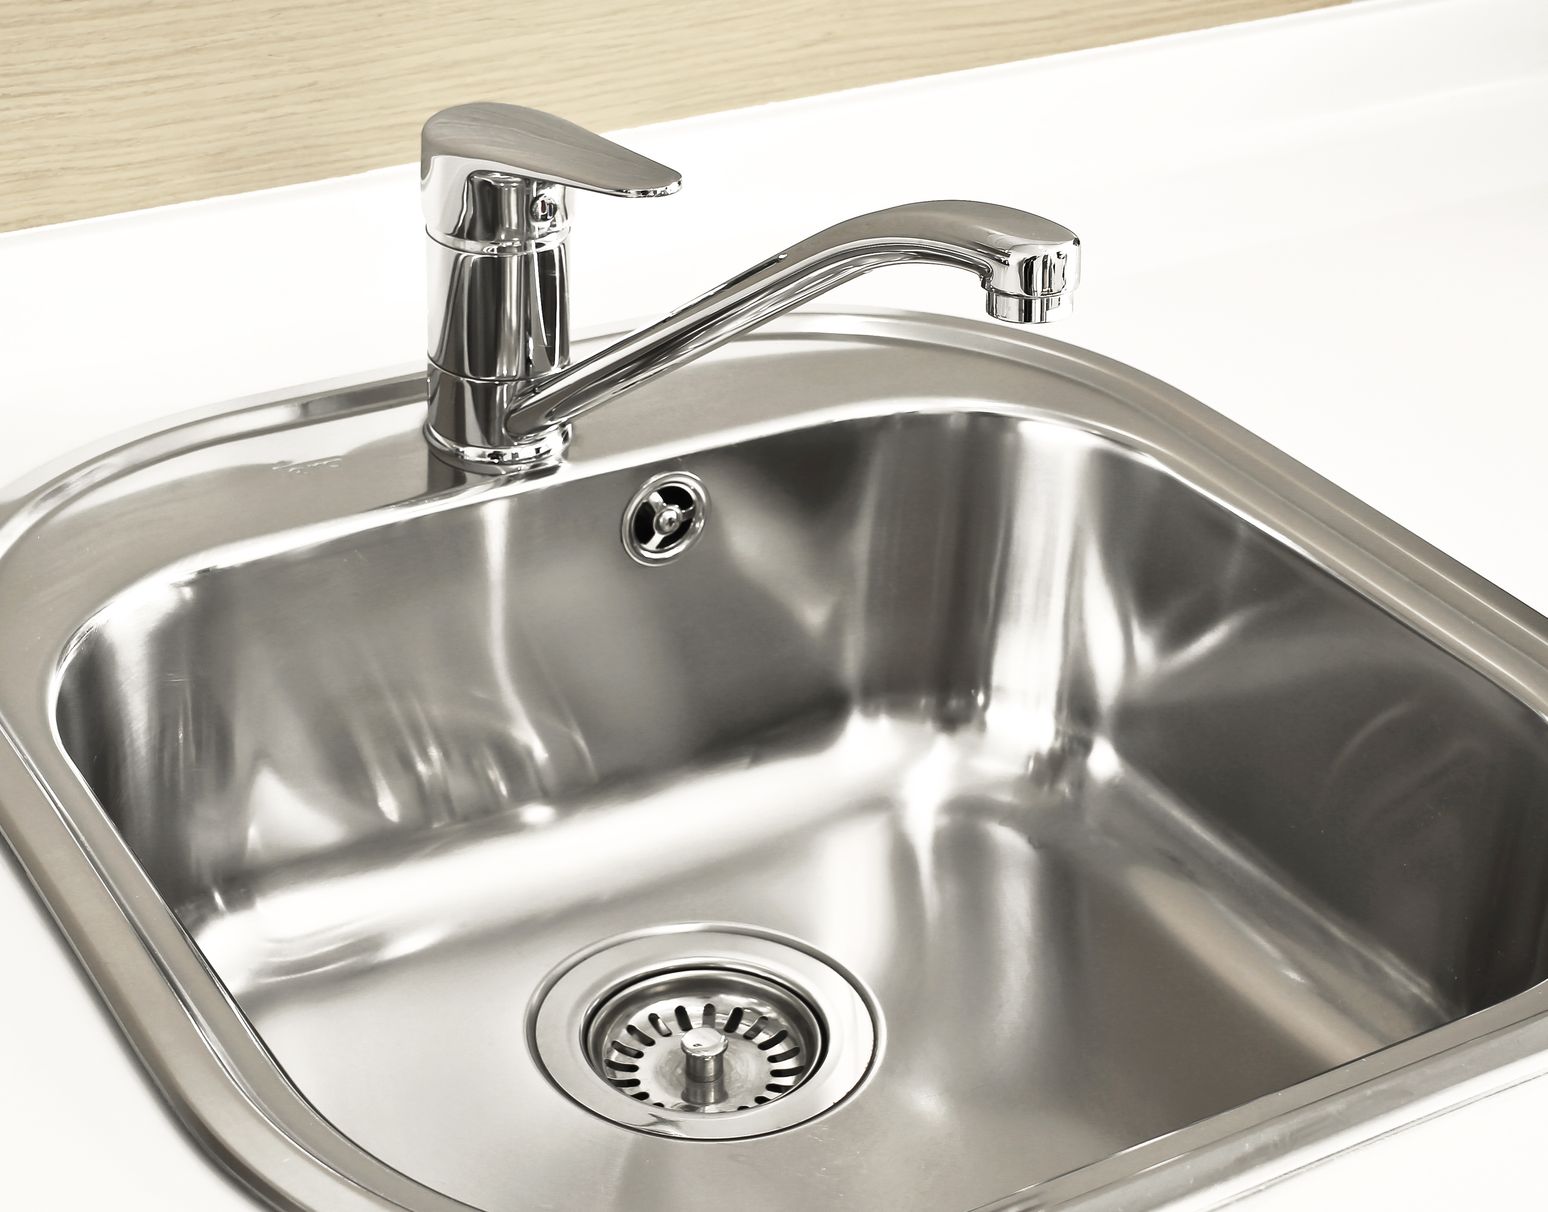
2. Drains
Unfortunately, drains can also be the source of some less-than savory smells. Food particles get trapped within the gooseneck and can cause your drain to start to smell a little (or a lot) funky.
Clean Sink First, clear the sink and give it a thorough cleaning using a sponge and cleaning spray. Remove the drain stopper and be sure to clean the edges, where hard water and grime can build up. Use a toothbrush for any areas that are hard to get with a sponge. The area around the drain can be particularly stubborn. I also like to use the toothbrush on the fixtures and handles. Grime tends to accumulate in the back where no one can see.
Freshen Drain Once the sink is thoroughly clean, deodorize and flush drains by pouring 1/2 cup of baking soda down the drain while running warm tap water. If you’re having a difficult time getting the sink to drain, add half a cup of vinegar and let it foam up in the drain. Follow it with a kettle full of boiling (or very hot) water and your drains should be running smoothly and smelling fresh!

3. Dishwashers
How many times have you opened your dishwasher only to be greeted by a sour smell? Unfortunately, heat and food particles can create the perfect environment for mildew, mold and bad smells.
Gather Supplies First gather your supplies. Here’s what you’ll need:
- Baking soda
- Distilled white vinegar
- Paper towels or rags
- Multipurpose spray
Clean Debris Once a month, thoroughly check your dishwasher for any debris built up in the drain. Wipe it out with a paper towel and spray. If your dishwasher has a filter, remove the filter and soak it in a sink of soapy water for 15 minutes, then allow it to air dry before replacing.
Run Dishwasher Place a cup of vinegar upright in the dishwasher and run the dishwasher on its heaviest heat cycle (usually pots and pans).
Freshen Dishwasher After the dishwasher finishes the cycle, sprinkle ½ cup of baking soda on the bottom of the dishwasher to absorb lingering food odors. Allow baking soda to work its magic for at least 10-15 minutes before running a regular cycle. For particularly stubborn smells, leave baking soda in the bottom overnight.
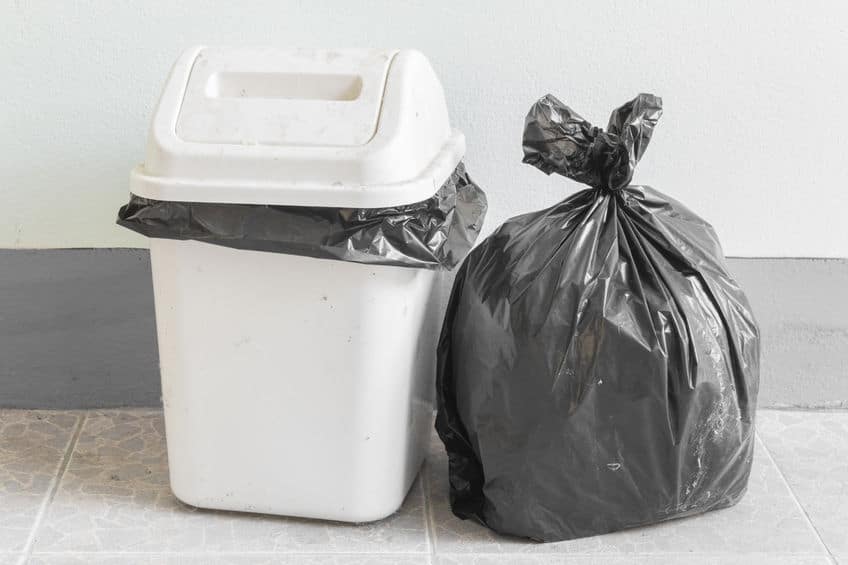
4. Garbage Bins, Cans & Pails
Garbage pails can really get odiferous because they’re holding, well, garbage. To minimize smell buildup, be sure to regularly take your garbage out and deal with spills and messes immediately. It can help to spray the pail and wipe out with a paper towel or rag each time you change the bag. You can also use scented can liners or place a dryer sheet in the bottom of your cans to keep them smelling fresh and clean.
At least once every month (or more), spray out the inside of your garbage bin with a hose and wash it with a little warm, soapy water to keep it very clean.
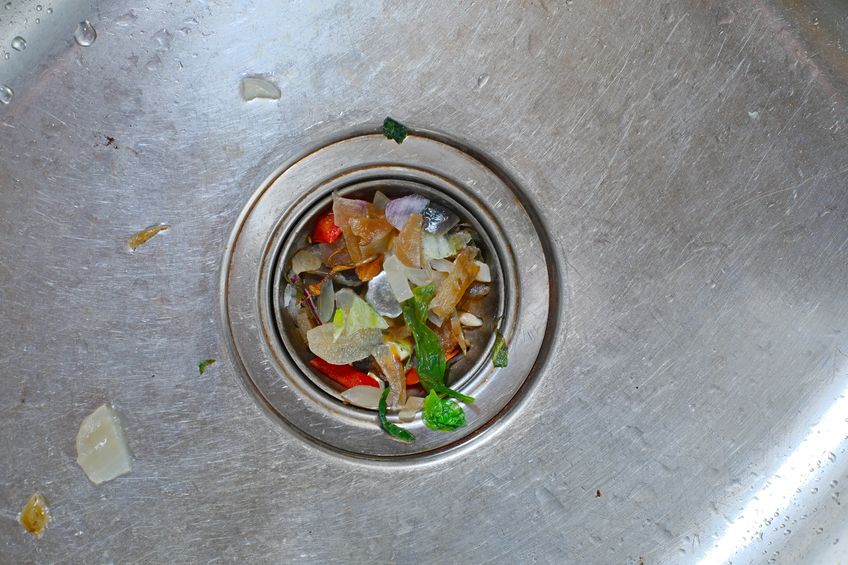
5. Garbage Disposals
To freshen a garbage disposal, clean as you would your sink drain. Turn off the disposal and thoroughly wipe and clean the sink using a toothbrush to clean the crevice around the disposal. Using a tray of frozen vinegar “ice cubes,” run each cube through the disposal to freshen and sanitize (as well as sharpen blades).
Run citrus peels or small chunks of lemon and orange along with a tablespoon of baking soda through the disposal to eliminate any lingering smells. Running vinegar ice cubes regularly will keep the disposal smelling clean.

6. Old Odors in the Air
Ugh—fish, soup, burnt toast…all these smells can be hard to eliminate from your kitchen and can linger for days! Fortunately, there are natural ways to combat cooking odors. Simmer half a dozen lemon slices and a handful of cloves or other spices for 10 minutes to freshen the air.
If you’re cooking something that’s a little stronger smelling, be sure to run your kitchen fan or the ventilation on top of your stove. A plug-in fan will also work to blow the scent out of the house.
For lingering and smoky odors, fill a deep glass dish with half an inch of distilled white vinegar. Leave the dish sitting out to get rid of the odor. If all else fails, open a window! Fresh air is one of the best ways to combat cooking scents.
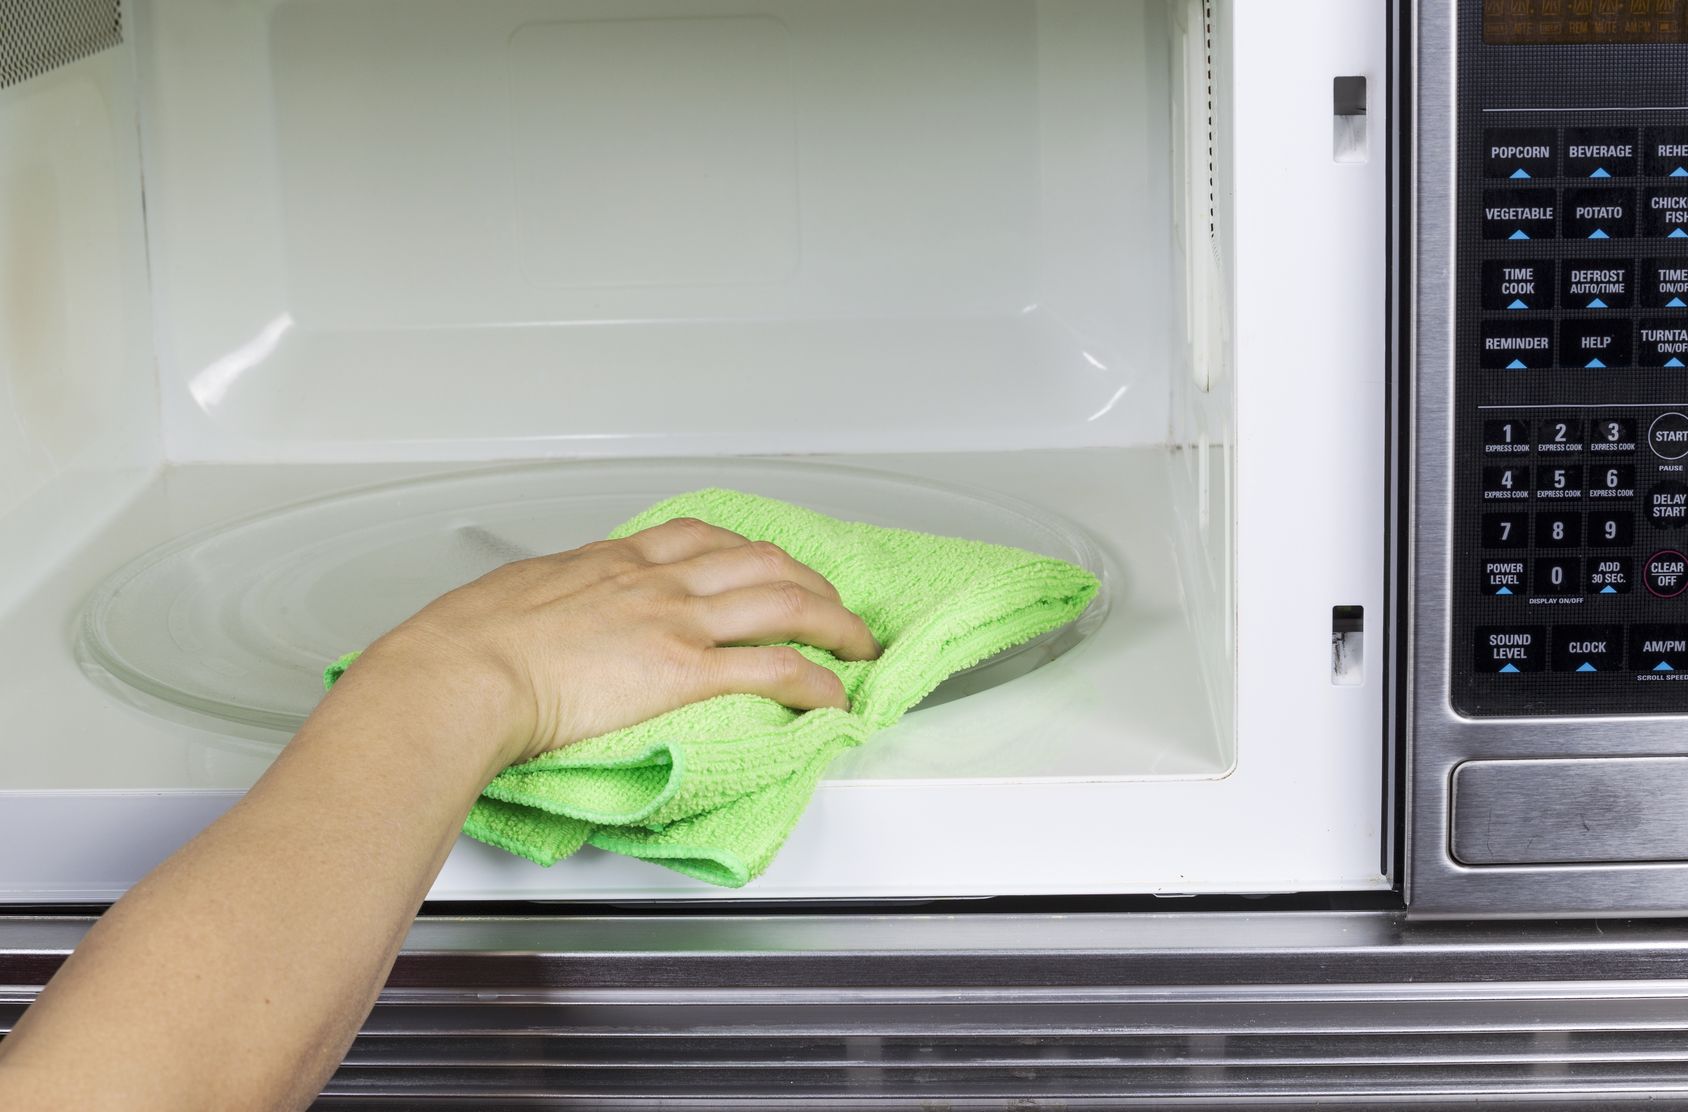
7. Microwaves
Even the cleanest of microwaves can harbor the scent of popcorn, curry or other strong dishes for hours after use. The simple fix is to fill a cup of water with a few lemon or lime slices, cloves, or even a few drops of essential oils. Run the microwave until the water boils, then leave it alone until cool. Wipe the microwave with a soft cloth or paper towel to dry. No more smells!
It’s easy to remove smells from your kitchen naturally, using inexpensive products you already have on hand. By using simple, natural common kitchen goods like baking soda, lemon and vinegar, you can avoid the use of dyes, chemicals and other icky things you’d rather keep away from your family and your food. Use these kitchen deodorizing tips and natural cleaning solutions to help your kitchen smell as delicious as the meals you cook!

TAKE BACK CONTROL OF YOUR HOME LIFE
 Ever feel like you just can't keep up? Our Living Well Starter Guide will show you how to start streamlining your life in just 3 simple steps. It's a game changer--get it free for a limited time!
If you love this resource, be sure to check out our digital library of helpful tools and resources for cleaning faster, taking control of your budget, organizing your schedule, and getting food on the table easier than ever before.


Nice article…Keep us updated.
yes I completly agree with Analida,cleaning the house is much important
check this one too
You have really spring cleaned your kitchen!
Hey! I tried the vinegar and baking soda mixture to unclog my clogged sink but it wasn’t that effective though… shall denture tablets work? I am a bit skeptical about it…
One thing that people often forget to clean in their kitchen is the sponge used to wash dishes. It can get pretty grimy. Simply microwave the damp sponge on high for a couple minutes to help sanitize it.