15 Dollar Store Deals You Should Always Buy (& 5 to Avoid!)
Save money on these key, must-have household dollar store deals by stocking up at Dollar Tree. But there are a few items to skip. We have the scoop.
Read MoreMEMBER LOGIN

SIMPLE SOLUTIONS FOR A STREAMLINED HOME LIFE
START HERE
HOME 101
FOOD MADE SIMPLE
SMART MONEY
LIFE SKILLS
VISIT OUR SHOP
SIMPLE SOLUTIONS FOR A STREAMLINED HOME LIFE

Save money on these key, must-have household dollar store deals by stocking up at Dollar Tree. But there are a few items to skip. We have the scoop.
Read More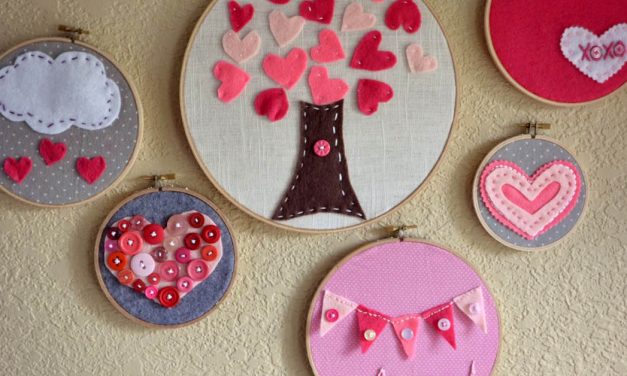
Looking for a Valentine’s Day project for kids? This easy DIY embroidery project is adorable, kid-friendly and easy to do with kids of any age.
Read More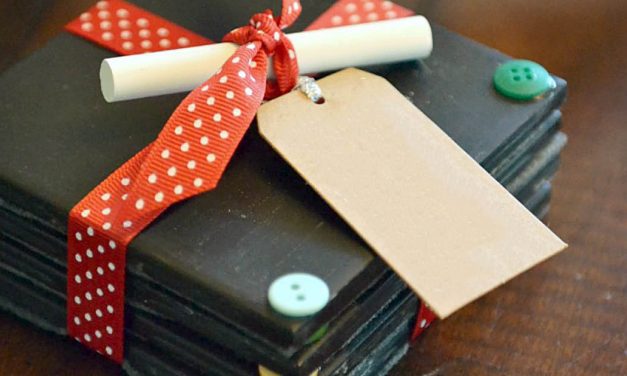
Looking for the perfect DIY gift for teachers, family, or friends? This tutorial for DIY chalkboard coasters is easy, affordable, and from the heart! It’s an awesome project for kids to help with and makes the best end-of-year gift for teachers too!
Read More
I loved having my niece visit a couple months ago, not only because she is a total sweetheart, but...
Read More
I’ve been avoiding this post for weeks now, partially because it was Christmas and things...
Read More

Hormones Metabolism and Mindset with Dr. Edie Wadsworth
