
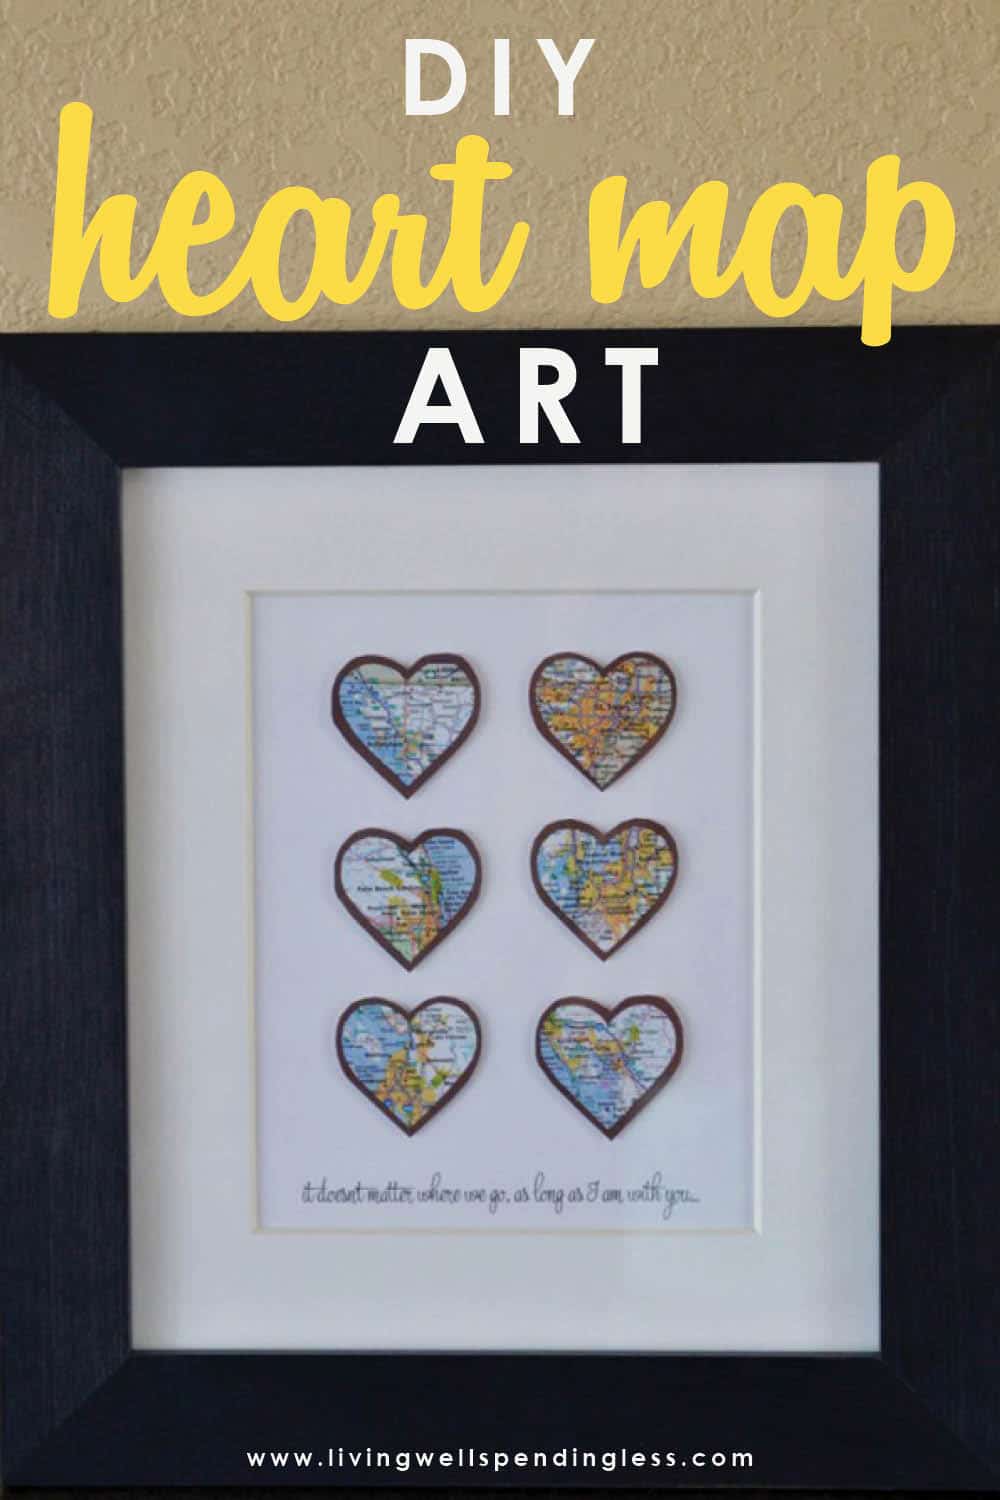
Looking for an adorable art project? Showcase where you’ve been with this DIY Heart Map Wall Art. This project is so sweet and simple!
My husband and I have always made a bigger deal of our first date anniversary than our actual wedding anniversary (which happens to be tomorrow), and a few weeks ago we celebrated 10 years together! Woot! We are also not normally big on gifts, but in honor of this milestone I thought I would finally tackle a little DIY project I have been wanting to try for a few years now, ever since I spotted this pretty vintage map heart art on Pinterest (selling for $300!)
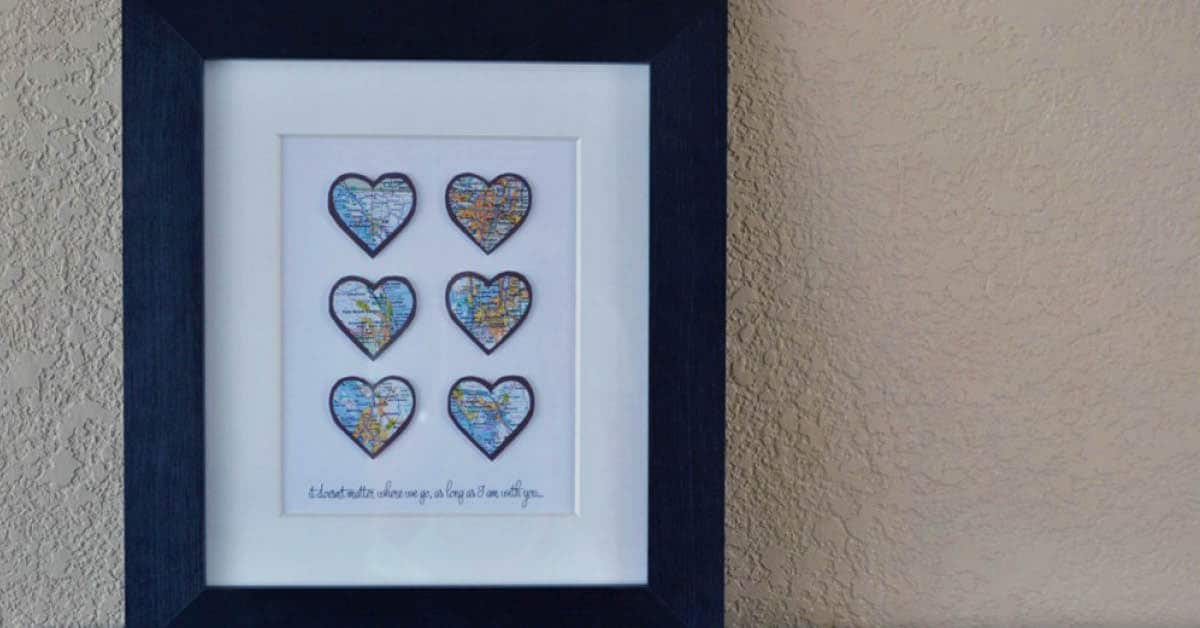
If you’ve ever read my Amazing Grace story you know that Chuck and I have moved around a lot in ten years! From Seattle to Saint Louis to Florida, we have shared no fewer than fifteen different addresses in six different cities, which pretty much made this the perfect gift! I printed a little phrase on the bottom–“it doesn’t matter where we go as long as I am with you”– but you could also leave it blank or write something in by hand. Other great phrases could be “home is wherever I’m with you” or “home is where the heart is” or just “places we love.”
Finally, in case you’re wondering, I got my frame on sale at Target for around $15.
DIY Heart Map Art
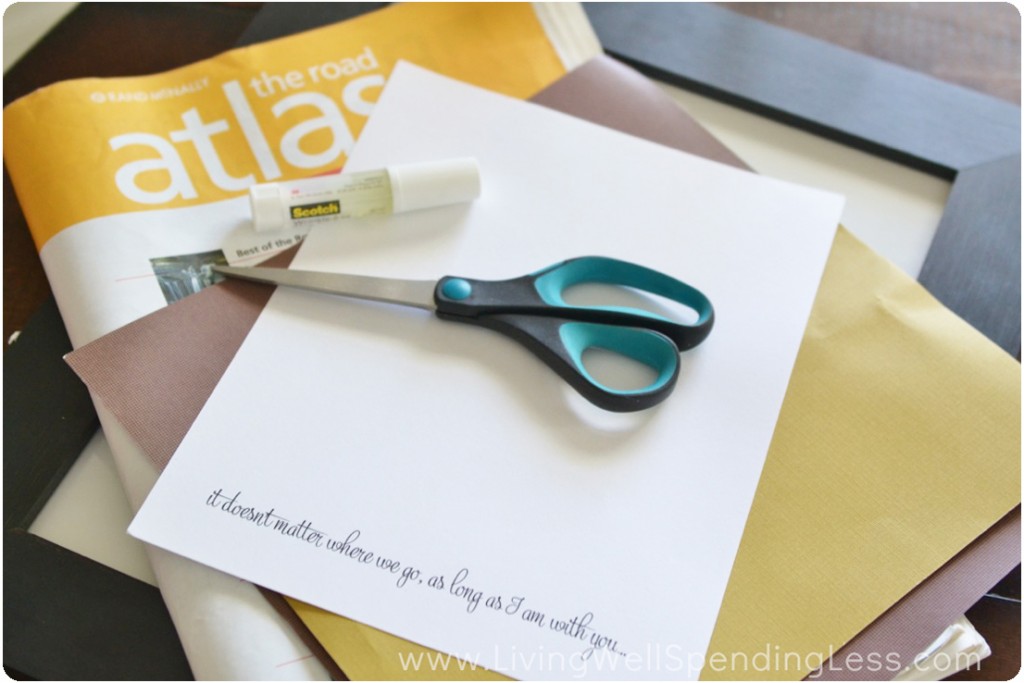
Here is what you need:
old map or road atlas acid free card stock scrapbook paper frame with mat scissors wrinkle free glue stick self-adhesive foam mounting dots (optional)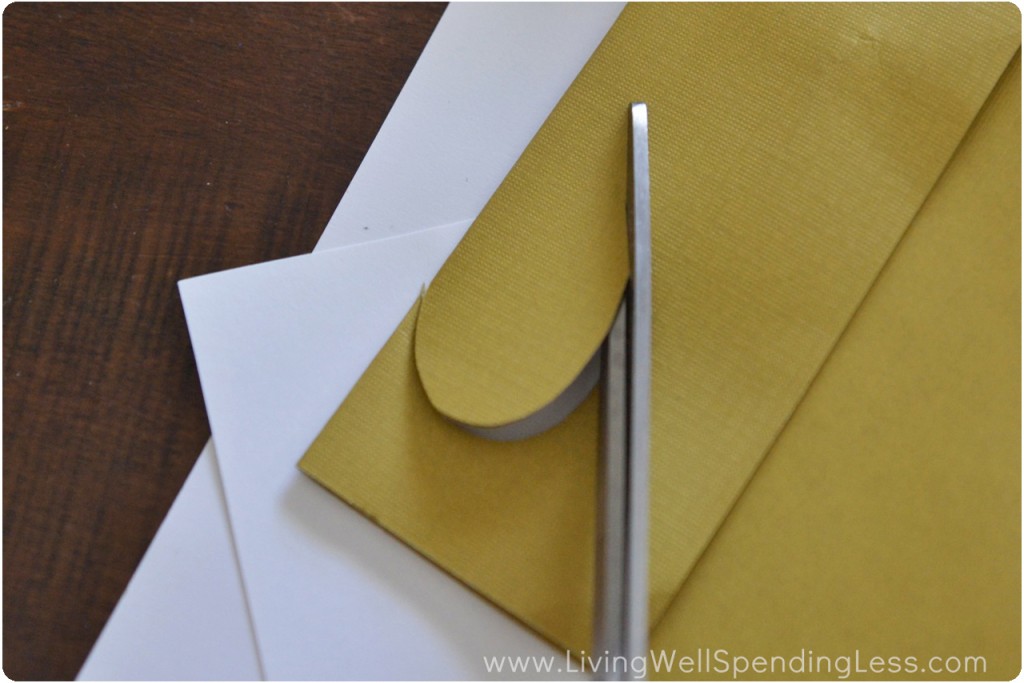
Step 1: Cut out heart template in the size you want.
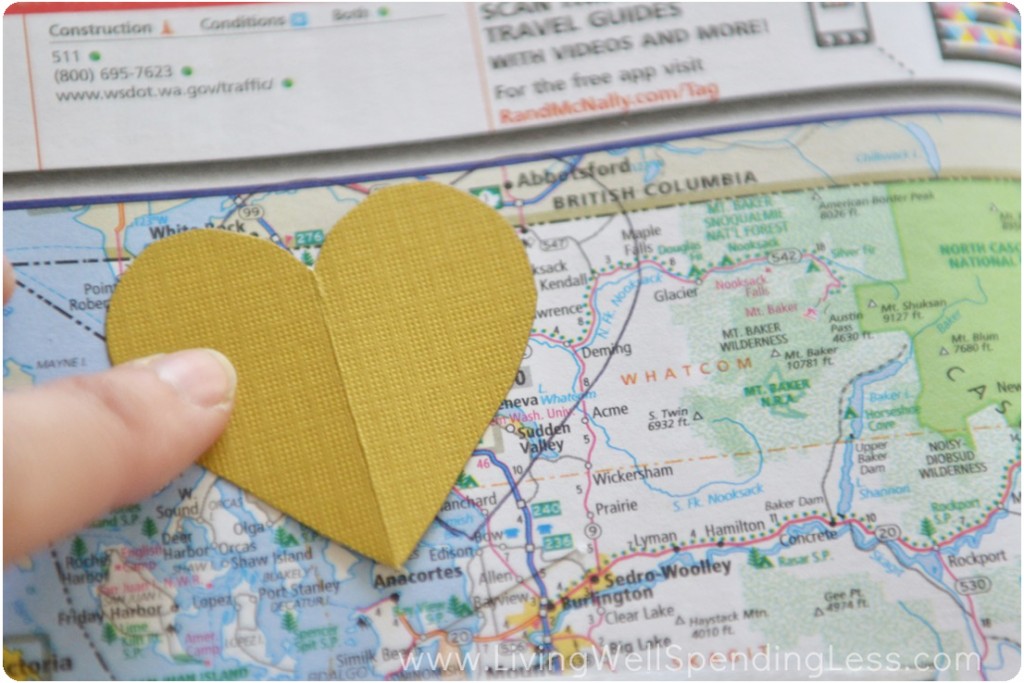
Step 2: Trace template around the cities or places you want to include. These could be places you’ve lived, places you’ve visited, or simply places you’ve dreamed about going. I did six because that is the number of cities we’ve lived in, but you could just as easily make it work with 3, 4, or 5 hearts.
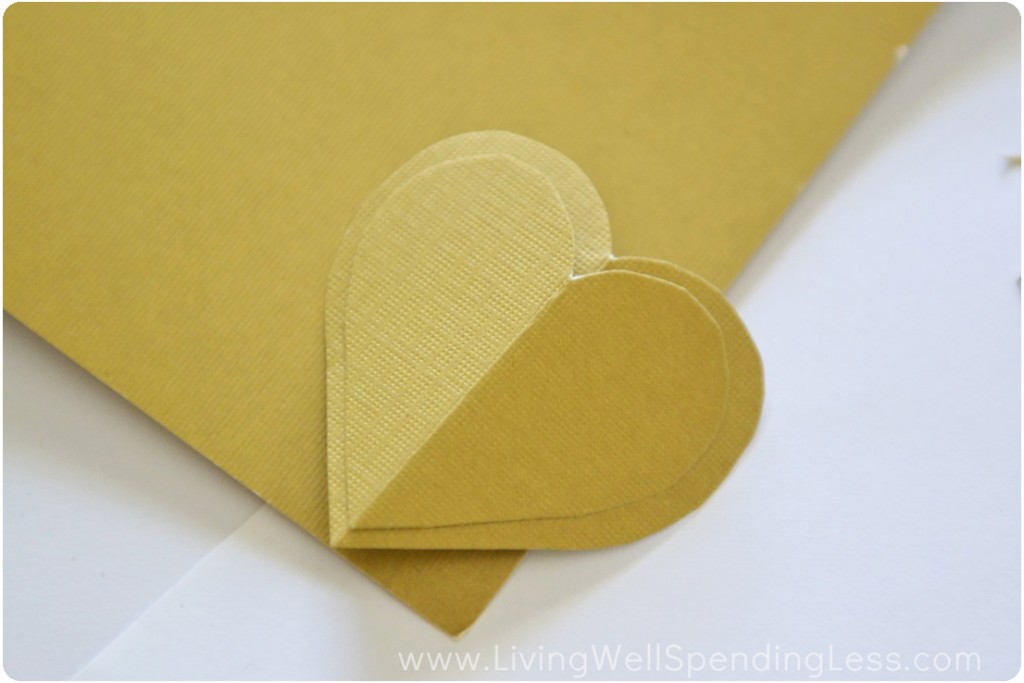
Step 3: Cut out a 2nd heart template slightly larger than the first.
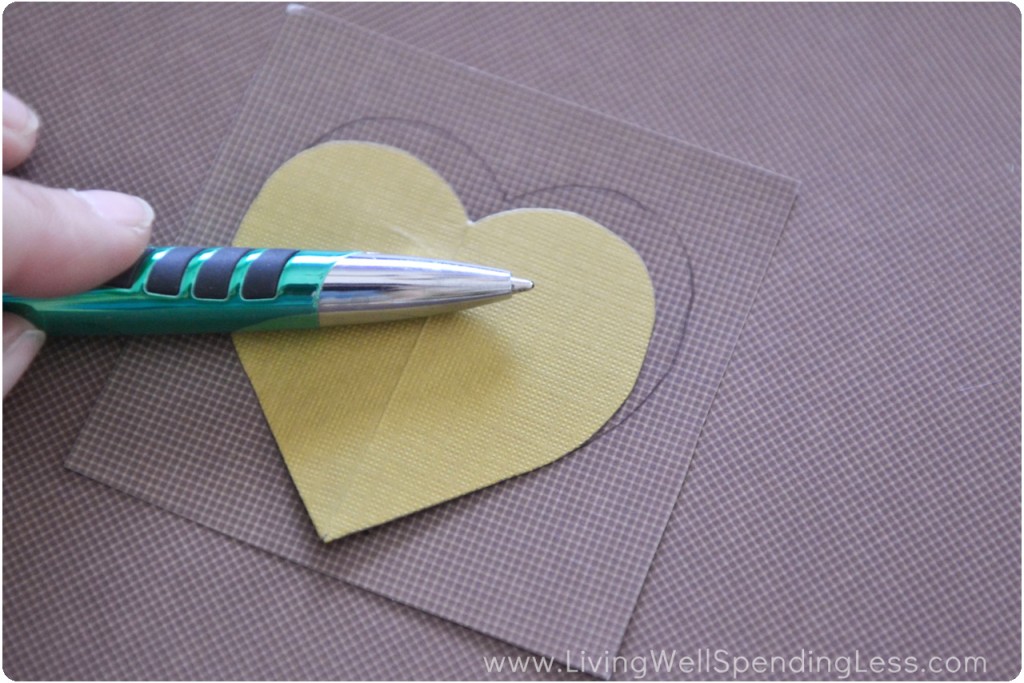
Step 4: Trace template around scrapbook paper and cut out the same number of hearts as map hearts.
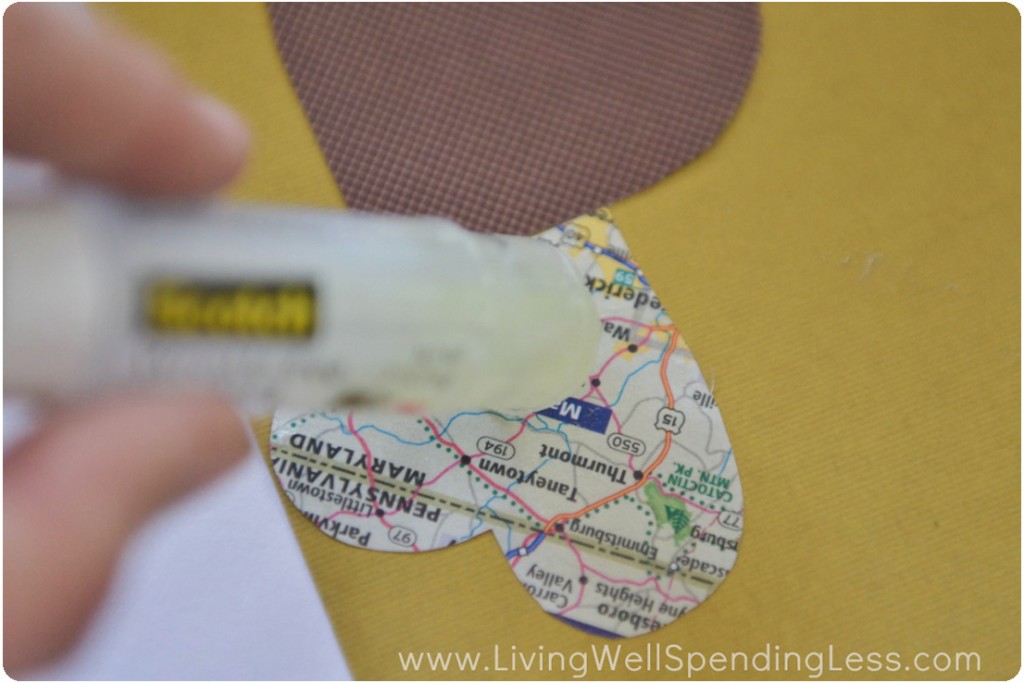
Step 5: Glue map hearts to scrapbook hearts.
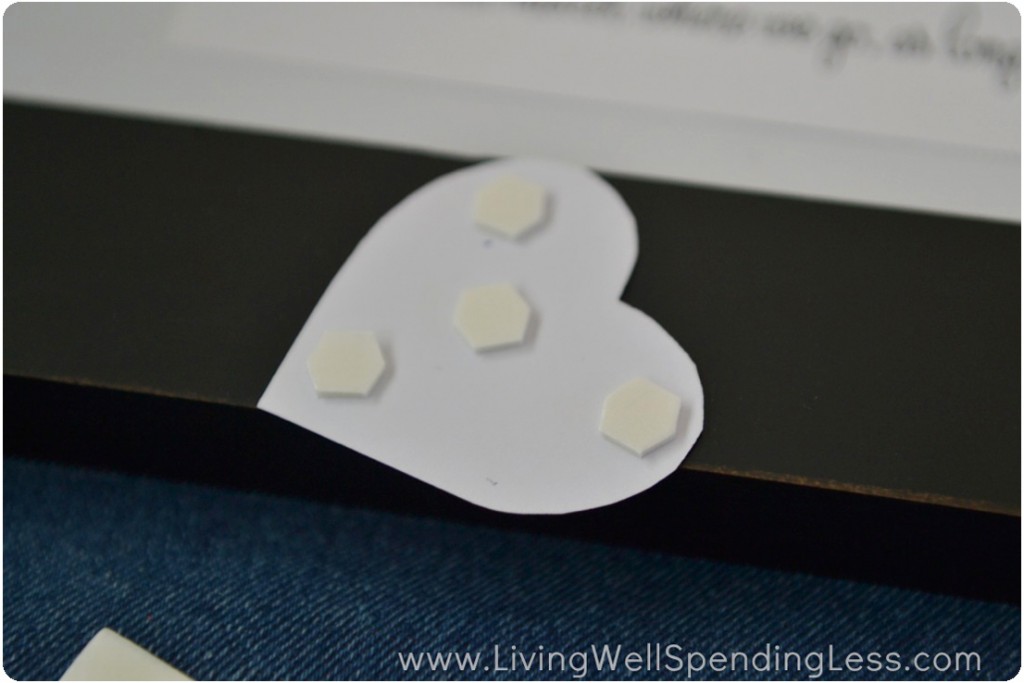
Step 6: Glue finished hearts to card stock. I wanted a little more dimension so I used some self-adhesive foam mounting dots to glue the hearts to the card stock, but you could also just use glue or glue dots.

Step 7: Secure artwork to mat and place finished artwork in frame.
How do you celebrate your anniversary?
More DIY Projects You’ll Love:
PIN FOR LATER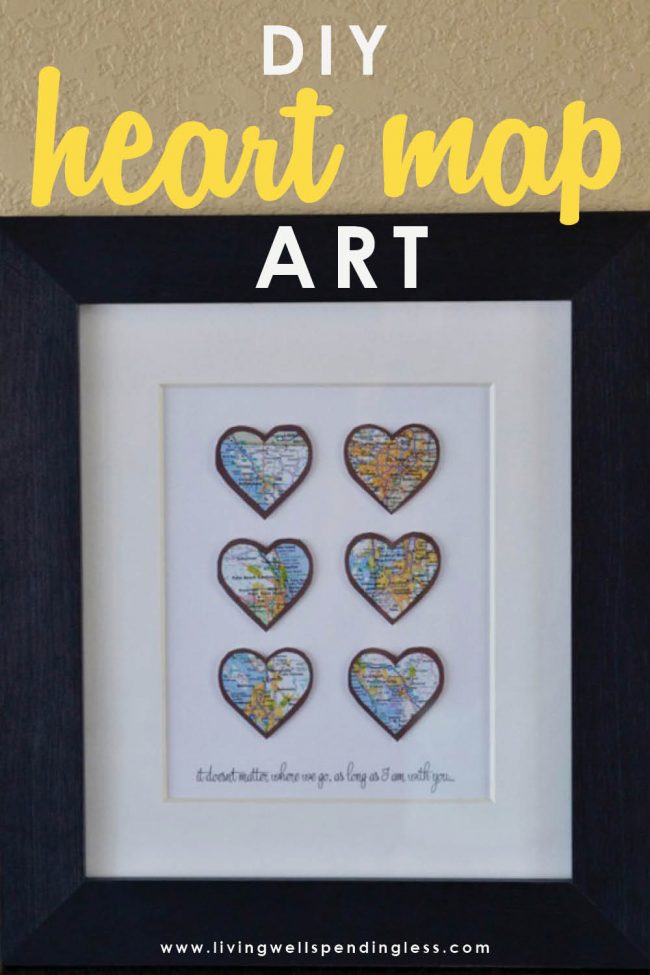


Ruth Soukup
Latest posts by Ruth Soukup (see all)
- Stop Worrying About Money - July 19
- How to Fit In More Fitness - April 28
- The Most Powerful Decision You’ll Ever Make - April 27
TAKE BACK CONTROL OF YOUR HOME LIFE
 Ever feel like you just can't keep up? Our Living Well Starter Guide will show you how to start streamlining your life in just 3 simple steps. It's a game changer--get it free for a limited time!
If you love this resource, be sure to check out our digital library of helpful tools and resources for cleaning faster, taking control of your budget, organizing your schedule, and getting food on the table easier than ever before.


I love this! I’ve seen similar projects on Pinterest before, and I just love them. I think I’m going to have to make it. Happy belated anniversary, our 10th anniversary was this past Thursday! 🙂 My keeper of a husband made the two dishes we served at our wedding reception for dinner, and then we went to DC {where we got married and lived for several years} for the weekend.
I think for me & my man I could do pictures of our favorite places since we’ve only had three addresses in our 12 years…cute wonderful idea ….thanks!!!
You are so creative! We’re not big on gift giving on every anniversary either, I personally appreciate handmade gifts like this.
This is so awesome! I can’t wait to try this!
I love this idea! Thank you!! This will make a wonderful gift for two different couples I know.