
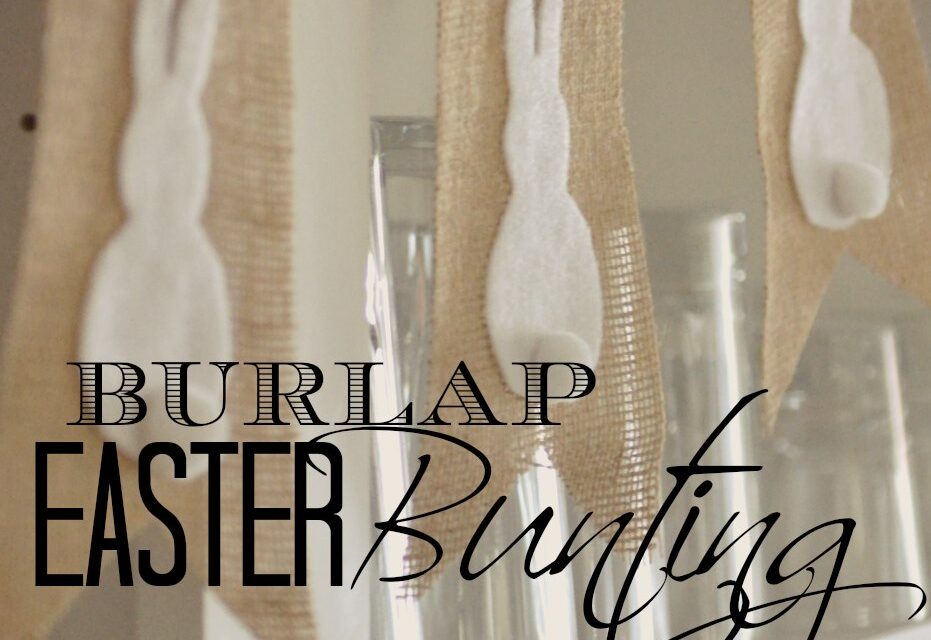
 I just couldn’t start working on our Easter decorations without turning to my two favorite craft mediums: burlap & felt! I knew I wanted some sort of bunting to decorate my dining area hutch, as well as a runner to decorate the table for my Easter birthday brunch.
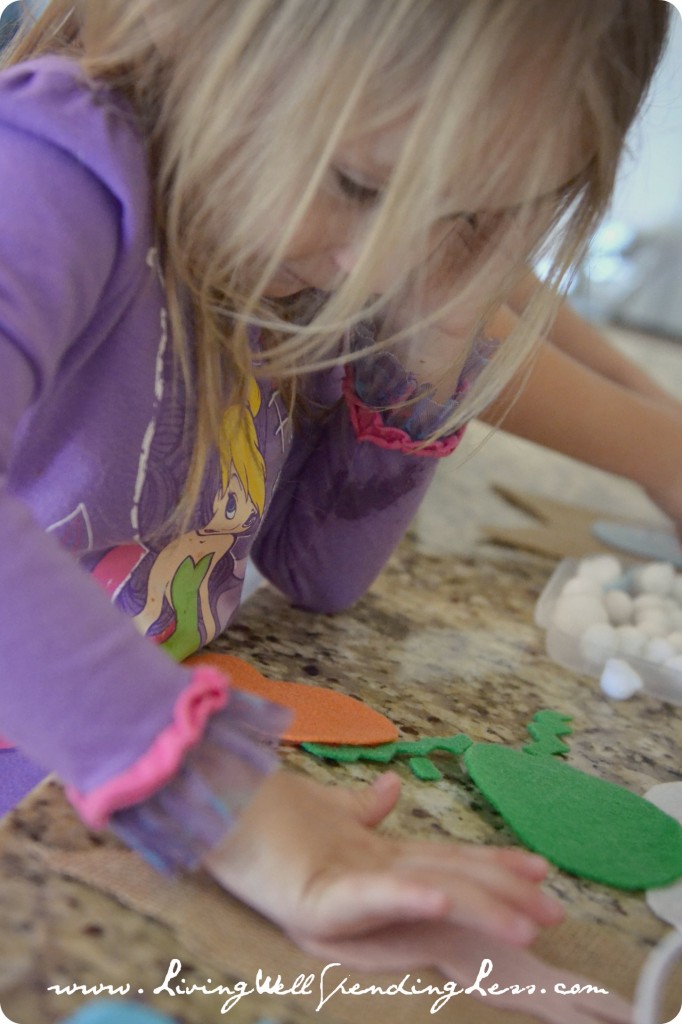
In my head I had envisioned something simple and semi-natural, but our felt choices were a little brighter then I had in mind. The girls–armed with their brand new low-temp glue guns (watch out!)–helped make the first version, which featured very colorful bunnies, chicks, & eggs. They loved it and begged me to let them hang it in their room, which I was more than happy to do, since it meant I could try again.

For the second version, I decided to simplify it and use only the white bunnies against the tan burlap, which ended up being exactly what I had in mind! (I know, I know, I’m so boring!) Sometimes you just have to figure out what you don’t want to know what you do, but I couldn’t be happier with how it all turned out! Best of all, it was a super thrifty project–we made 2 buntings and 2 table runners for less than $10 total!
Here is what you need:
bunting template (see below) burlap (I used 3 yards to make 2 table runners and 2 buntings) assorted felt white pom poms 3/8″ ribbon sharp fabric scissors stick pins glue gun iron spray starch (optional)
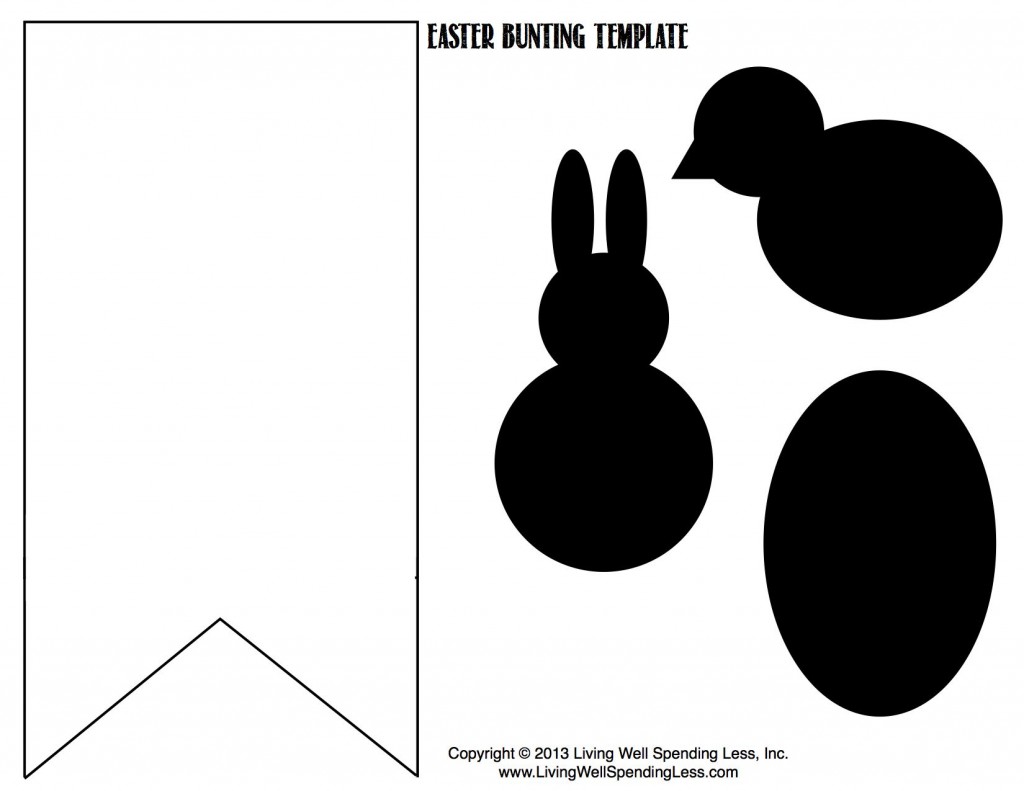
Start by downloading this free printable bunting template, or by creating one of your own.

Iron the burlap to get out any creases. I found it ironed better with a little spray starch. Don’t skip this step! Your bunting will hang much better if your pieces are flat.

Cut out template to use as a pattern, then layer several pieces of burlap together (I did 4 at a time.) Pin pattern to pieces, then carefully cut out bunting pieces until you have enough to make your desired length bunting.

Repeat the process for the felt pieces, but use fewer layers. I found I could only cut out 2 bunnies at a time.

Cover the back of felt with hot glue, then place on burlap piece. Be sure to lay your burlap on something the glue will not stick to (the counter or a plastic place mat), since it may seep through the burlap.

Hot glue pom poms to the base of the bunnies as “tails” or, if using eggs, decorate with felt pieces and pom poms.

Finally, arrange the burlap pieces how you would like them, then glue to the ribbon. I found it was easiest to place a line of glue on the ribbon, then lay the burlap on the line with about a 1/2 sticking over the ribbon. Once all the pieces were glued in place I turned it over and folded down the over hang, gluing it in place on the back side of the ribbon.

Isn’t it cute? 🙂
")
The steps for the table runner are pretty much the same, except instead of cutting out small pieces for a bunting, cut a piece of burlap that is the correct length and width for your table. Pull some of the threads on each edge to create a nice fray, then glue felt pieces in place. How easy is that? A darling no-sew runner for your Easter table!
* * *
What are your favorite go-to craft supplies? Do you have any spring or Easter projects planned?
TAKE BACK CONTROL OF YOUR HOME LIFE
 Ever feel like you just can't keep up? Our Living Well Starter Guide will show you how to start streamlining your life in just 3 simple steps. It's a game changer--get it free for a limited time!
If you love this resource, be sure to check out our digital library of helpful tools and resources for cleaning faster, taking control of your budget, organizing your schedule, and getting food on the table easier than ever before.


Hi, what did you use to help the prevention of the burlap completely fraying? I love tbe burlap look but scared it will fray and I will lose my time and money on a project. Thank you