
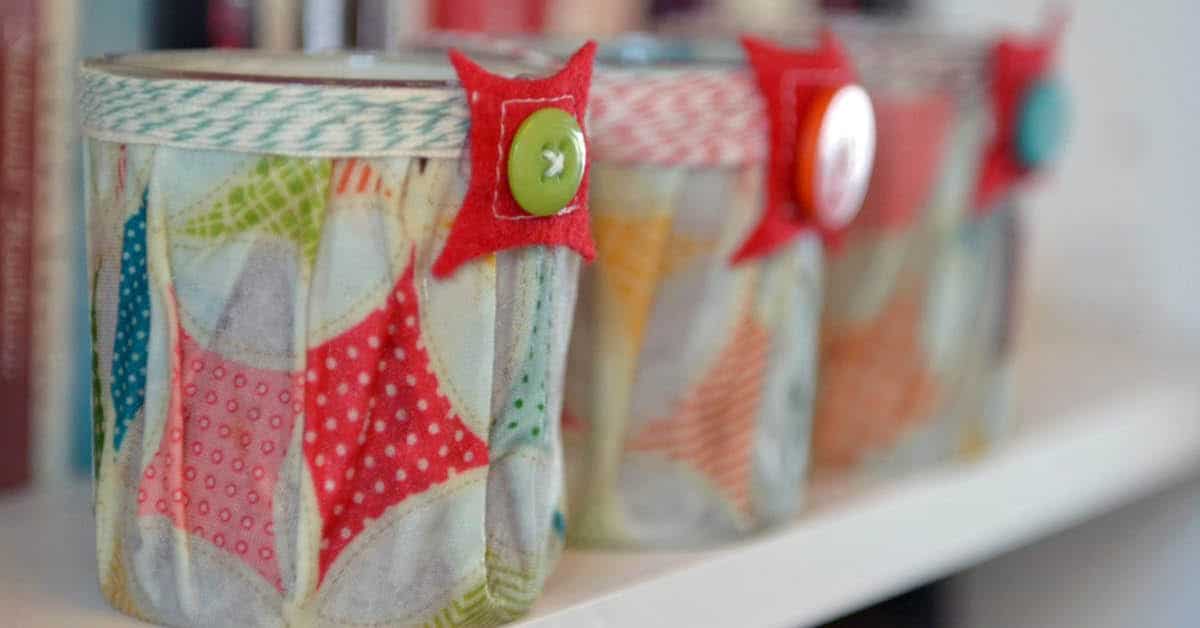
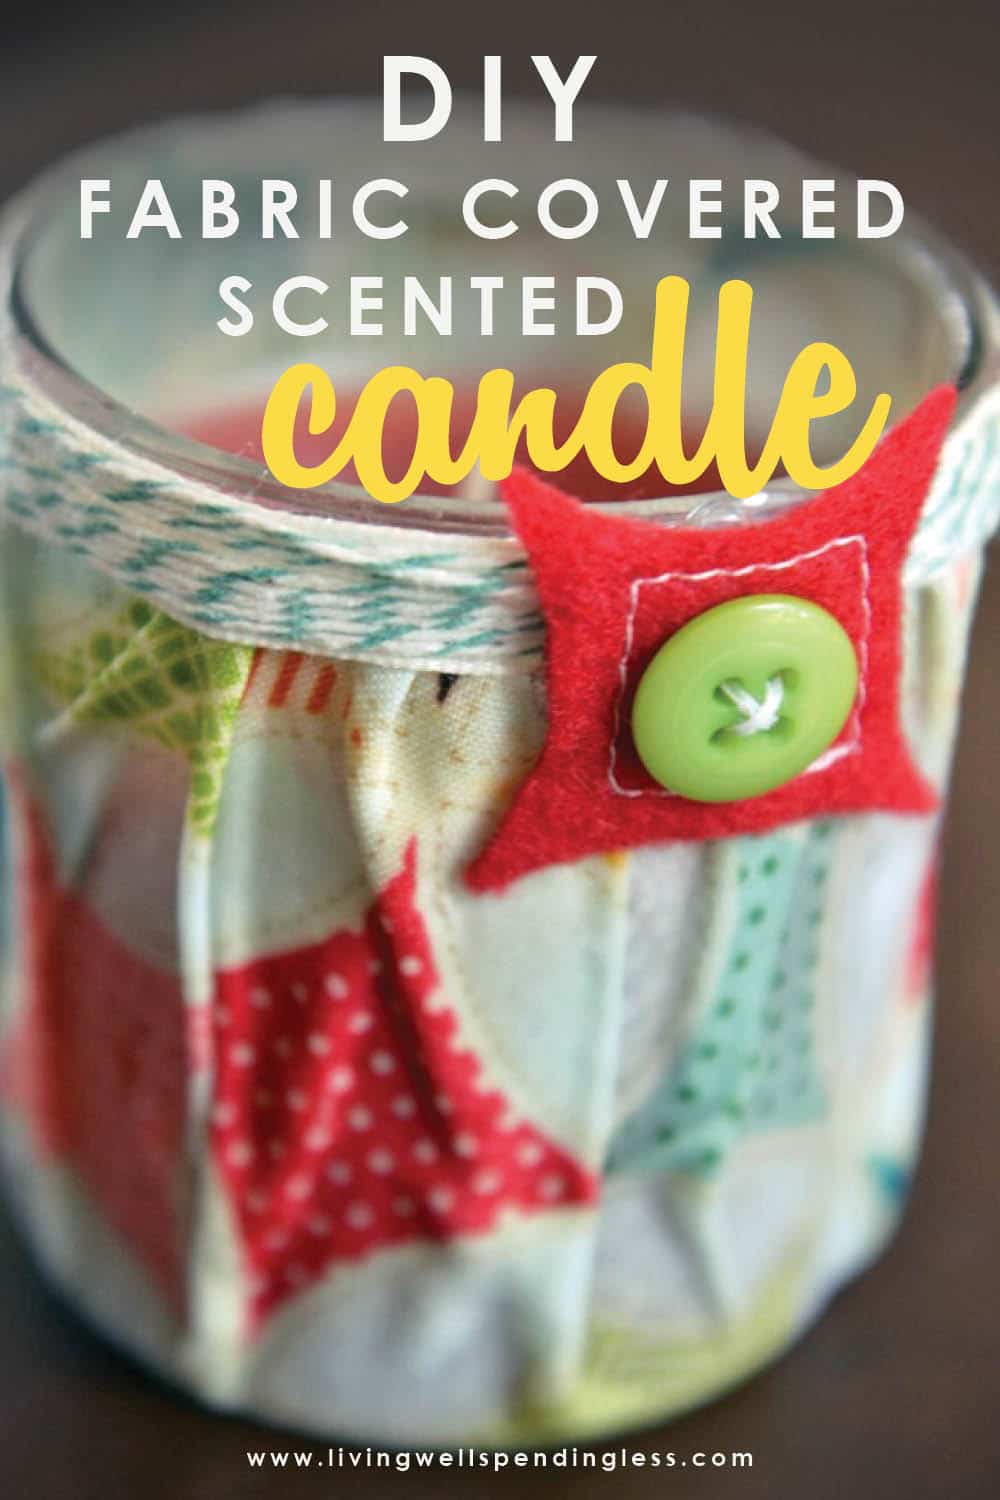
Looking for the perfect handmade gift? It’s easy to make a DIY scented candle in a jar. This tutorial will show you how to make candles at home!
Today I’m going to be sharing with you how to make a quick, simple, and lovely handmade gift to give this holiday season!
My go-to gift during the holidays is normally some kind of food: Homemade hot chocolate mix, fresh baked frosted cookies, cherry cheese bread, peppermint bark, fudge…and the list goes on! I love giving these sorts of tasty gifts (and receiving them too! Yum!), but sometimes sweets are not quite the right fit for that special someone you have in mind. If this is the boat you find yourself in this holiday season, then I just might have a great gift idea for you.
There are three reasons I love giving homemade mason jar candles to friends during the holidays. First, they’re a surprisingly customizable: there are many different fragrance oils and colorants to choose from, and you can decorate your jar however you like!
Next, they’re very simple to make and therefore don’t take much time. It’s really just a matter of mixing, melting, and pouring (and maybe decorating, if you want!). Most of the time spent making this project is spent simply waiting for your wax to melt and cool once it’s poured. Best of all, the whole gift can be made for just a few dollars! (Remember that making them in bulk will be most cost effective, and be sure to use your coupons at the craft store!)
DIY Scented Candle
Here is what you need:
Soy candle wax (or a candle wax of your choice) Candle wick Mason Jar Hot glue gun A piece of card stock A double boiler (or a saucepan and a glass bowl big enough to sit over the pot) A food thermometer Oven mits Fragrance oil Colorants (optional) Container with spout (optional)
Before you begin, be sure you have the appropriate type and size wick for the size and kind of candle you are making. If you are using soy wax, for example, be sure your wick is suited to soy candles. If your mason jar is wide, make sure your wick is wide enough in diameter to burn optimally. In most craft stores where you can find these supplies, recommendations will be made on the packaging as to what type and size wick you should use depending on your project (and I promise it’s a lot simpler than it sounds!)
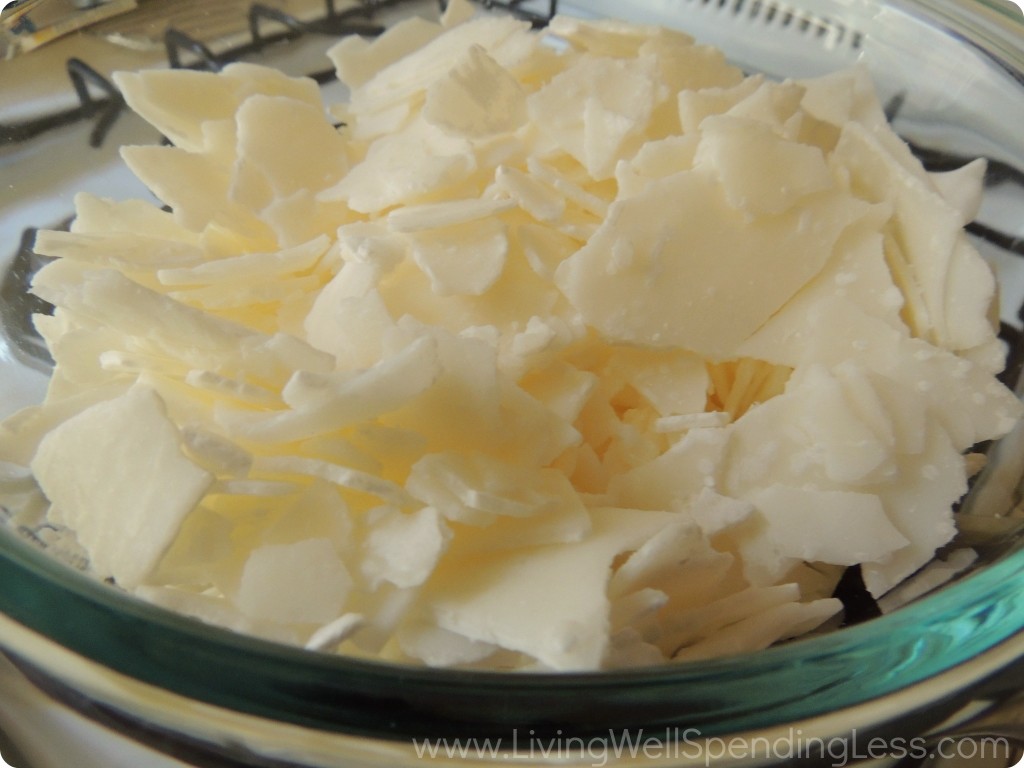
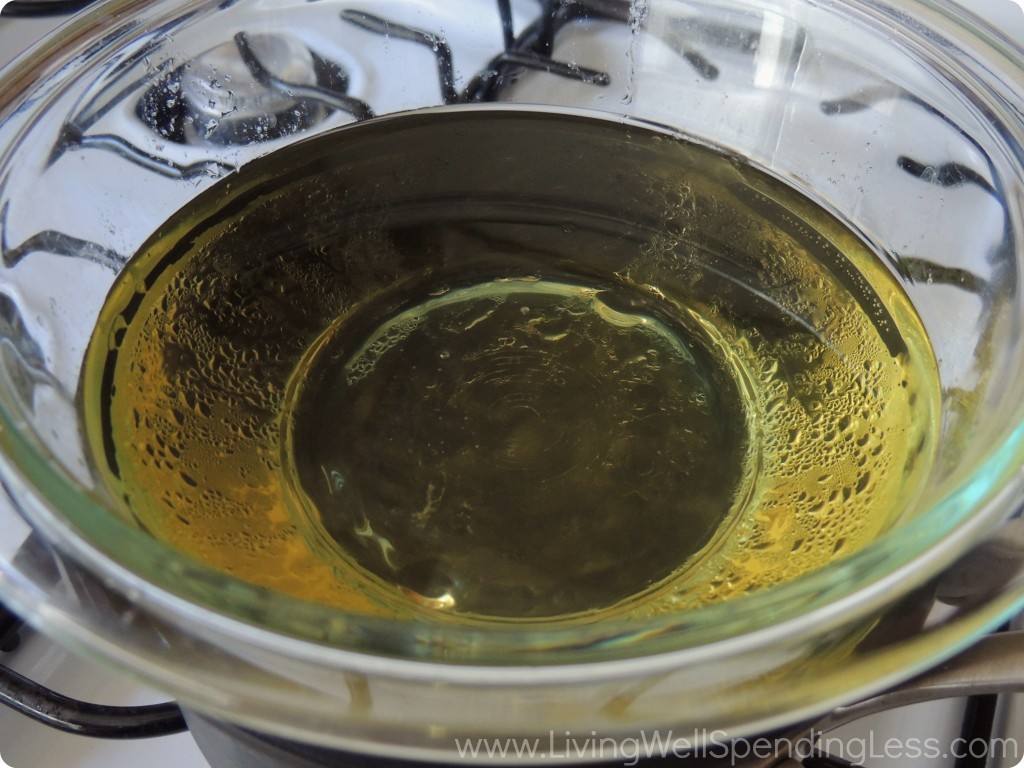
Step 1: Begin melting your wax. For this project I used soy wax that I melted in a make-shift double boiler made from a saucepan and a pyrex bowl sitting over it. I planned to fill one pint-sized mason jar, so I melted approximately 14 ounces of soy wax (I purchased a 1lb container of soy wax and had very little left over). I melted the wax on low to medium-low heat. Never leave melting wax unattended!
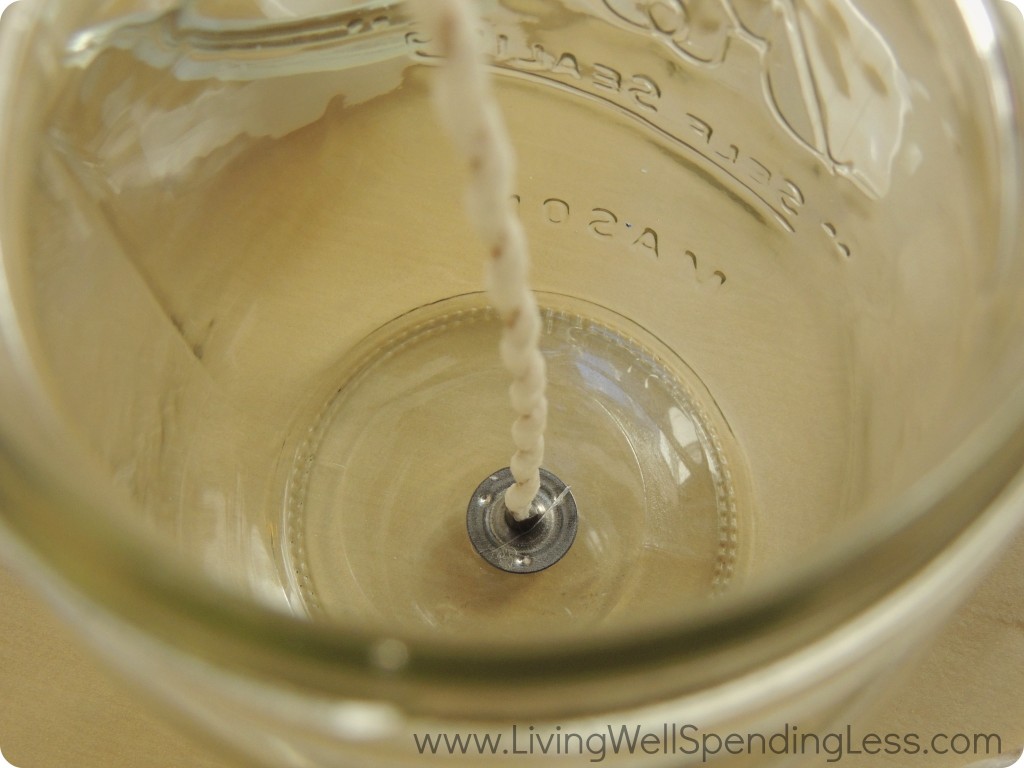
Step 2: While this is melting (and while you’re keeping an eye on your wax), secure your wick to the bottom of your mason jar. Apply a bit of hot glue to the center of your jar and hold it in place until it dries.

Step 3: Arrange your wick such that it stands upright. My wick was a bit stiff and stood upright reasonably well on its own, but I didn’t want to risk it falling over when it was sitting in a jar of hot wax. I ended up taking a piece of leftover thick card stock, cutting it into a circle, hole-punching the center, and then cutting away a section of the circle so I would have room to pour my hot wax.
I then put a dab of hot glue on the rim of my mason jar and glued the card stock down so it would not get bumped off accidentally. (Fortunately, dried hot glue applied to glass is relatively easy to peel off when you’re done!) This is just one of several ways you could balance your wick—there are no rules, as long as your wick is standing up straight!
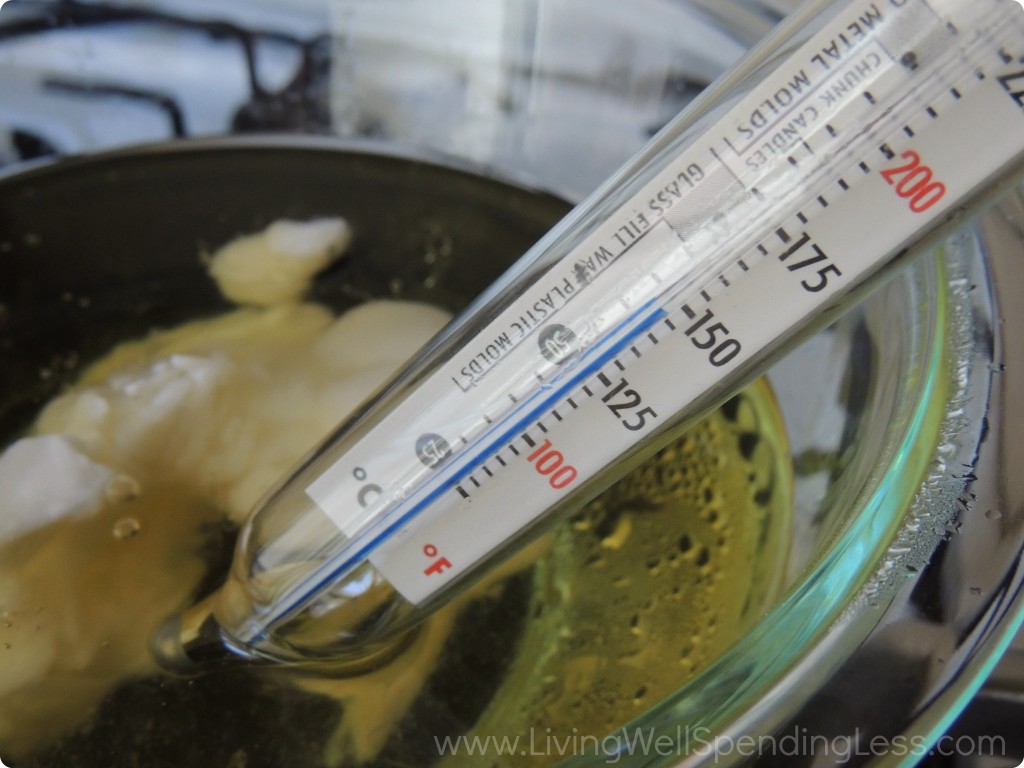
Step 4: When your wax is melted, allow it to cool a bit before adding in your colorants (if desired) and fragrances. Wax purchased in craft stores will typically come with a guide that recommends an ideal temperature for adding fragrances and colorants to your wax depending on the type of wax you’re using. For my wax, it was recommended to add in fragrance oil when the wax had reached between 120 and 140 degrees Fahrenheit. (This is because some fragrances can lose their scent when added to high-temperature liquids.)
To speed up the cooling process, I poured my hot wax into a room-temperature pyrex measuring cup with a spout.
If you purchased a fragrance oil or colorants designed for candle making, it should come with guidelines as to how much of each to use given the volume of wax you are working with. I ended up using approximately one ounce of a Milk and Honey fragrance oil from brambleberry.com. Bramble Berry’s website also offers a guide that suggests how much of their oils to use in a given project.
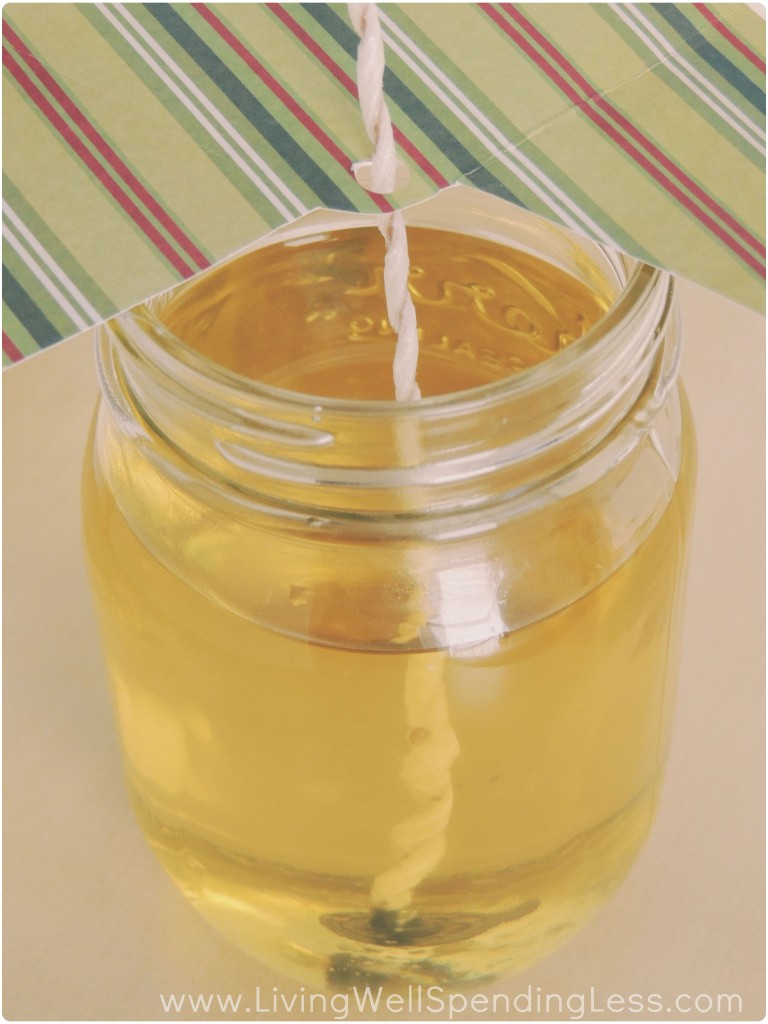
Step 5: Pour your wax into your mason jar and allow it to cool.
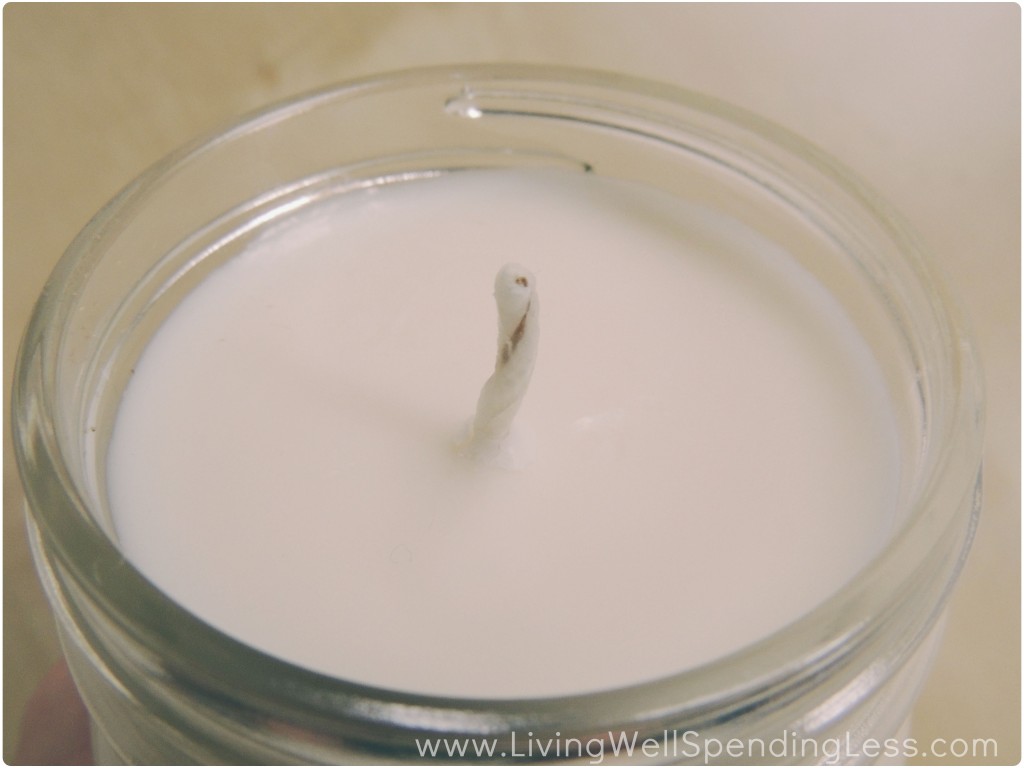
Step 6: When your wax has cooled completely, trim your wick to about 1/2”.
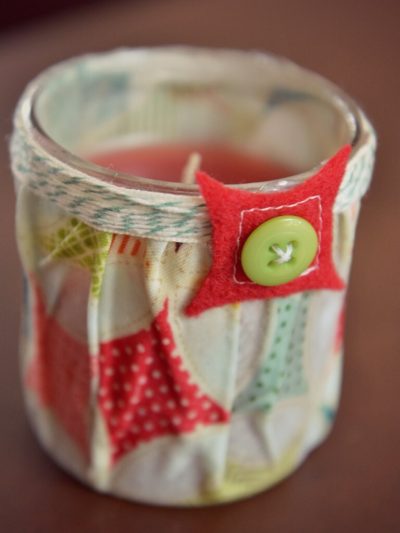
And viola! You have a lovely scented mason jar candle!
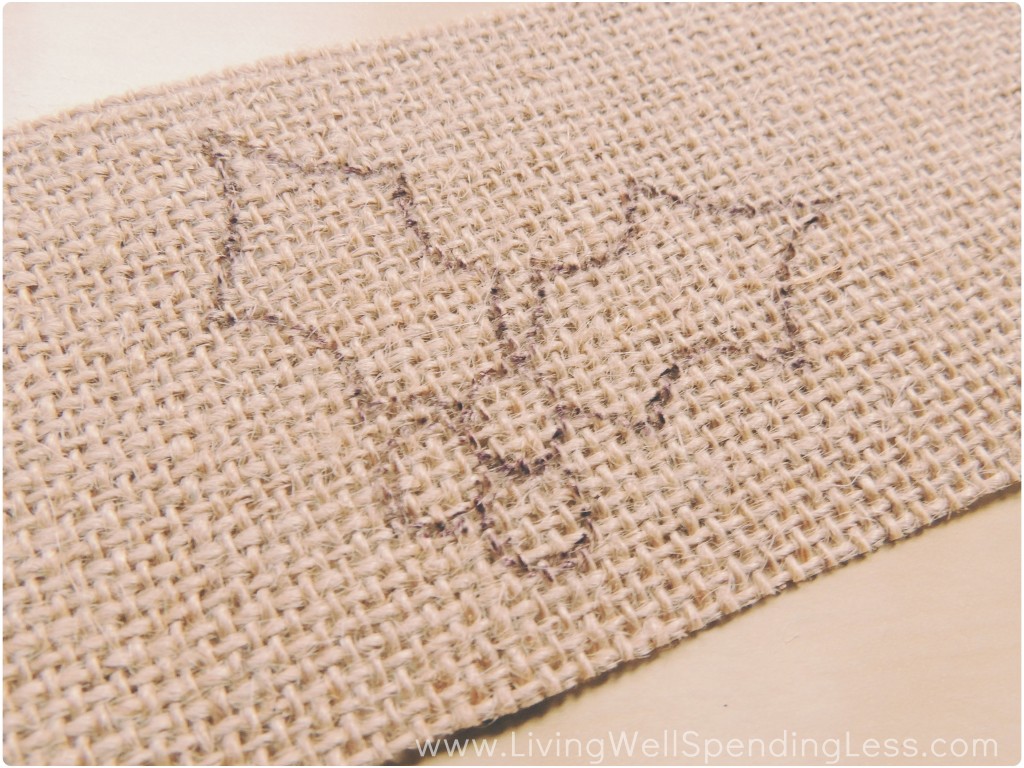
Step 7 (Optional): I decided to give my candle a sort of rustic look by decorating it with burlap and twine. I began by outlining my design in pen onto my burlap…

…before painting it with acrylic craft paint.
From there, I simply used hot glue to affix the burlap to the jar and tied on a twine bow.
And there you have it! An easy project and a lovely finished product. I hope you enjoyed this tutorial!
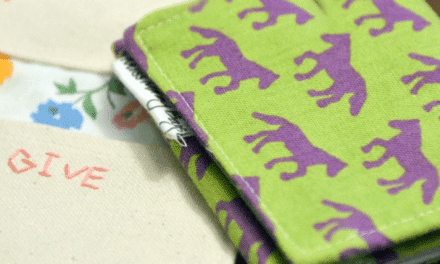
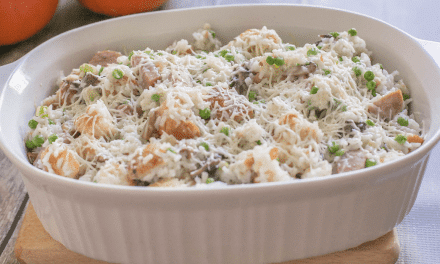
Other DIY Projects You’ll Love:
PIN FOR LATER

What’s your favorite candle scent?

Gabby Whitaker
Latest posts by Gabby Whitaker (see all)
- DIY Lemon Sugar Scrub - April 21
- DIY Coffee Bean Soap - January 27
- DIY Scented Candle - November 18
TAKE BACK CONTROL OF YOUR HOME LIFE
 Ever feel like you just can't keep up? Our Living Well Starter Guide will show you how to start streamlining your life in just 3 simple steps. It's a game changer--get it free for a limited time!
If you love this resource, be sure to check out our digital library of helpful tools and resources for cleaning faster, taking control of your budget, organizing your schedule, and getting food on the table easier than ever before.


So cool! And I love how you covered the mason jar! I want to make this for all my family for our upcoming camping trip. Do you think I can add some lemongrass or citronella to them for bug repelling?
You will want to check with the manufacture of the essential oils that you use.
Wow… its awesome
You can also follow these simple steps to make a scented candle:
Start by preparing a clean and flat surface covered with a newspaper or towel
Second measure the amount of wax required to fill the container
Start melting the wax by pouring it into the double boiler
Add the fragrance oil and stir for few seconds, it will provide an exquisite floral smell
Attache a wick to the bottom of the container before you start to pour the melted wax
Use chopsticks to secure the wick so that it remains centered until the wax solidifies
Wait for few seconds, once the temperature reaches 140 Degrees pour the wax into the container