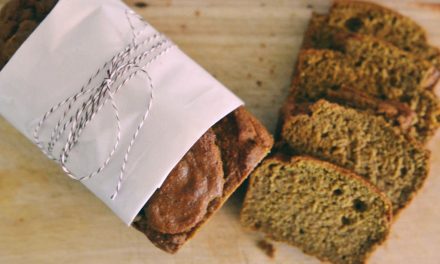
Every day is a reason to celebrate, and sometimes certain days lend themselves to celebrating with fun foods.
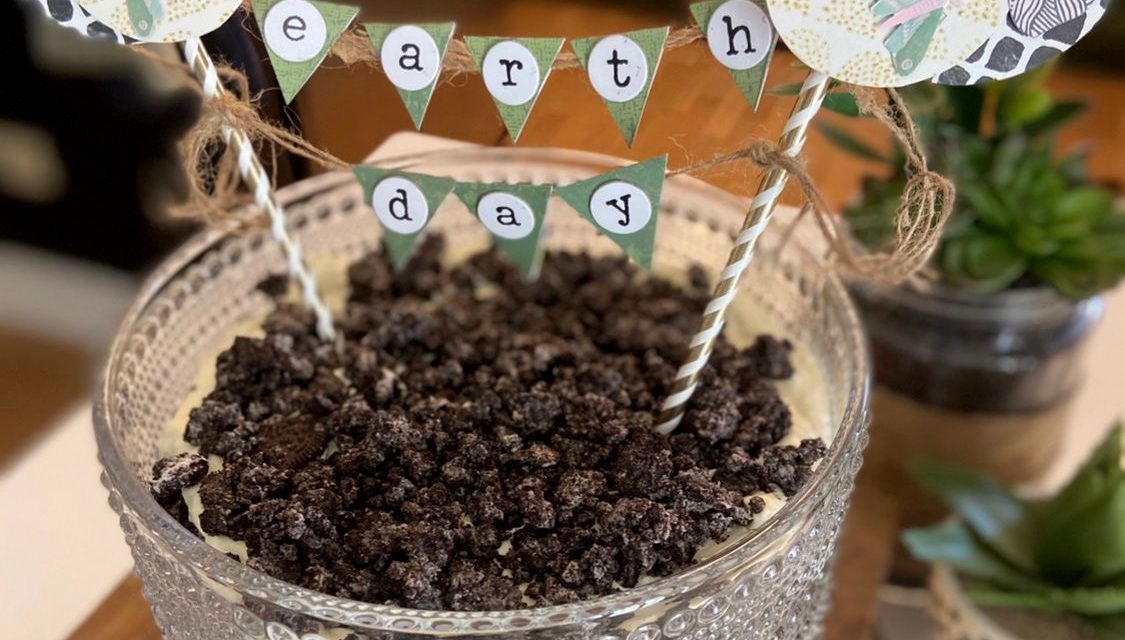
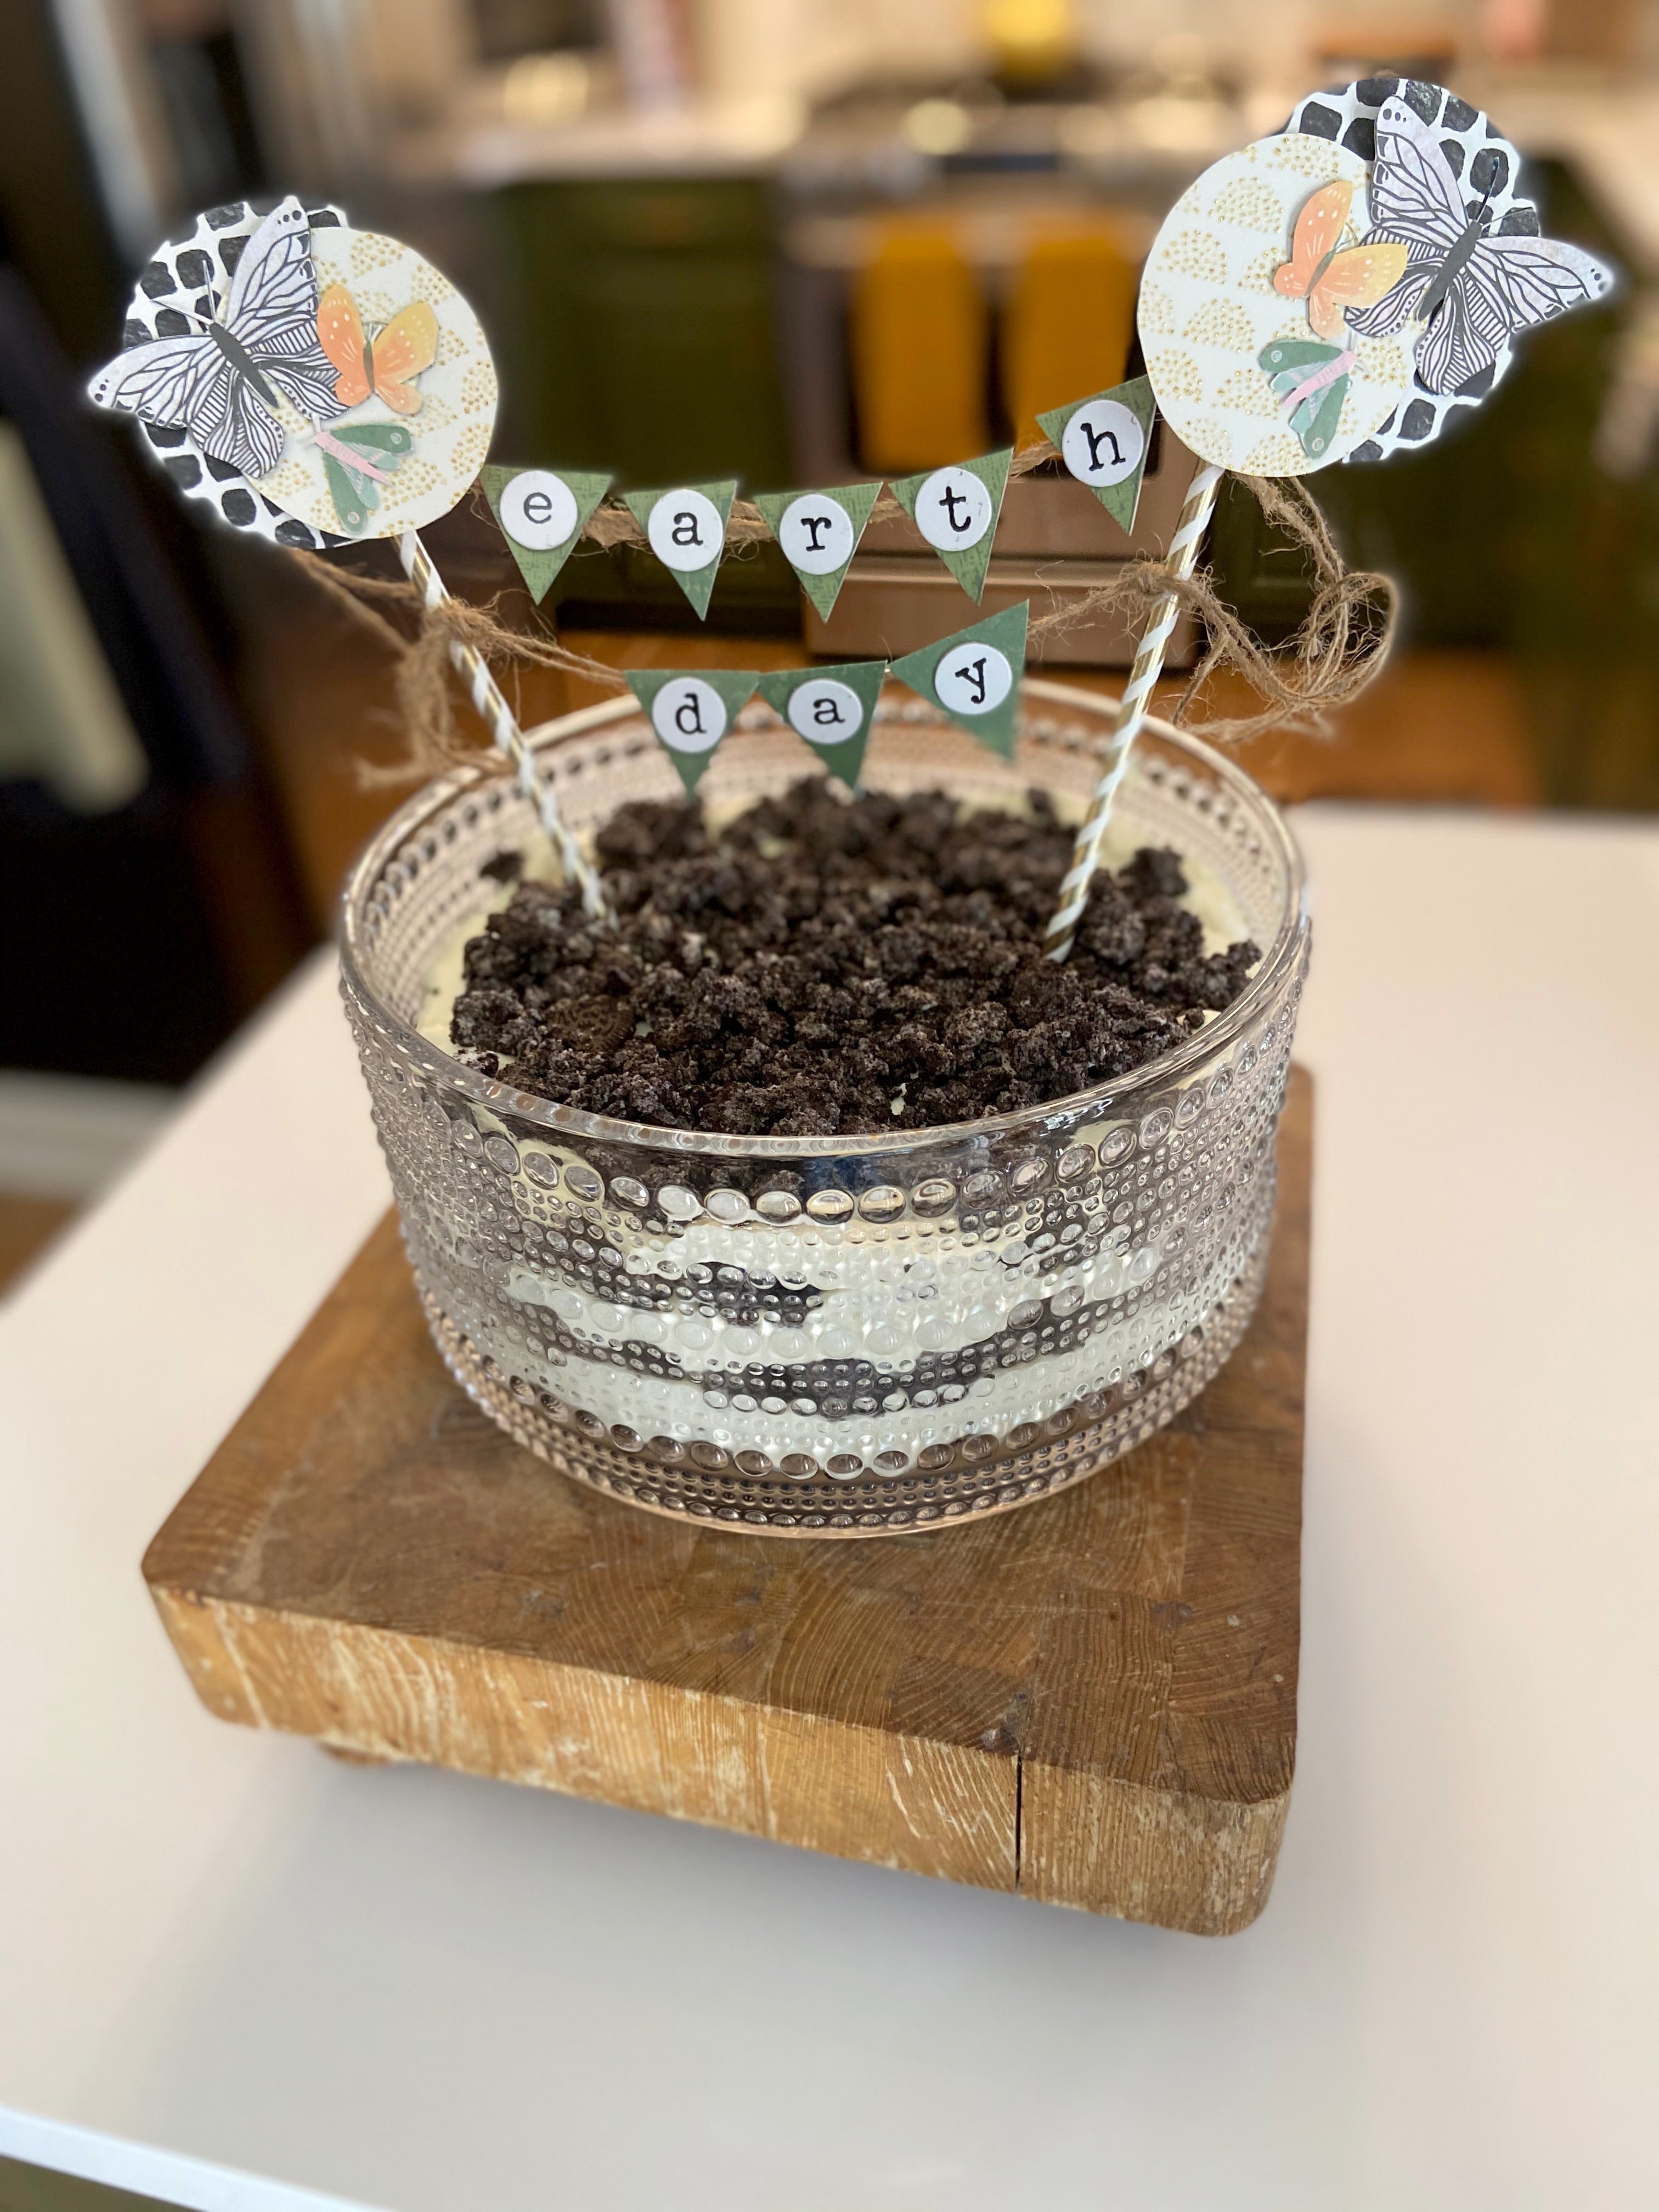
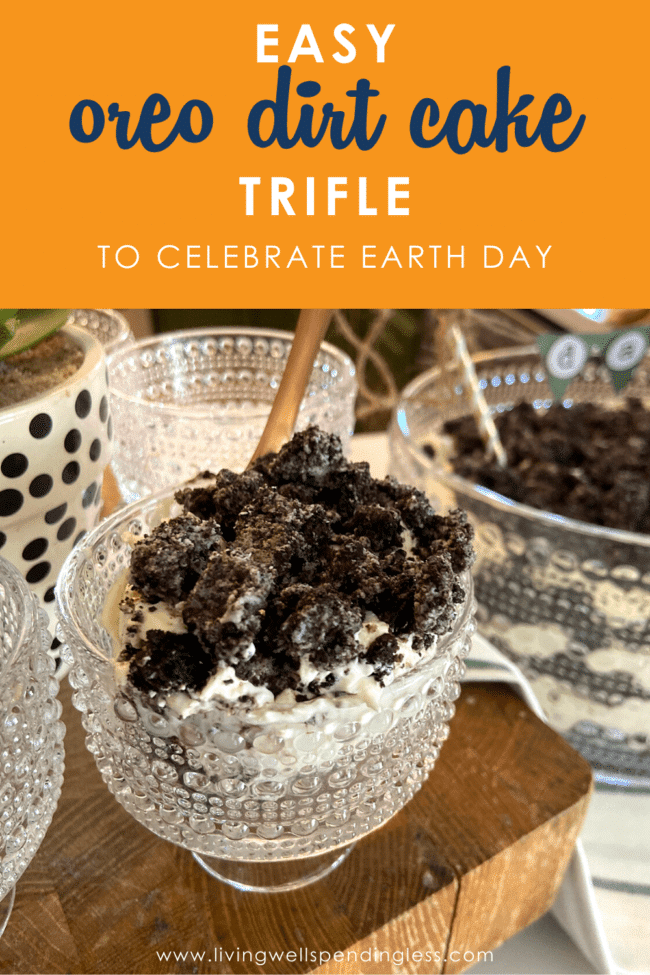
Earth Day is one of them, and what more perfect way to mark the day we think about caring for our planet than with a “dirt”-themed dessert?
You’ve seen the popular way to present this trifle with gummy worms, and we love that, but we wanted to do a twist on an old favorite with this simple and beautiful Earth Day banner. See the directions on how to make it below!
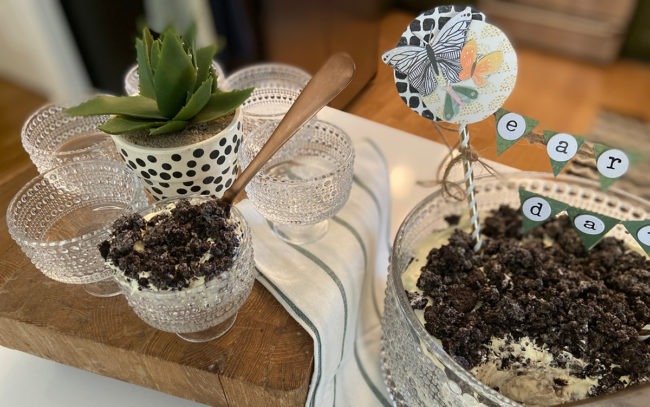
Whether you’re making this dessert for Earth day, a birthday party, or a playdate, it’s sure to please young and old alike with the familiar flavors of Oreo cookies and cream. It’s a light and fluffy dessert that will have all of us dreaming of summer.
Enjoy!
How to Make a Simple Earth Day Dirt Trifle
Here is what you need:
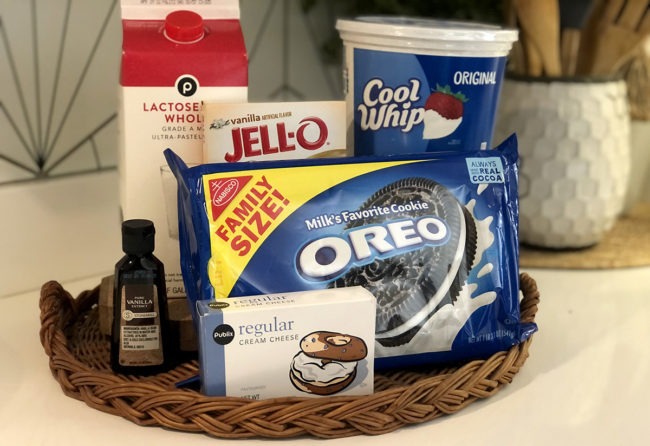
1 package Oreos, crushed
16 oz tub Cool Whip (or whipped topping)
8 oz package cream cheese, softened
5 oz. (large box) Jell-O Vanilla Instant Pudding Mix & Pie Filling
3 cups milk
1 tsp vanilla extract
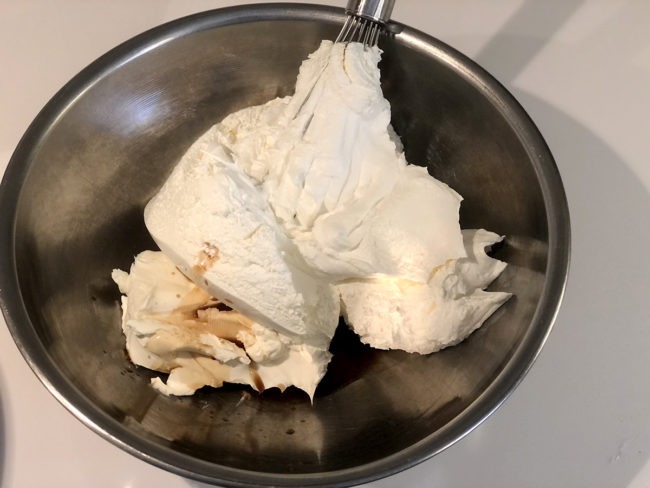
Step 1: First, mix the vanilla, softened cream cheese, and Cool Whip (or whipped topping) on low with an electric mixer (or by hand).
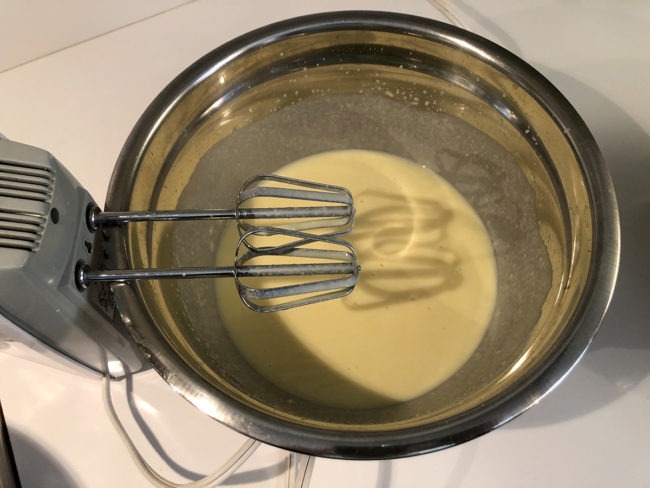
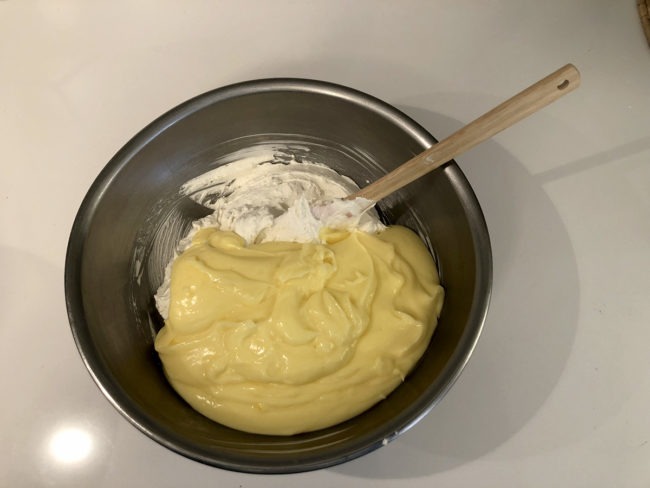
Step 2: Mix the instant pudding with 3 cups cold milk and then add to cream cheese, vanilla, whipped topping mixture. Mix gently.
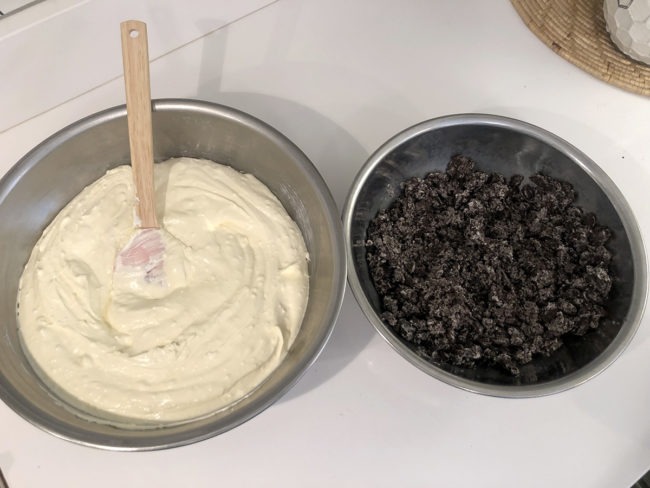
Step 3: In a trifle bowl (or glass bowl), layer the mixture between layers of crushed Oreos, about 1-inch thick for each layer.
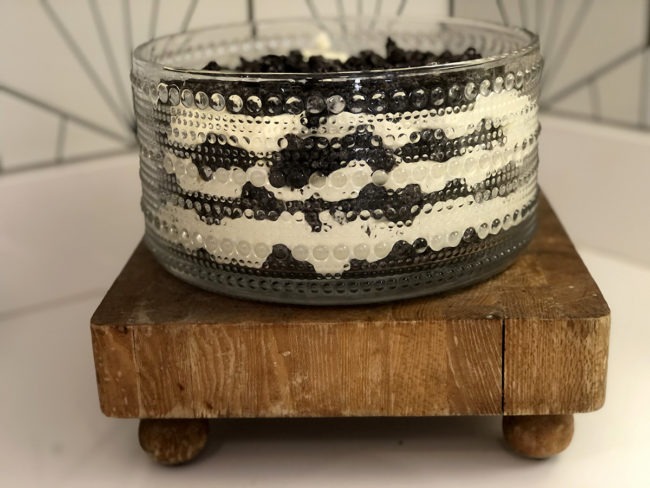
Step 4: Refrigerate for at least an hour. It’ll be even better after sitting overnight in the fridge! Enjoy.

How to Make an Earth Day Banner
If you’d like to make the super cute and simple Earth Day pendant banner, here is a step-by-step you can follow or use as inspiration for your own with whatever materials you have on hand.
This banner was made from scrapbooking materials.
Here is what you will need:
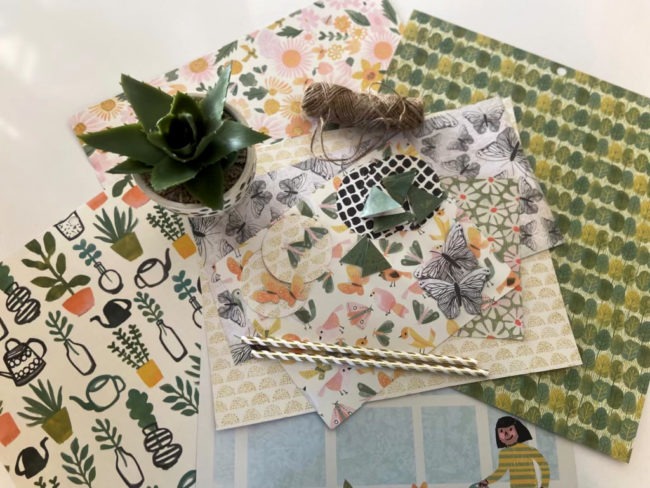
String / yarn / twine
2 Paper straws
Scrapbook paper
Glue dots/glue gun
Sticker letters
You can add decorations on each straw to amp up the cute factor! Just cut some cute shapes from scrapbook paper or add stickers and die cuts.
You make your cake topper say anything you want. The possibilities are endless with this easy DIY banner cake topper!
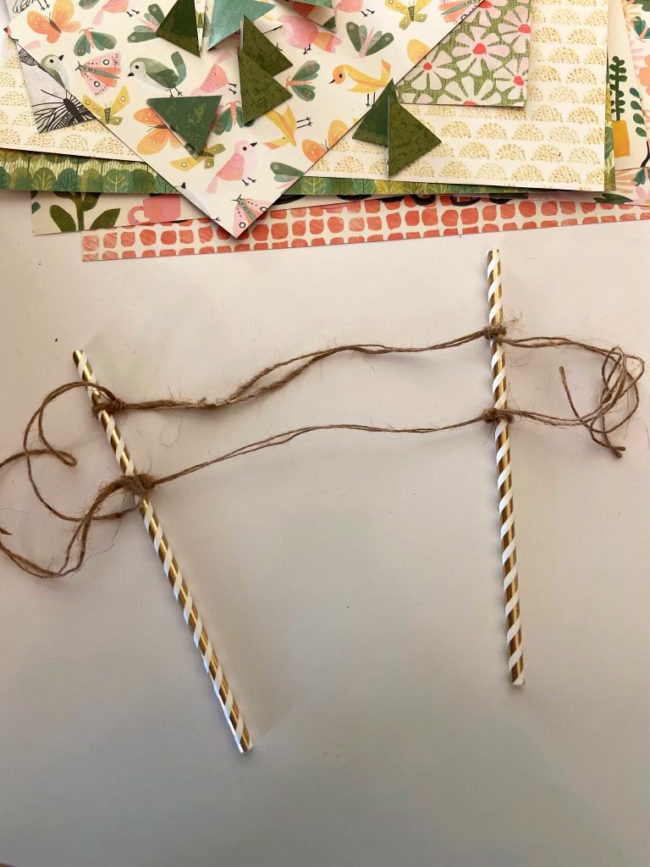
Step 1: Start by cutting twine. The size will depend on your wording. Carefully tie each strand between two decorative paper straws. Trim excess twine after you are finished.


Step 2: Cut triangles from scrapbook paper to make flap-over flags. Place each triangle on the twine with a glue dot or hot glue to create your bunting.
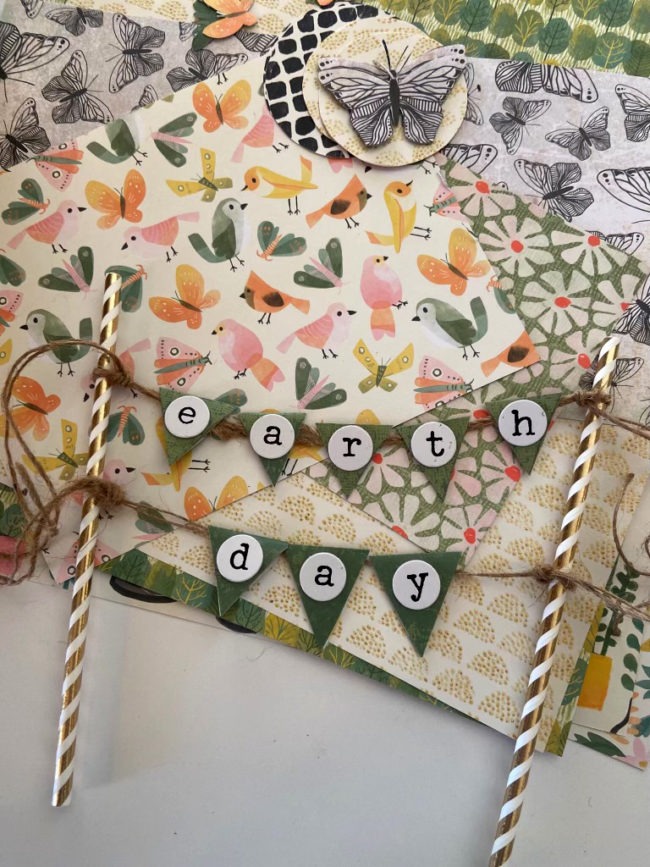

Step 3: Using letter stickers or a Sharpie, add letters to each flag to write your message.

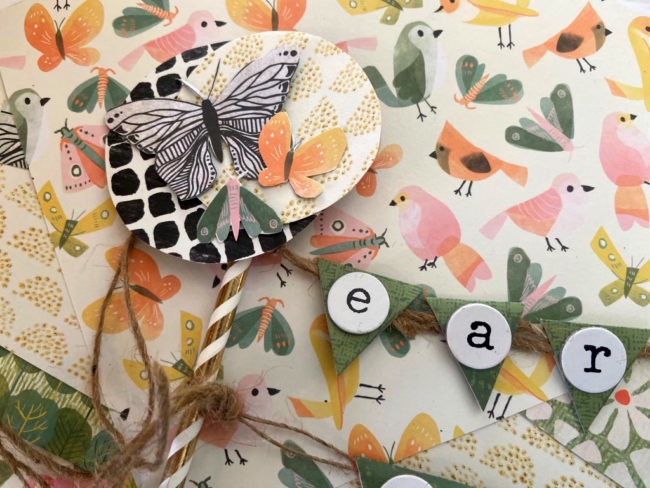
Step 4. Attach the decorative ends, using paper shapes and embellishments as desired.
Place ends of the straw in the cake for a picture-perfect presentation!
You may also like:
PIN FOR LATER:

Chasity Breshears
Latest posts by Chasity Breshears (see all)
TAKE BACK CONTROL OF YOUR HOME LIFE
 Ever feel like you just can't keep up? Our Living Well Starter Guide will show you how to start streamlining your life in just 3 simple steps. It's a game changer--get it free for a limited time!
If you love this resource, be sure to check out our digital library of helpful tools and resources for cleaning faster, taking control of your budget, organizing your schedule, and getting food on the table easier than ever before.