
Welcome back to the Beginner’s Guide to Cleaning! At this point in our series you should be feeling pretty good about your progress. Almost every room in your house is now spic and span, and hopefully the cleaning schedule you created for your family in Week 1 is helping to keep everyone stay on task.
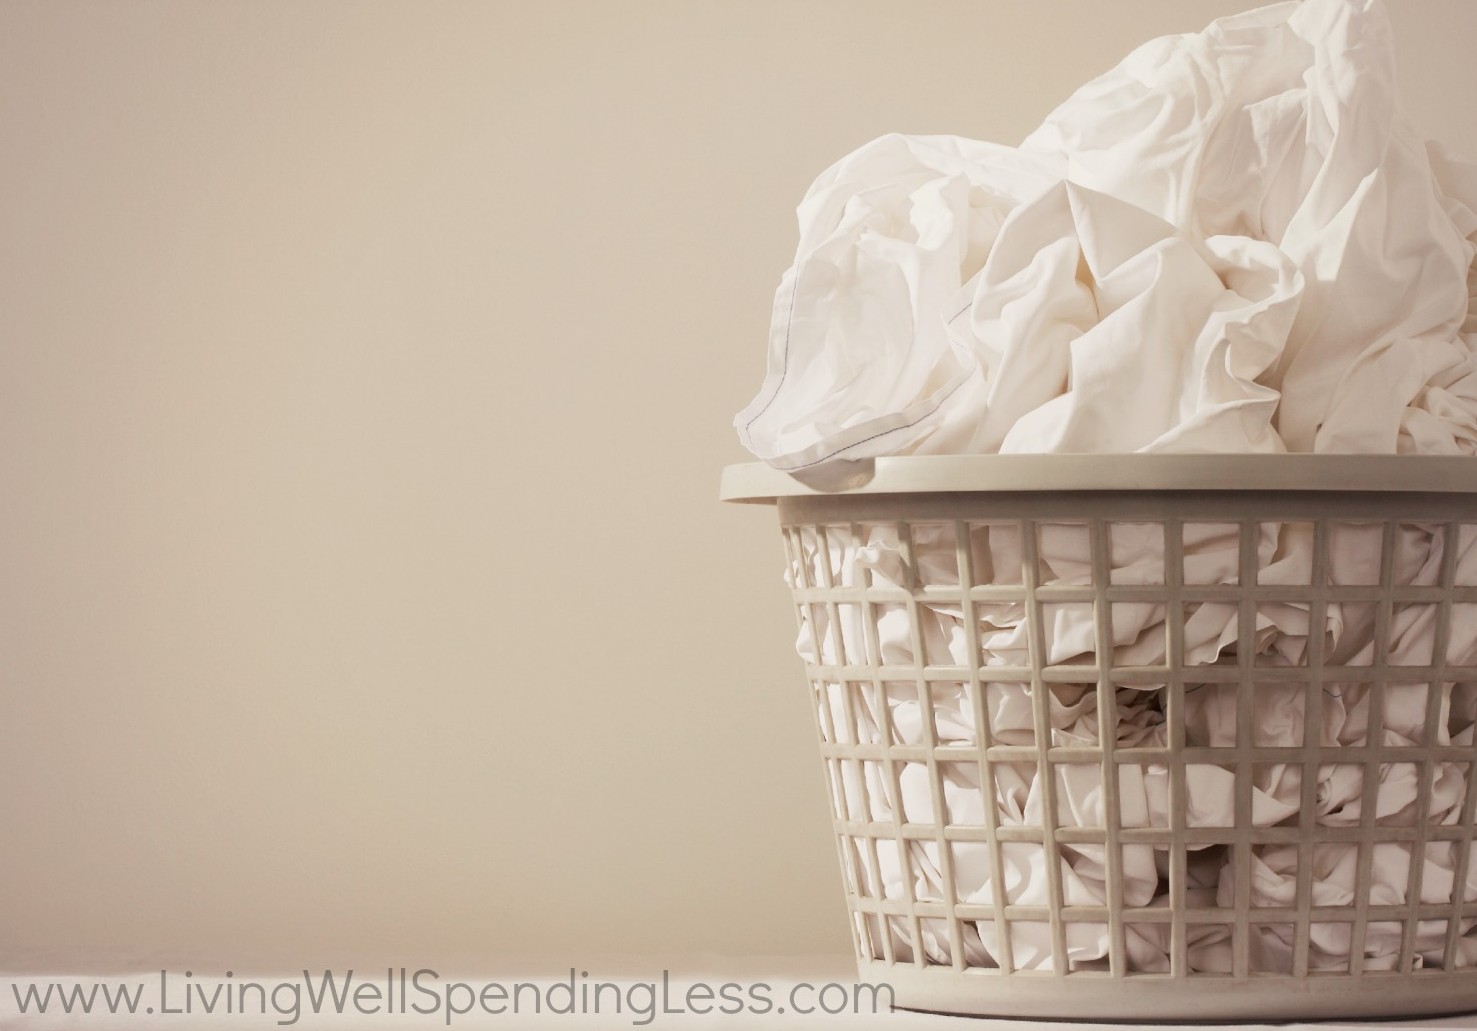
Even so, you may have to dig deep for motivation this week because we are going to tackle the job that most of us dread more than any other cleaning task. Seriously, is there anything less appealing than a pile of dirty clothes? The washing, the drying, the ironing, the folding, and the putting away….there is almost anything I’d choose to do before laundry.
But while had laundry is may be one of those parts of life we’d just assume avoid, the truth is that knowing a few essential basics & tricks will not only make the job easier, it will also get things cleaner and make your clothes last longer. And besides, isn’t anything worth doing is worth doing well?
The truth is that most essential part of conquering that laundry pile is not the know-how, but actually making the time for it. The time involved will vary according to your own family’s needs. Laundry for two or three people might be easier to do once a week, while laundry for a large family might need to be done a little each day. Make sure to include enough time in your weekly cleaning schedule for your family’s laundry needs!
Furthermore, if your kids are older (9 or more), take the time to teach them how to do their own laundry (or let them read this post!) Empowering them to learn good habits now will only help them prepare for living on their own, and it will make your life a whole lot easier!
This week will be a little different in that we are not tackling a specific room. This time I will walk you through the steps for pre-treating stains, washing whites, colors, towels, & delicates, as well as some basic tips for drying, ironing, and folding. If you are a seasoned launderer, much of it may be review—feel free to skip to the end of the post, or add your own tips & tricks in the comments below!
Let’s do this!
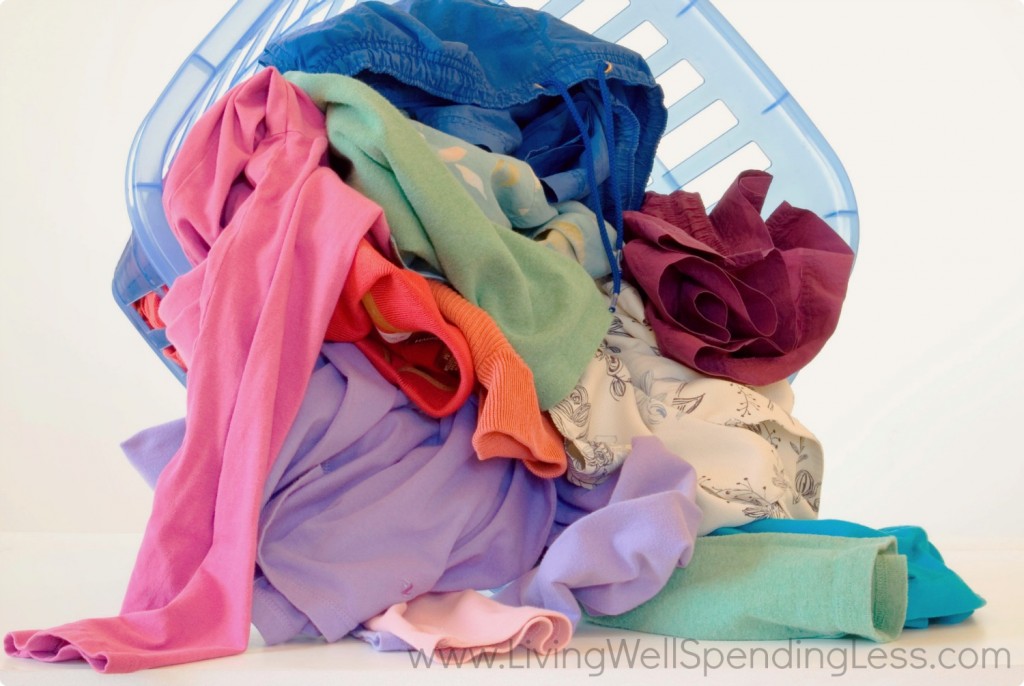
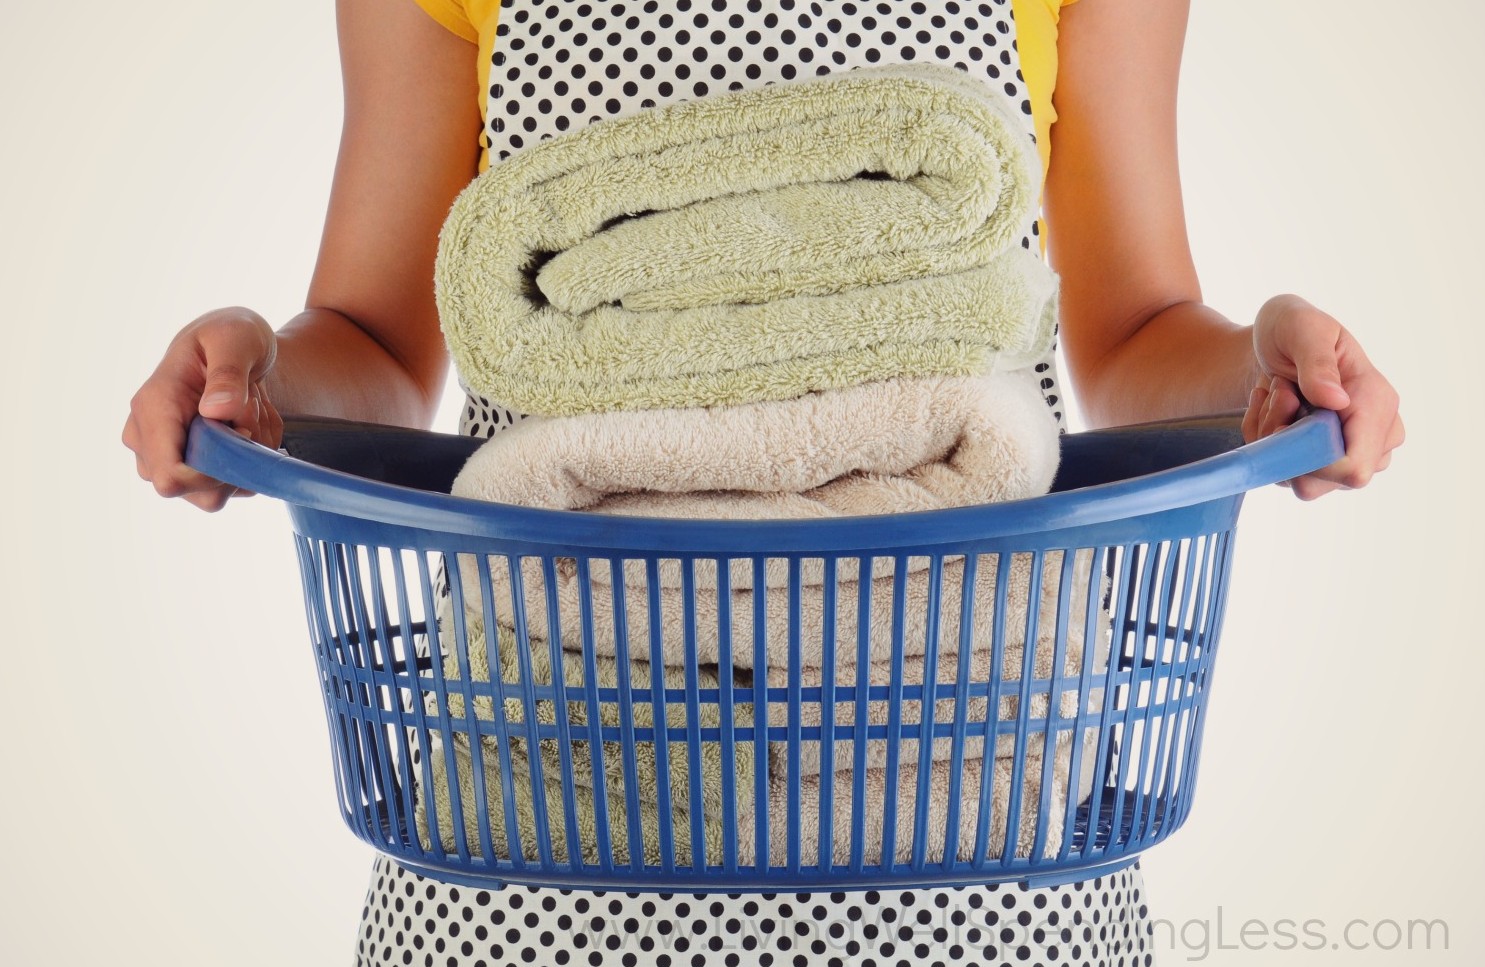
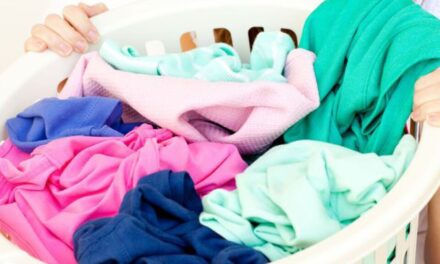
Step 1: Sort Laundry
Supplies needed: multiple laundry baskets or a heavy-duty laundry sorter
How-To: Gather all laundry and bring to one central location, preferably near the washer and dryer. In my home we have one permanent heavy-duty laundry sorter that everyone uses, and we sort our laundry as we go. (If you have a larger family, you may want to set up multiple sorters.) Sort laundry into whites, lights, and darks. I is also a good idea to sort towels and delicates into separate piles. Be sure to check for stains as you sort, and set any stained items aside.
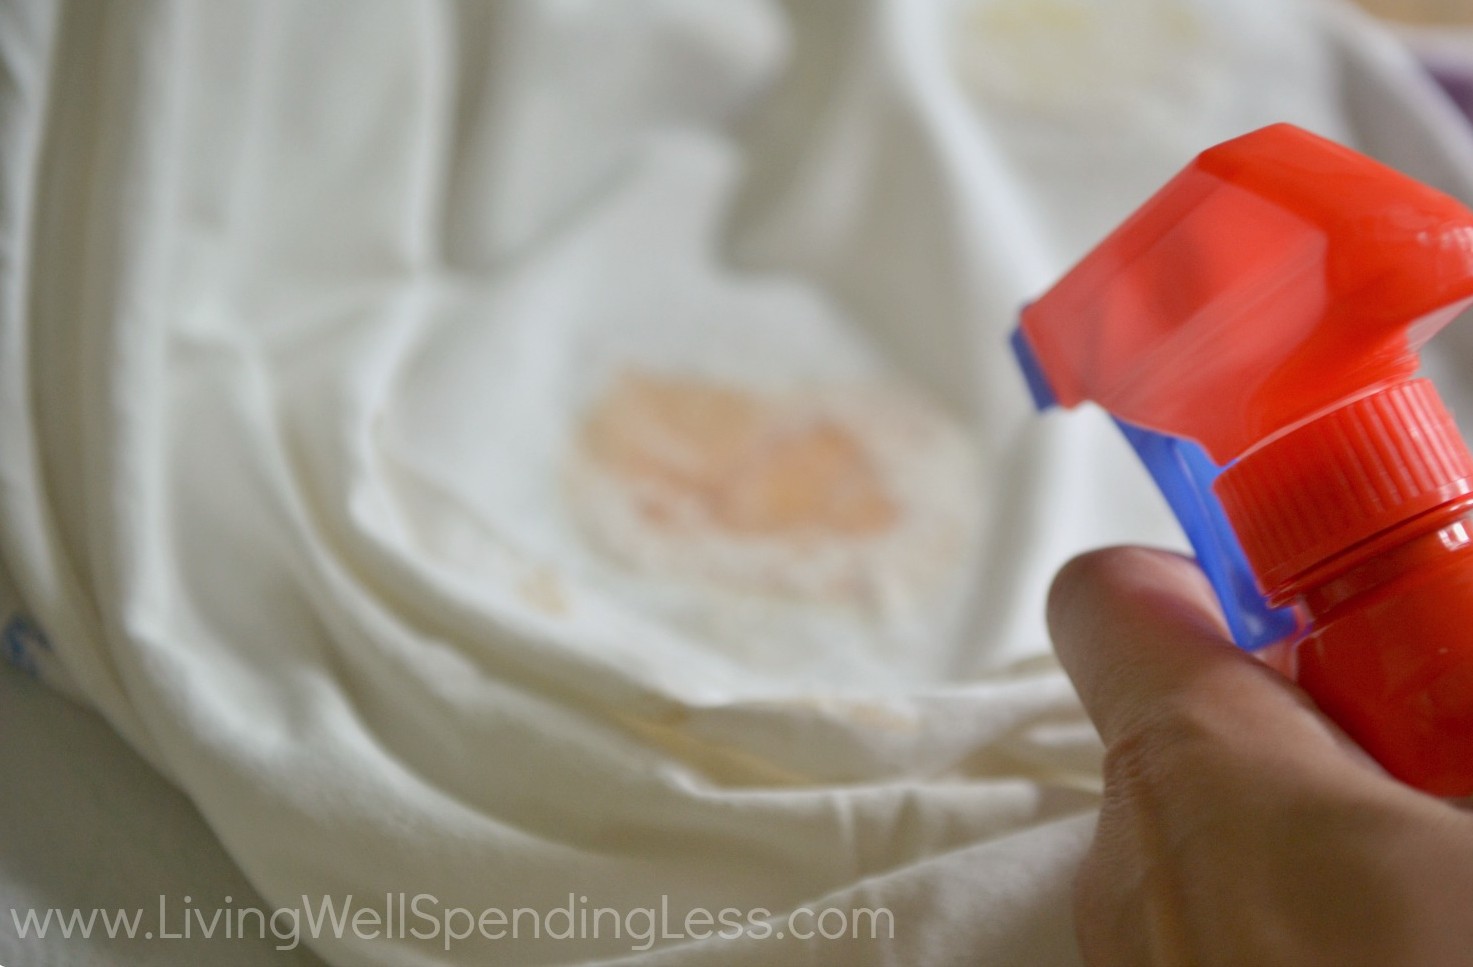
Step 2: Pre-Treat Stains
Supplies needed: paper towels, detergent or stain remover, Oxy-Clean or all-fabric bleach
How-To: Place stain face-down on a paper towel. Apply detergent or stain remover to stain and rub gently. Let set for a few minutes. Fill sink with lukewarm water and Oxy-Clean or all-fabric bleach. Soak stained items for 15-30 minutes, rubbing stains occasionally, then launder normally. Refer to this post or more tips on how to remove specific stains.
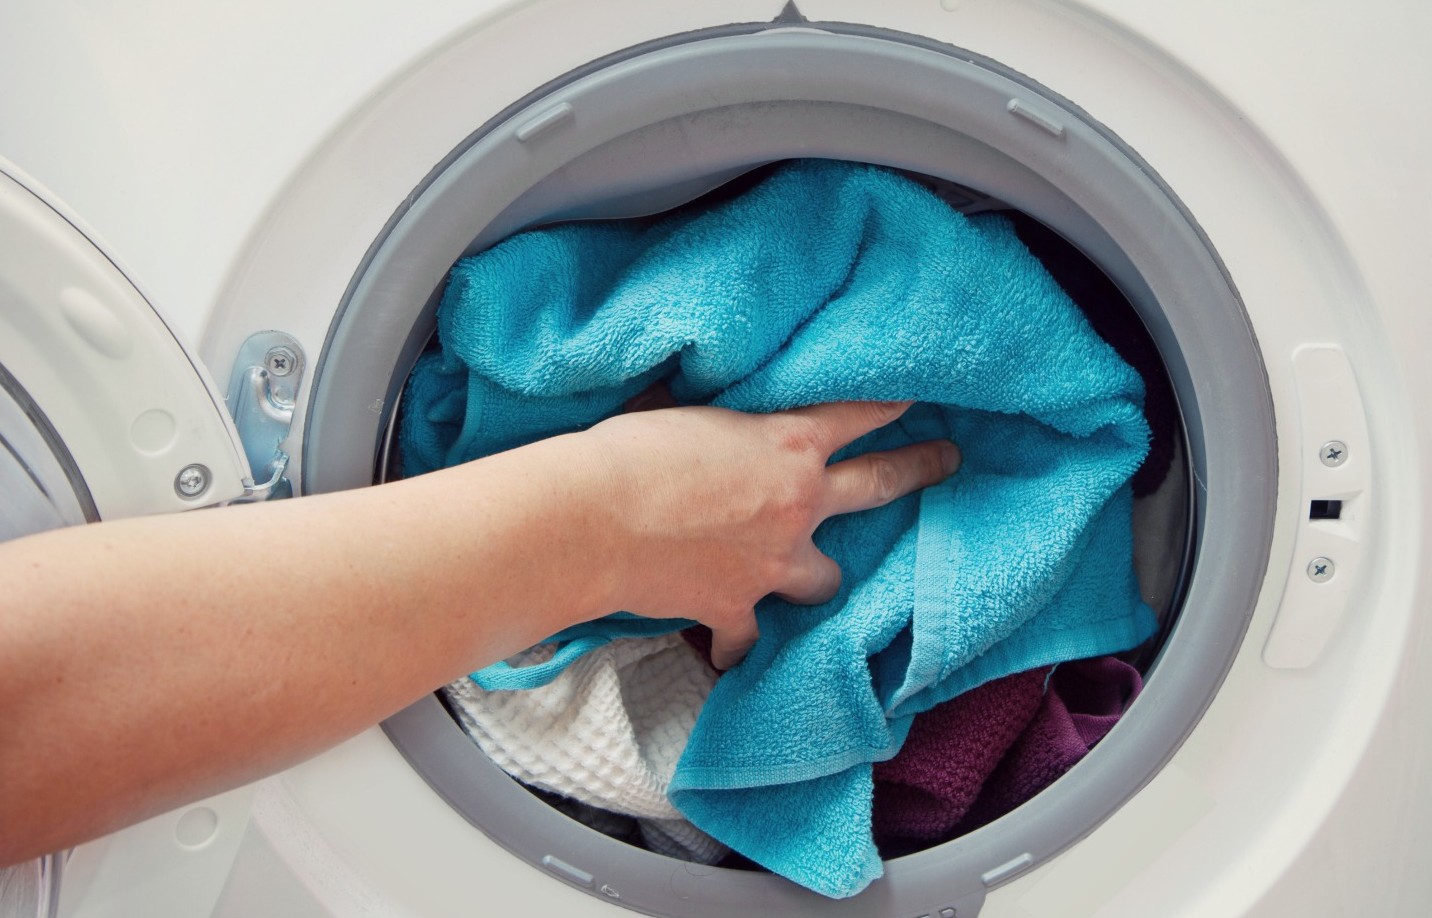
Step 3: Wash Colors
Supplies needed: Laundry detergent, laundry booster, liquid fabric softener
How-To: If you have more than one load of colors to do, separate your lights from darks. Darks should be washed in COLD water, but lights can be washed in warm water. If you are using a powdered laundry detergent, dissolve it in a cup of hot water before adding it to your wash. This will help prevent any powder residue. If you are using a front load washer, place laundry in washer, add detergent and fabric softener to detergent compartment, then close door and select wash temperature and cycle. For top load washers, set wash temperature and cycle, then fill with water, detergent, and laundry booster. Agitate for a minute or so before adding laundry. Wait for rinse cycle to add liquid softener, or use a dryer sheet instead.
Step 4: Wash Whites
Supplies needed: Laundry detergent, bleach, liquid fabric softener
How-To: Whites should be washed in HOT water with bleach. Using bleach every single time will prevent your whites from getting dingy. If you are using a front load washer, place laundry in washer. Add detergent, bleach, and fabric softener to detergent compartment, then close door and select wash temperature and cycle. For top load washers, set wash temperature and cycle, then fill washer with hot water, detergent, and bleach. Agitate for a minute or so before adding laundry. Wait for rinse cycle to add liquid softener, or use a dryer sheet instead.
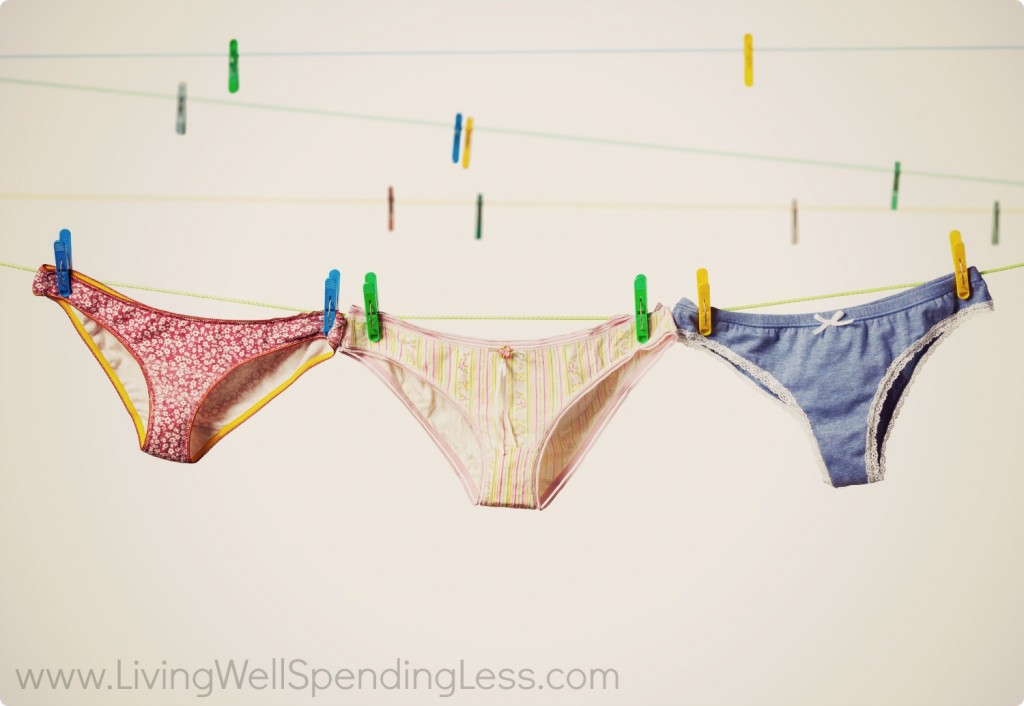
Step 5: Wash Delicates
Supplies needed: mesh laundry bags, Woolite or other mild detergent
How-To: If you are using a mesh bag, most delicates do not have to be washed by hand (even those that say hand-wash only.) Place items in bags, then wash on gentle cycle in cold water. If washing in sink, use cold water and agitate water by hand. Let soak, then rinse well and gently squeeze out excess water. Do not wring! Hang to dry.

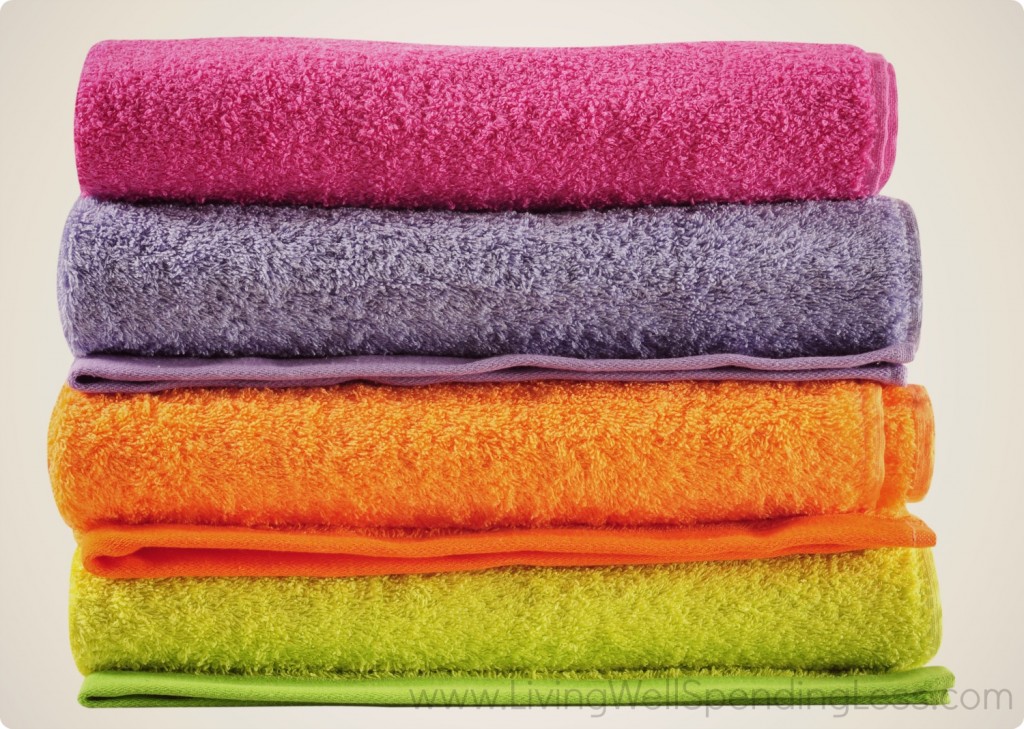
Step 6: Drying
Supplies needed: dryer sheets, flat surface
How-To: After washing, sort items to be dried. Sweaters and other knits should be laid flat to dry, while blouses and delicates can be hung. Air-dry anything else you do not want to shrink, as well as athletic wear such as yoga pants or swimsuits. Tumble dry clothing on low heat to avoid shrinkage; towels and sheets can be dried on medium-to-high heat. Use a dryer sheet or other fabric softener if not used during wash. Remove items from dryer as soon as they are dry and lay flat to avoid wrinkles.
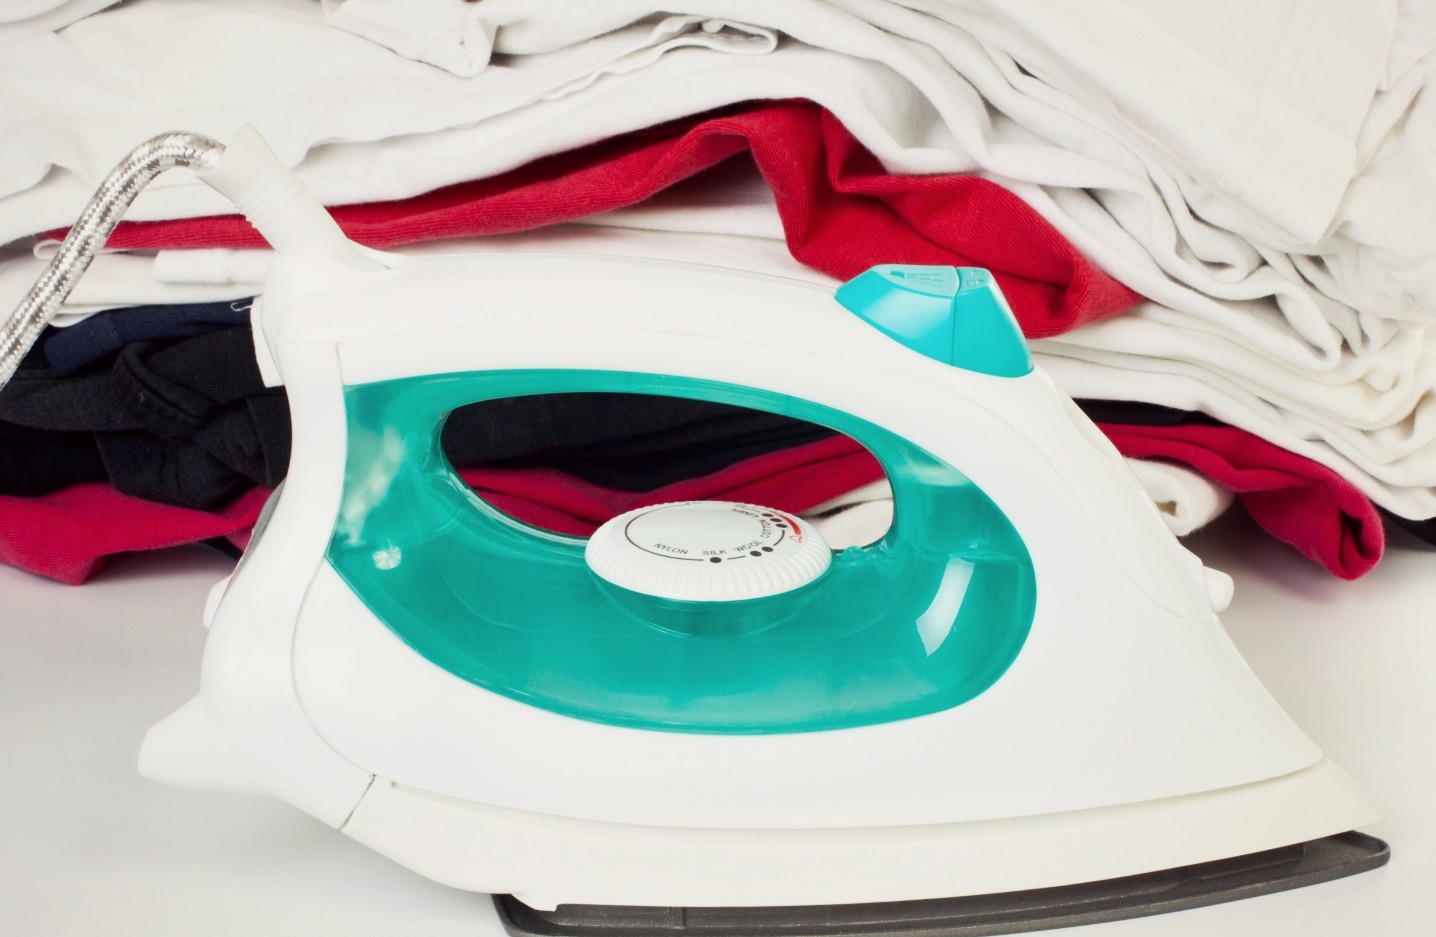
Step 7: Ironing
Supplies needed: Iron, spray starch, water, hangers
How-To: Check label of item you will be ironing. Fill iron with water, then plug in and set to appropriate heat setting, letting it sit upright while heating. If ironing multiple items, start with the item that requires the lowest heat setting and turn up the heat as you go. Lay section of item to be ironed flat on board. Smooth out wrinkles by hand. Spray with starch, then press with iron. Do not let the iron sit in any one place, but keep it moving continuously. Once section is complete, move to the next section until item is fully pressed. Hang immediately. For shirts, start with the collar, then press the sleeves, and finish with the main body of the shirt.
Step 8: Folding & Hanging
Supplies needed: book or cardboard for t-shirts, hangers
How-To: Create a standard folding method for your t-shirts, jeans, tank tops, shorts, socks, towels, sheets, and any other item that you keep folded. Things are much easier to put away when they are all folded the same way! Lay all items to be hung facing the same way in a single pile on flat surface. Place hangers inside necks as they lie flat. Be sure to check out this tutorial for how to fold a fitted sheet! Create separate piles for each family member.
Step 9: Putting Away
Supplies needed: laundry basket(s)
How-To: Once items have been folded and separated into piles, place items for each family member into laundry baskets to be put away. Be sure to allow your kids to help put away their own clothing! Finish by putting away sheets and towels.
Part Seven Assignment
Just to review, here is your Seventh assignment:
- Set aside a full day sometime this week to get completely caught up on laundry. If your kids are older, make plans to use this as a teaching day.
- Gather all the laundry in your house, then sort into whites, lights, darks, towels, and delicates. Pre-treat stains. Wash darks first, then lights, then whites, followed by towels and delicates.
- Dry, iron, fold, & put away clean laundry.
- Once you have caught up on all laundry, create a realistic plan for going forward. Will you a little laundry each day? Do a few loads twice a week? Tackle everything on one day? Figure out what will work best for your family, then schedule the time to do it.
The LWSL Beginner’s Guide to Cleaning:
Part 1: Getting Started Part 2: Cleaning Supply 101 Part 3: How to Clean Your Living Space Part 4: How to Clean Your Kitchen Part 5: How to Clean Your Bathroom Part 6: How to Clean Your Bedroom Part 7: Laundry 101 Part 8: Home Maintenance & Seasonal Cleaning* * *
Did I miss anything? What are your biggest laundry challenges?

Ruth Soukup
Latest posts by Ruth Soukup (see all)
- Stop Worrying About Money - July 19
- How to Fit In More Fitness - April 28
- The Most Powerful Decision You’ll Ever Make - April 27
TAKE BACK CONTROL OF YOUR HOME LIFE
 Ever feel like you just can't keep up? Our Living Well Starter Guide will show you how to start streamlining your life in just 3 simple steps. It's a game changer--get it free for a limited time!
If you love this resource, be sure to check out our digital library of helpful tools and resources for cleaning faster, taking control of your budget, organizing your schedule, and getting food on the table easier than ever before.


Great tips — but instead of fabric softener and dryer sheets, I use wool dryer balls. They do just as good a job, but they’re reusable, which saves me a ton of money. Plus, I never find myself reaching into an empty box because “someone” forgot to tell me they used the last dryer sheet.
AND they’re chemical free, so I feel good about using them on undies, sheets, towels — all the stuff that is right next to your skin all. day. long.
Also, dryer sheets make your stuff LESS ABSORBENT! You can’t use them on cloth diapers, microfiber anything, or anything you need to be absorbent, like yoga pants and gym clothes.
Most wool dryer balls are white, and since I wear black everything, I was ridiculously thrilled to find these black ones (I absolutely LOVE them!!): http://www.uncommonmarkets.net
What about jeans? Are those considered to be darks or should they be washed completely seperate from the other loads. How should they be washed?
Forgive me if I missed it, but could you talk about how (and how often) to clean the actual washer and dryer? I have a top-loading washer and I find that under the lid but above the water line, the edges and center thingy become full of dirt very quickly. Do you wipe these down every time you do laundry? and do you just use something that is going in the washer in that load, like a towel? Thanks!
Washing is one of the tedious process which people find difficult and frustrating. Even as a beginner, one can make a great mess if proper washing methods are not followed. This post is very much useful not only for beginners but even for many others that helps in smart and effective washing of clothes.
I have been enjoying this series! I have an additional tip for this step that is important but often overlooked in this day and age – mending! This can be as simple as replacing a button or fixing a loose hem. I recommend setting aside time to get all caught up on the mending (just as with everything else for this week) and adding mending as part of your regular laundry routine.