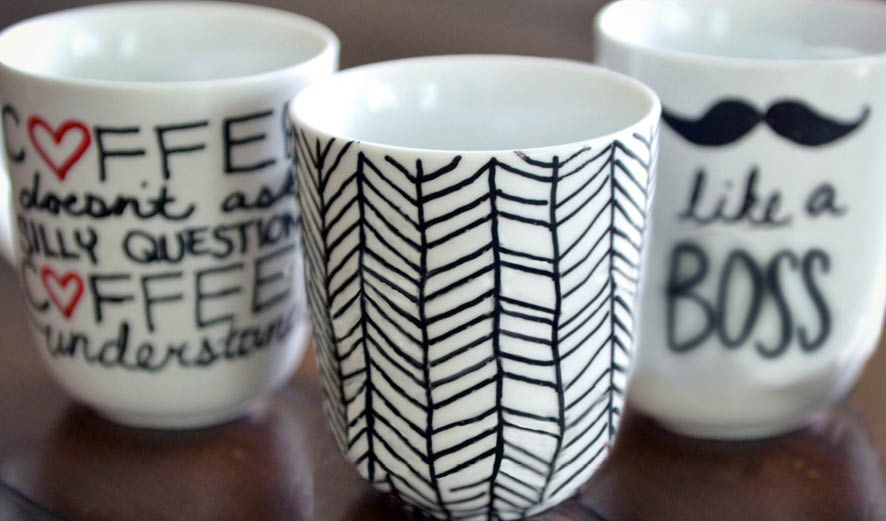
DIY Sharpie mugs are still all over Pinterest, but do they really work? This step-by-step tutorial shows you how to make them and tells you exactly which markers won’t wash off! Great gift idea!
For the past year or two, I’ve been seeing these Sharpie mugs all over Pinterest. And every time I see them, I think, “those are so cute. I should totally try that! They look SO easy!” But then I started noticing a lot of comments on those Sharpie mug photos, most of them complaining that while these darling little mugs are indeed the easiest craft ever, the marker is not actually wash resistant when applied to ceramic. And who wants a coffee mug they can’t wash?
But then I was on a hunt for some cute mugs for my new office and I couldn’t find a single one I liked, probably because in my head I was envisioning all those cute Sharpie mugs I had been drooling over. A little research helped me figure out how to make them permanent and washable!
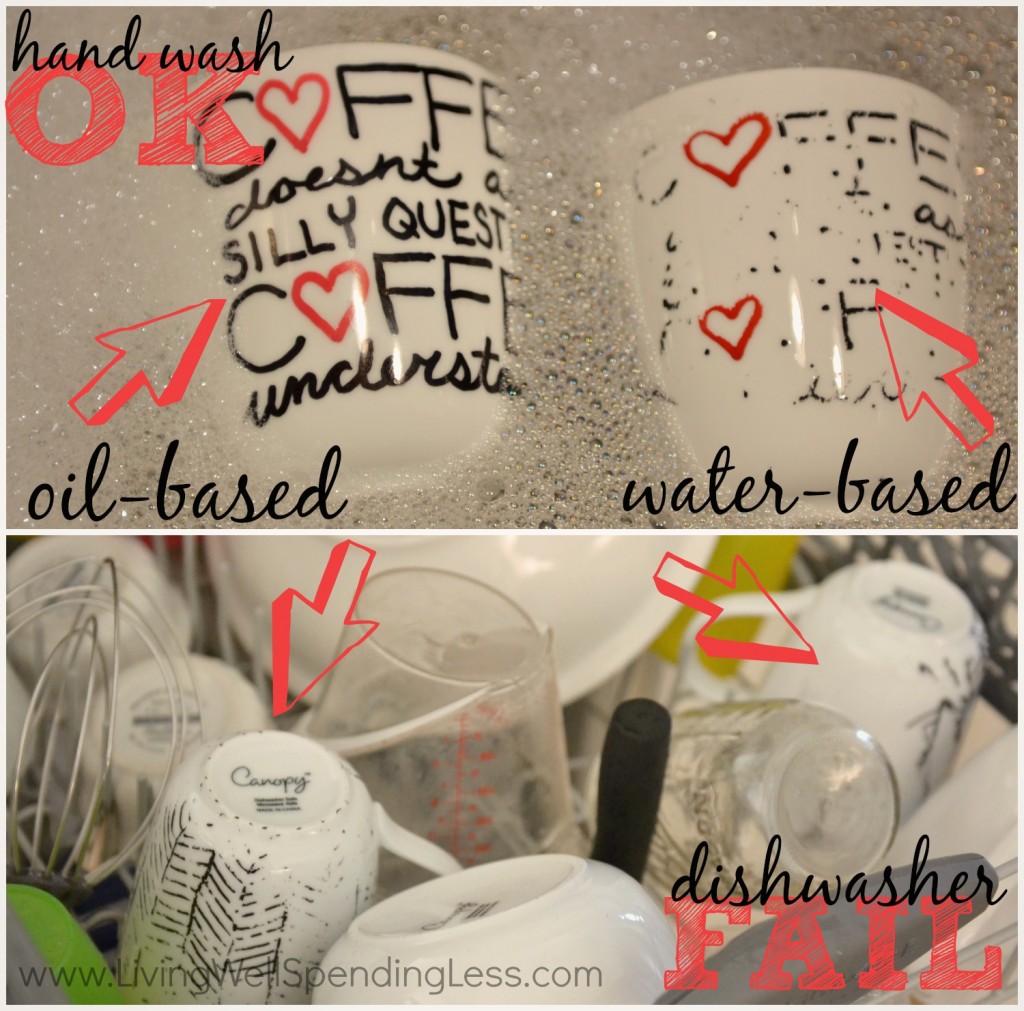
I found out that plain old regular Sharpie markers do not work at all for this project. The trick, I discovered, is that the markers must be OIL BASED, not water-based (which regular sharpies are). Thus, if you want to attempt this project, be sure to ONLY do it with the oil-based Sharpie paint markers!
Even so, as my field testing proved, these cute little mugs will NOT be dishwasher safe. They do just fine with soap and water but the dishwasher means sure and sudden death to all your artistic effort. That said, they really are a fun & easy DIY project, and turn out SO cute without much effort. The possibilities are practically endless, and they would make a fantastic gift idea for just about anyone. (Just make sure to include washing instructions!)
UPDATE:
LWSL reader Ana shared the following comment on Facebook: “I used oil-based paint markers and even after curing them, they smudged when they got too hot. Instead, I bought DecoArt glass paint markers, followed the directions to a T and I have washed it in the dishwasher several times, no smudges or washing off.”
DIY Sharpie Mugs
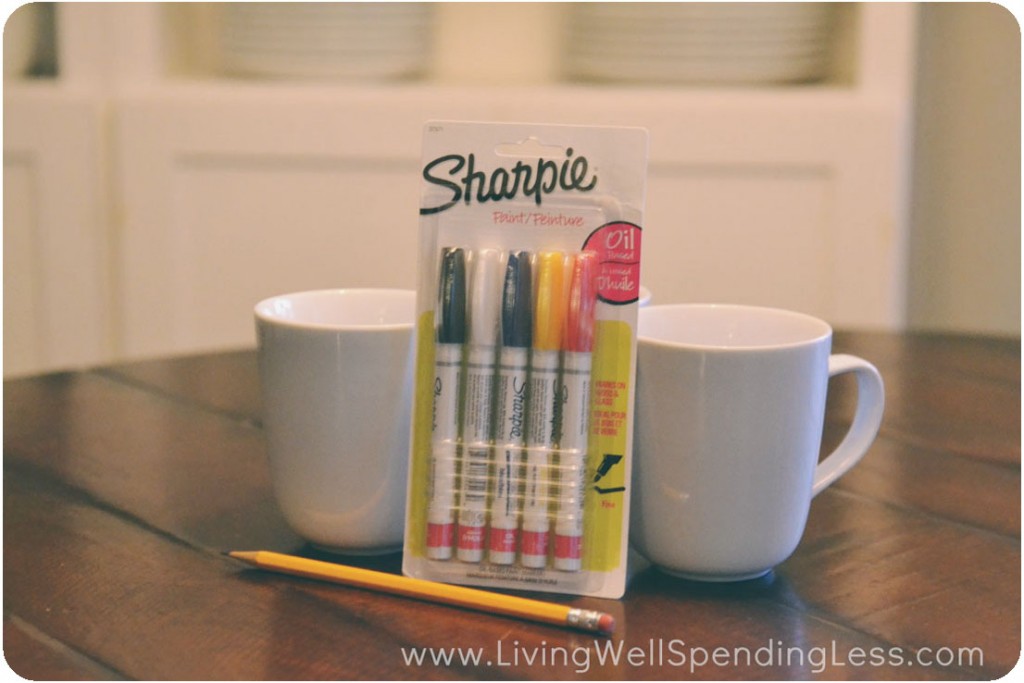
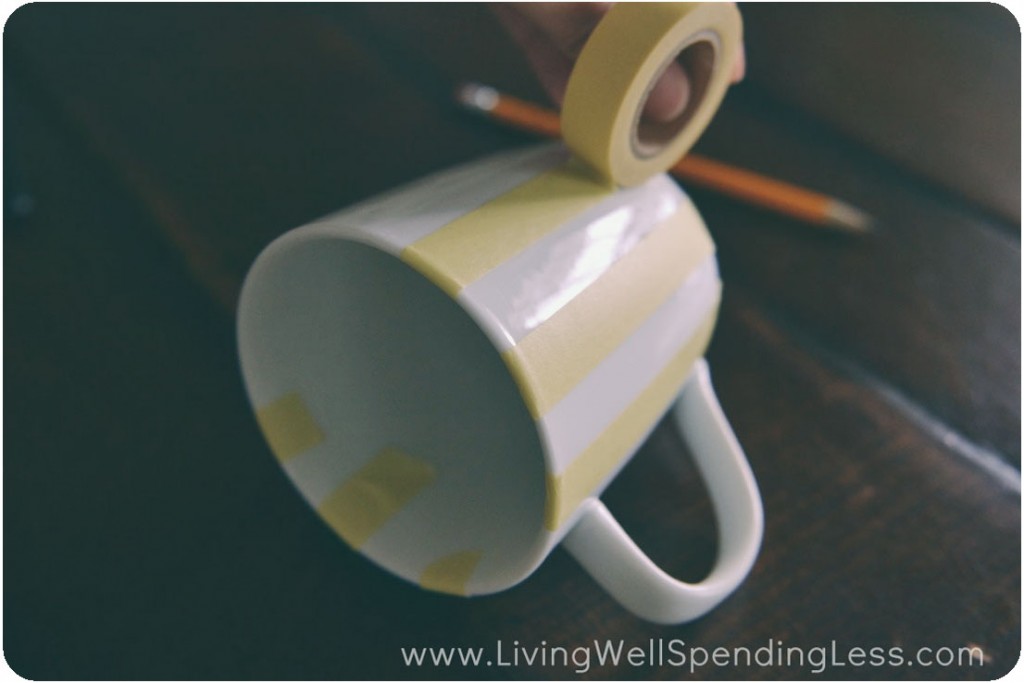
Step 1: Wash and dry your mug, if new. Decide on a design and prep design with masking tape, if necessary.
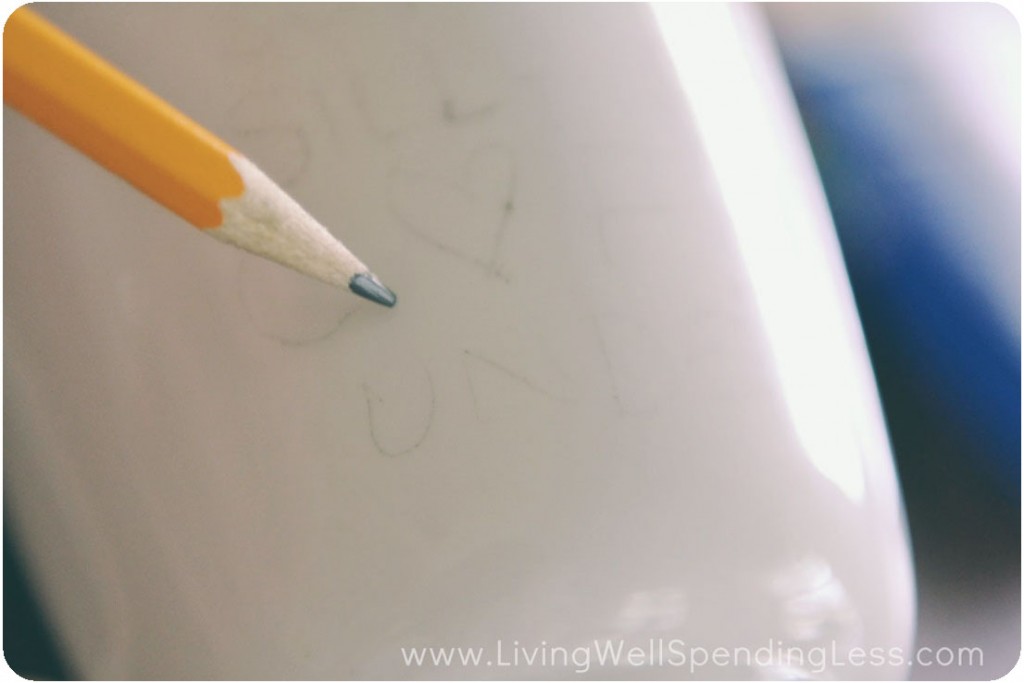
Step 2: Use a pencil to rough out a design for any words or lines. Remove masking tape.
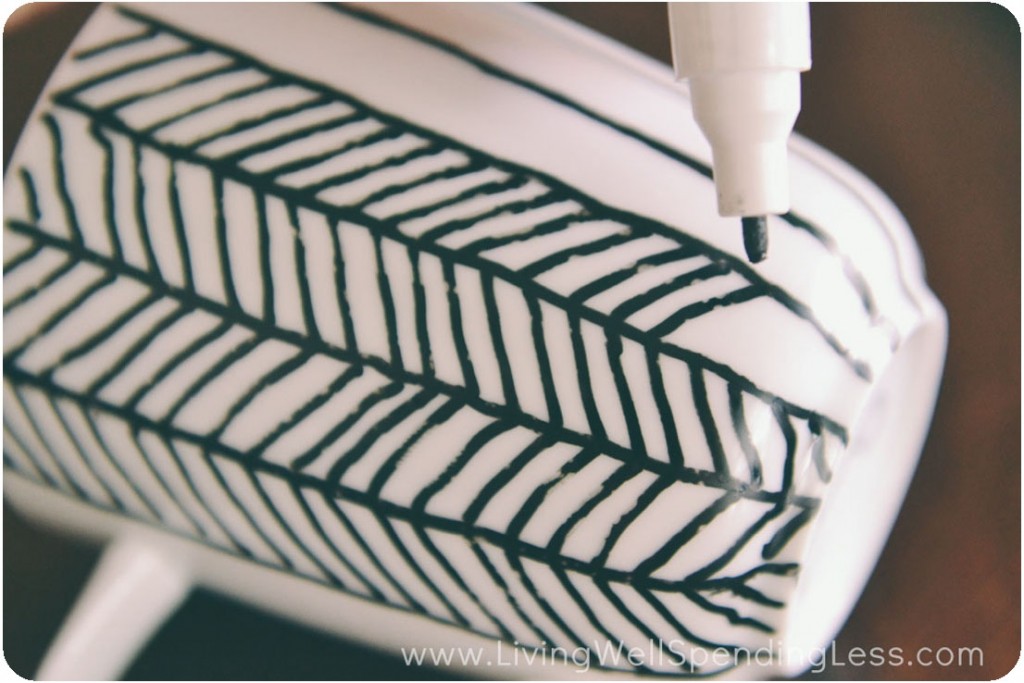
Step 3: Carefully draw your design with Sharpie paint markers.
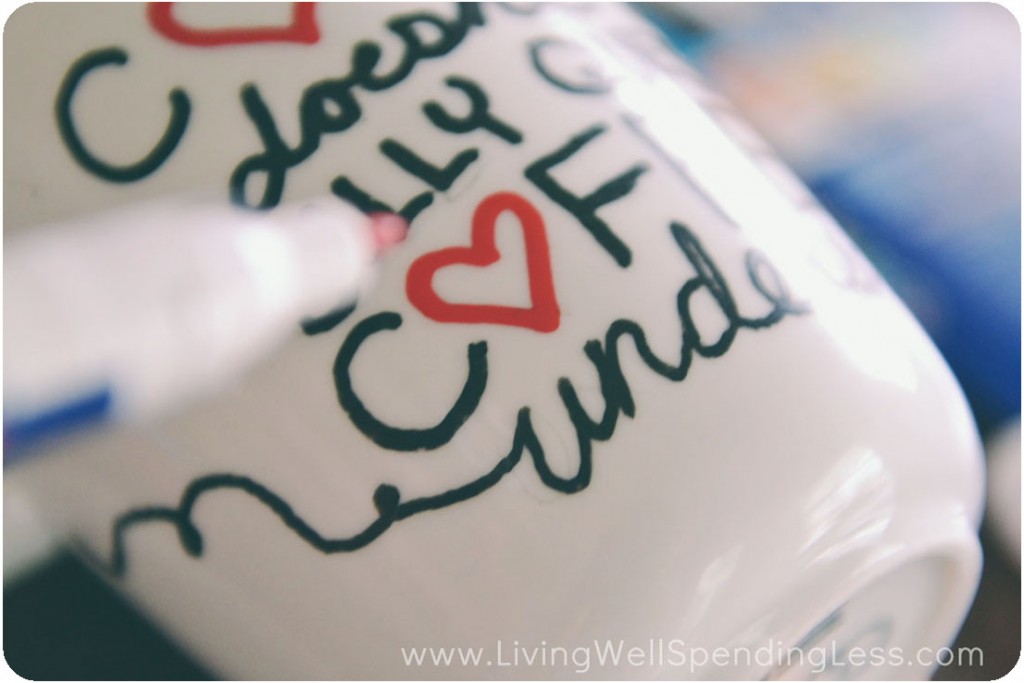
Step 4: Add accent colors, if necessary.

Step 5: Bake mugs at 350 degrees for 20 minutes to set paint; let cool completely.


Finally, remember that these will NOT be dishwasher safe! Be sure to hand wash ONLY!
Want more? Check out these other handmade gifts you can make!
Pin for Later:
TAKE BACK CONTROL OF YOUR HOME LIFE
 Ever feel like you just can't keep up? Our Living Well Starter Guide will show you how to start streamlining your life in just 3 simple steps. It's a game changer--get it free for a limited time!
If you love this resource, be sure to check out our digital library of helpful tools and resources for cleaning faster, taking control of your budget, organizing your schedule, and getting food on the table easier than ever before.






Hey I am a 9 year old and I love art. I want to do this project but this will be for my mom’s coffee and also it is a secret. It’s for X-Mas. So looking to it.
To Ruth: Ma’am, I read your story. It is really deep. I have dealt with similar issues, but I didn’t tell anyone. I am all done now, I am clean, and your blog actually helped me a lot. I love sharpie mugs and I promise to try them out! You are so inspiring, you show people that it is possible to move on and get your life back, or make a new one! In this last year I have made a lot of friends and I am proud to say that I FINALLY HAVE A LIFE AGAIN! My friend/sister (thats how close we are) is having some issues as well, so I directed her to your story (not to put you on the spot, just trying to help her) and told her that she could get better. She’s been clean for a while now too!
Thank you for being brave.
I just designed some mugs for the first time using oil based sharpies. I didn’t read the part about having to bake them afterwards? What if you have to wait till the next day to bake them? Will that still be ok? We have some issues with our oven
What do I bake the mugs on?
I baked them on a cookie sheet. 🙂
I’ve been hearing that the mugs have to heat up with the oven. Do they have to heat up with the oven and then bake for 20 mins?
I would be less concerned about whether these are dishwasher safe, and more worried about whether they are FOOD safe. I’ve yet to see a marker or paint pen that is labeled for such a use. Even those marked non-toxic are not considered food safe. If in doubt, consult the manufacturer.
The markers are on the outside!!!!!
Yes, but the pattern goes all the way to the top, so the paint or ink could easily come in contact with a person’s mouth while drinking from the mug.
Found on the Shapie website faqs
(http://www.sharpie.com/en-US/sharpie-faqs)
“While Sharpie markers are AP-certified non-toxic, we do not recommend using them on areas of items that may come in contact with food or the mouth (such as the rim of a coffee cup). Sharpie markers are only recommended for use on ceramic or glassware when the product is being used for decorative or display purposes and not intended to come in contact with food or the mouth. If you intend to design a mug or a cup using Sharpie markers and then use the mug or cup, any such designs must be at least one inch below the rim where a person’s lips could touch.”
I want to write a cute message inside a mug at the botton. Do you think the decoart marker would be safe to use inside? Thank you!
Just be sure to check the package for safety and usage instructions.