
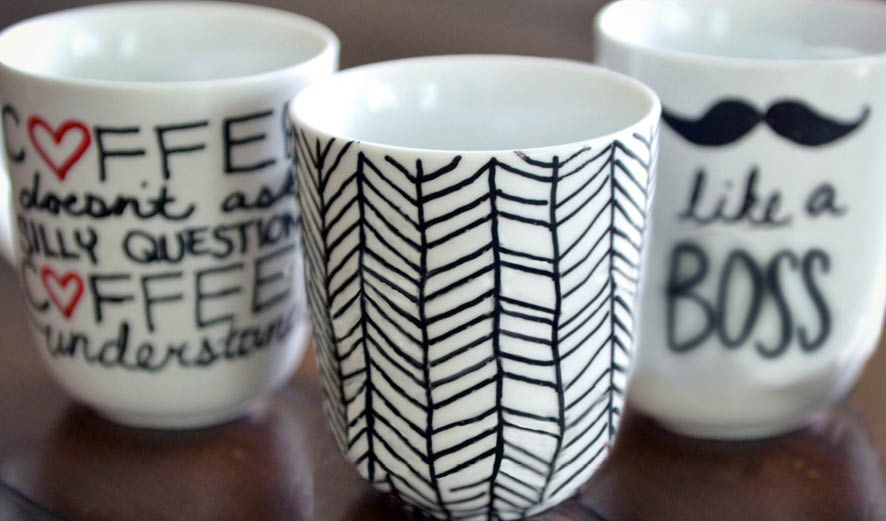

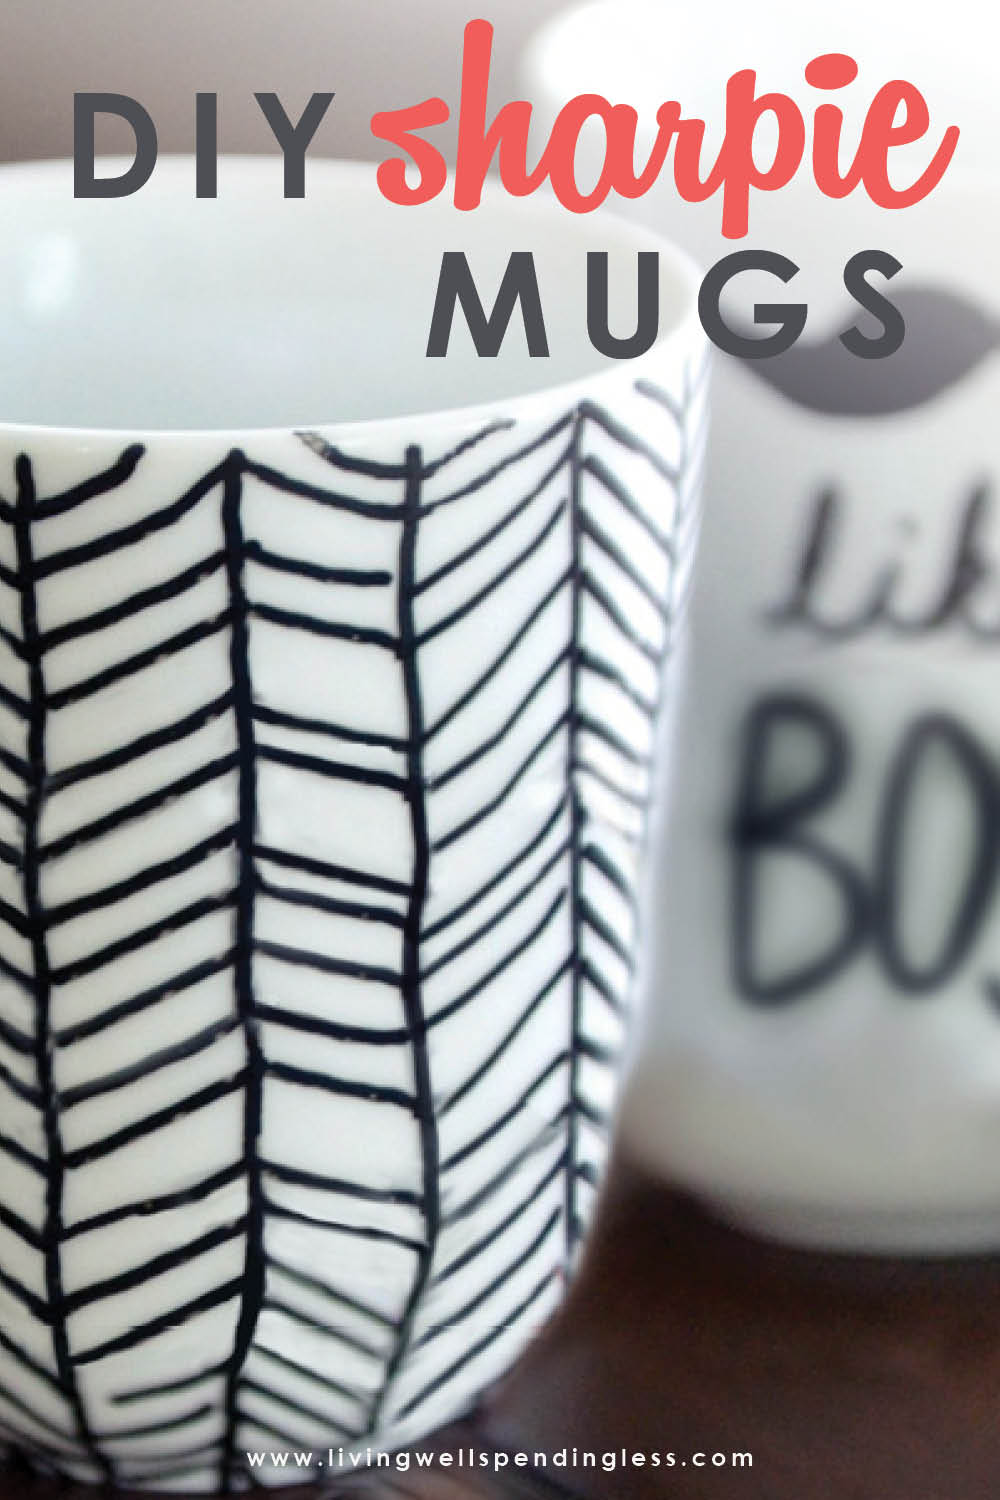
DIY Sharpie mugs are still all over Pinterest, but do they really work? This step-by-step tutorial shows you how to make them and tells you exactly which markers won’t wash off! Great gift idea!
For the past year or two, I’ve been seeing these Sharpie mugs all over Pinterest. And every time I see them, I think, “those are so cute. I should totally try that! They look SO easy!” But then I started noticing a lot of comments on those Sharpie mug photos, most of them complaining that while these darling little mugs are indeed the easiest craft ever, the marker is not actually wash resistant when applied to ceramic. And who wants a coffee mug they can’t wash?
But then I was on a hunt for some cute mugs for my new office and I couldn’t find a single one I liked, probably because in my head I was envisioning all those cute Sharpie mugs I had been drooling over. A little research helped me figure out how to make them permanent and washable!
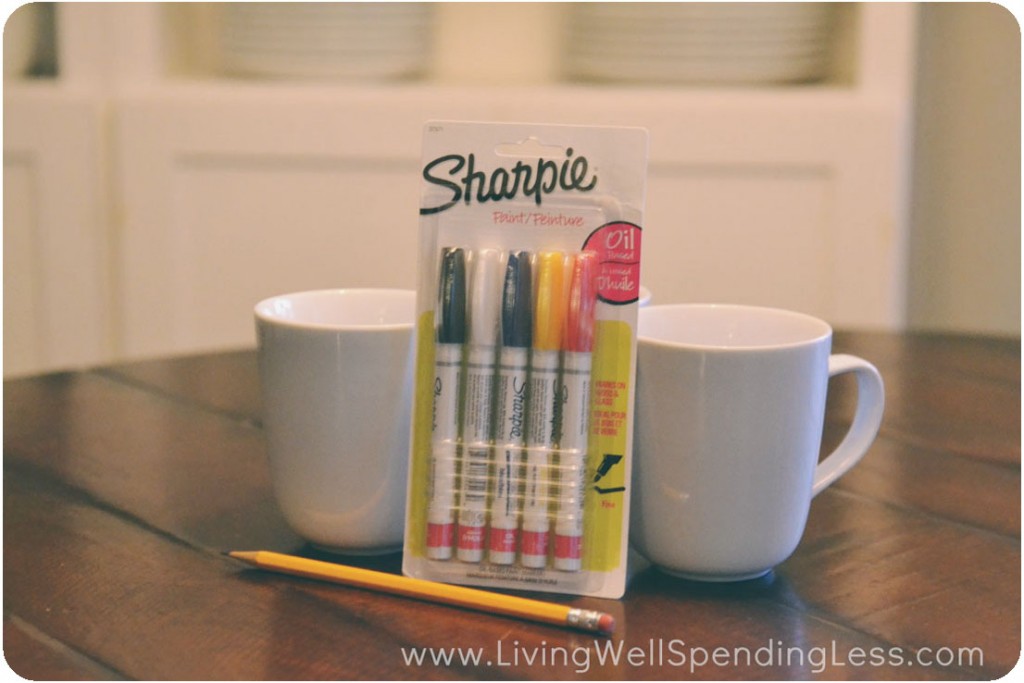
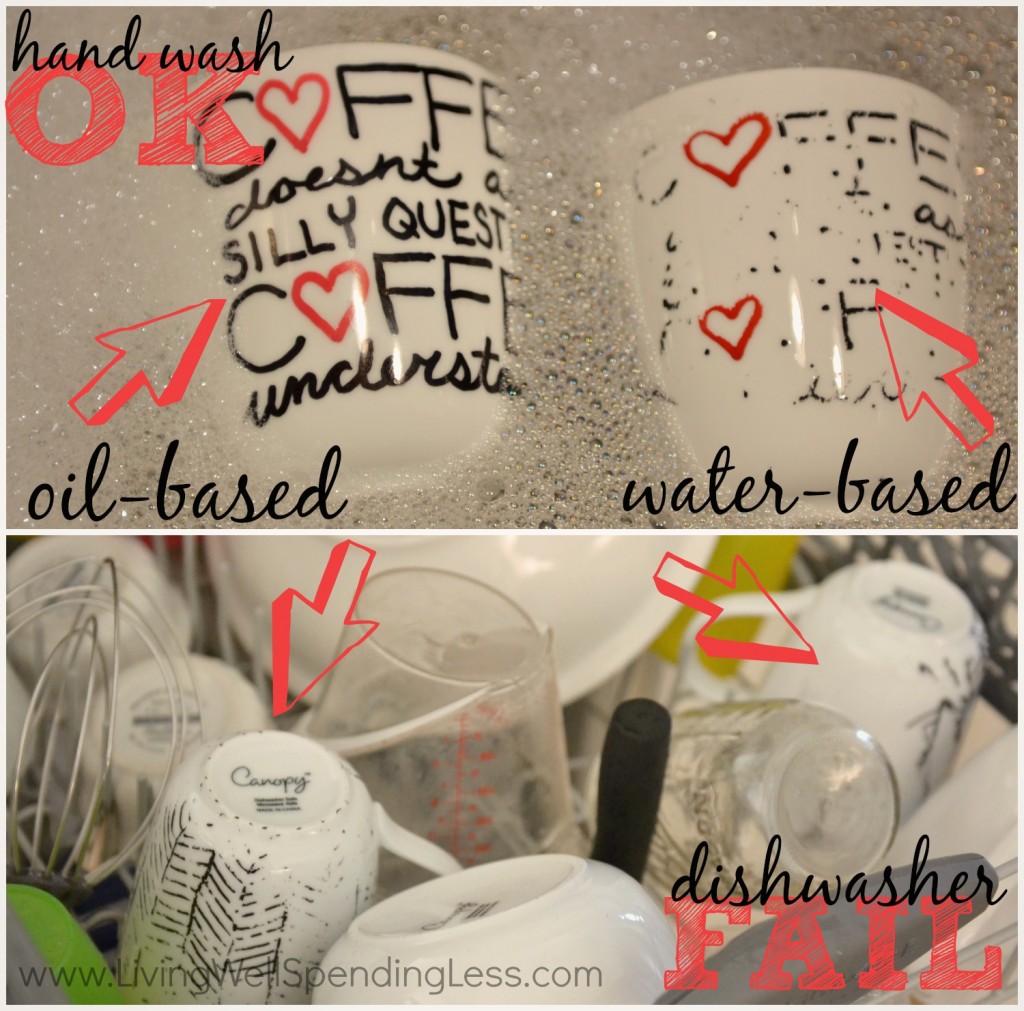
I found out that plain old regular Sharpie markers do not work at all for this project. The trick, I discovered, is that the markers must be OIL BASED, not water-based (which regular sharpies are). Thus, if you want to attempt this project, be sure to ONLY do it with the oil-based Sharpie paint markers!
Even so, as my field testing proved, these cute little mugs will NOT be dishwasher safe. They do just fine with soap and water but the dishwasher means sure and sudden death to all your artistic effort. That said, they really are a fun & easy DIY project, and turn out SO cute without much effort. The possibilities are practically endless, and they would make a fantastic gift idea for just about anyone. (Just make sure to include washing instructions!)
UPDATE:
LWSL reader Ana shared the following comment on Facebook: “I used oil-based paint markers and even after curing them, they smudged when they got too hot. Instead, I bought DecoArt glass paint markers, followed the directions to a T and I have washed it in the dishwasher several times, no smudges or washing off.”
DIY Sharpie Mugs
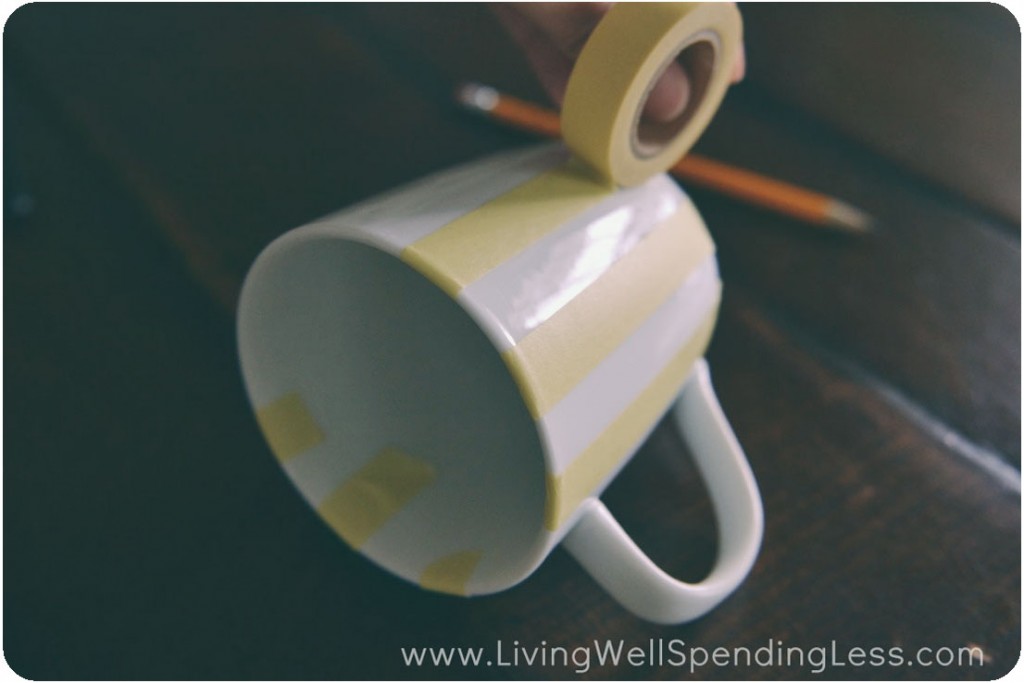
Step 1: Wash and dry your mug, if new. Decide on a design and prep design with masking tape, if necessary.
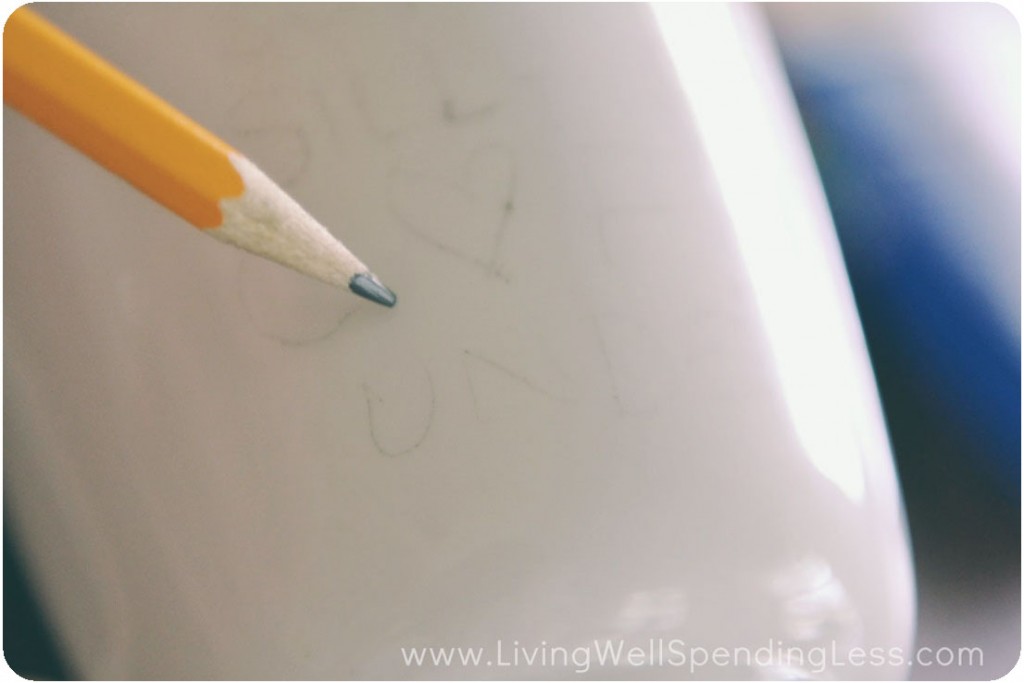
Step 2: Use a pencil to rough out a design for any words or lines. Remove masking tape.
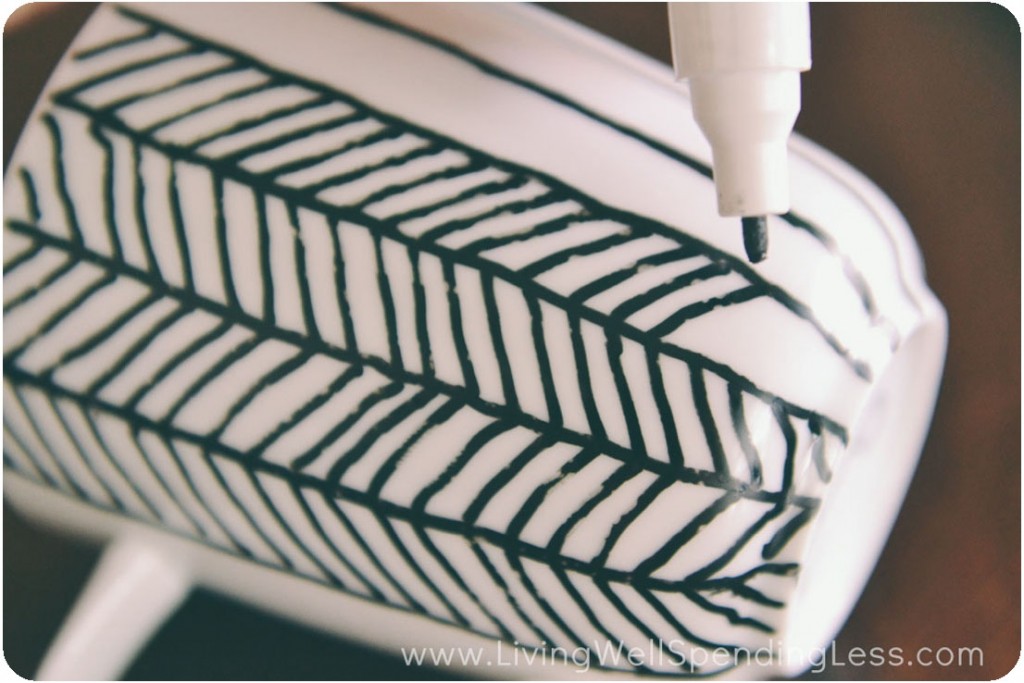
Step 3: Carefully draw your design with Sharpie paint markers.
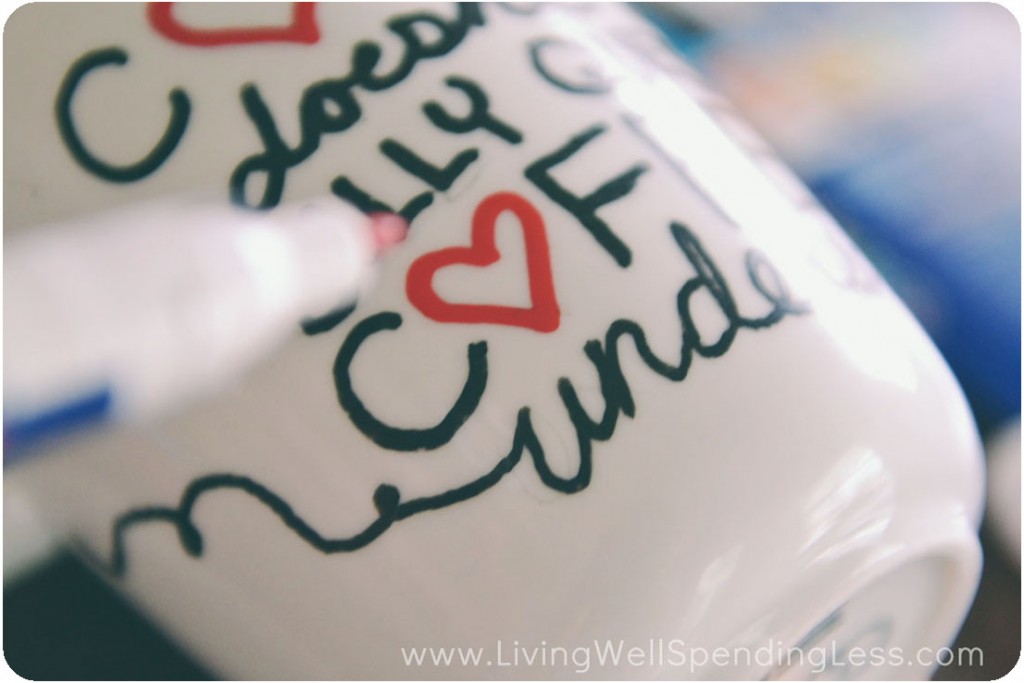
Step 4: Add accent colors, if necessary.
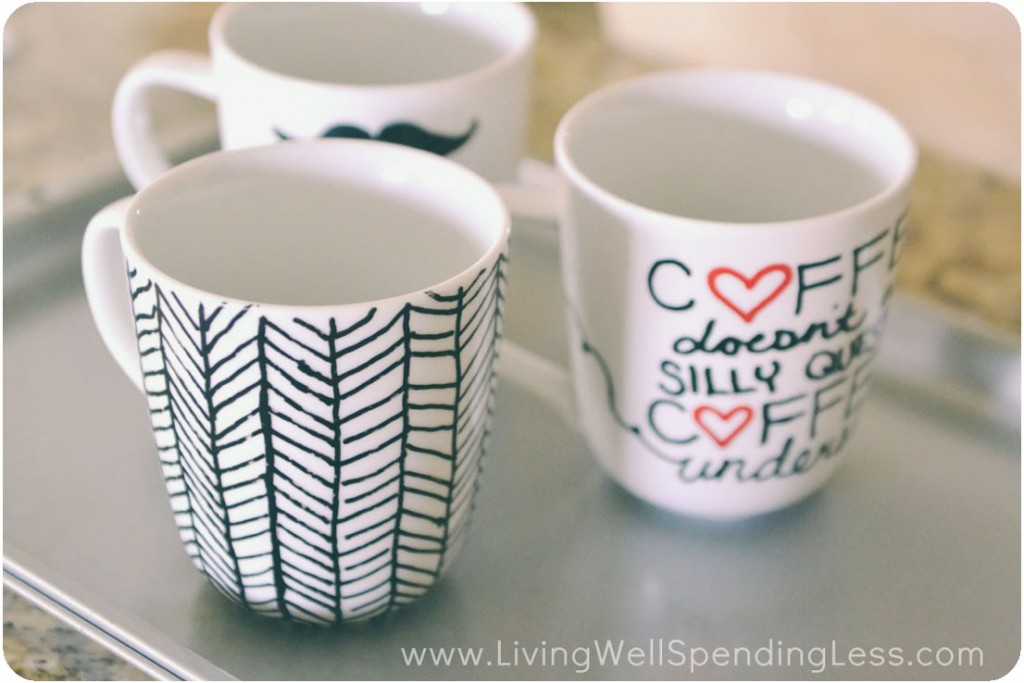
Step 5: Bake mugs at 350 degrees for 20 minutes to set paint; let cool completely.


Finally, remember that these will NOT be dishwasher safe! Be sure to hand wash ONLY!
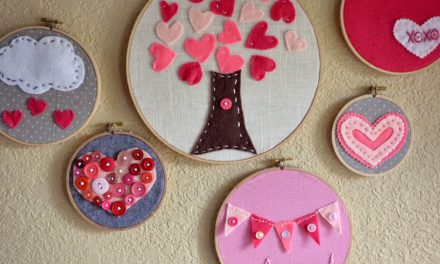
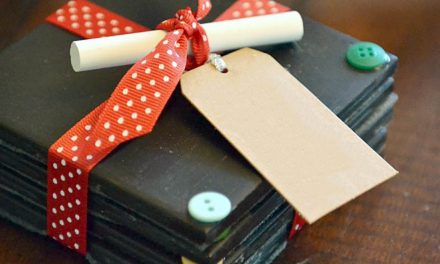
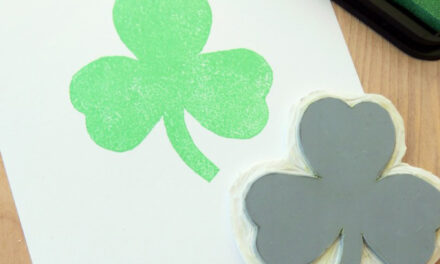
Want more? Check out these other handmade gifts you can make!
Pin for Later:

Ruth Soukup
Latest posts by Ruth Soukup (see all)
- Stop Worrying About Money - July 19
- How to Fit In More Fitness - April 28
- The Most Powerful Decision You’ll Ever Make - April 27
TAKE BACK CONTROL OF YOUR HOME LIFE
 Ever feel like you just can't keep up? Our Living Well Starter Guide will show you how to start streamlining your life in just 3 simple steps. It's a game changer--get it free for a limited time!
If you love this resource, be sure to check out our digital library of helpful tools and resources for cleaning faster, taking control of your budget, organizing your schedule, and getting food on the table easier than ever before.


I love this idea and all the specific tips to make it work. Over Christmas I made these as part of a white elephant gift swap. I included a Starbucks via in each mug and a super soft throw blanket. It was white elephant because I wrote I (heart shape) Thrifty Little Mom.com, my blog, because I knew that about 3 of the 25 women in the group read my blog and they would think it was hilarious. I also didn’t tell my husband about the mugs and when he saw it, he laughed so hard that I would do that. Everyone fought over the blankets and my friends got a good laugh about my silly little mugs. lol I want to make some next year a Christmas gifts following the directions outlined here.
I recently made some of these with the metallic oil based sharpies, and have put them through the dishwasher several times without the design washing off in the slightest. I guess it could be a difference in our dishwashers, or the kind of detergent we use…?
I posted about it on Saturday http://four-thirtyfour.blogspot.com/2014/02/sharpie-mugs-that-wont-wash-away.html
I love this idea! I may do this for/with my bridesmaids 🙂
I must admit – I’ve never heard of this craft before!! My girls would go crazy for it! I wonder if it would work the same on glassware??… I’m adding this to our things to try list :-)!!
I tried this myself to be sure it worked before buying everything for my daughters friends to decorate at her sleepover birthday party; It worked perfectly! I bought a white mug from dollar store, and decorated it using oil based sharpies-
Once decorated, I waited about 1 1/2 hours (let it dry longer if you have the time; I was too anxious….) then put the mug in a COLD oven, set temperature to 350 and baked it for 30 minutes. Once timer went off, I turned off the oven but kept the mug in it overnight.
I washed it by hand- and it didn’t ruin the design. Then I put it through the dishwasher and that was fine too!
Yes it does work the same. You can use glass paints or oil based sharpies. With glasswear you MUST bake it starting in a cold oven. Put you glasswear in the oven before turning it on. DO NOT OPEN THE OVEN ANYMORE! Once done baking, turn the oven off and leave in the oven until completely cool. I recommend turning the oven off and leave it overnight. Once cool you are ready to wash, use our give!
This is awesome. I have been wanting to try this for awhile but was afraid it wouldn’t work. Thanks for testing it out. Just ordered my markers!! 🙂
Do you just bake it in a normal oven?
Yes, you can “bake” the mugs in your home oven. 🙂
I have never made anything like this before and wanted to give it a try. Does the sealer go on before you bake it or after?
do you have to put a sealant spray on at all??
No you use the periodic table.
I made a mug for my bestie. I purchased a $3 porcelain mug for the local discount store. I use a regular black sharpie – wasn’t sure it would work. After drawing the design, I let it dry for a couple hours. I then put it upside down in the cold oven set to 350 for 30 minutes. After the time was up, I left it in the oven overnight. I was excited to see the design didn’t drip off in the oven 🙂 I then handwashed it – expecting the design to rub off – IT DIDN’T! YEAH! I handwashed it about 4 more times. I plan to buy the paint pens to see how they work as well.