
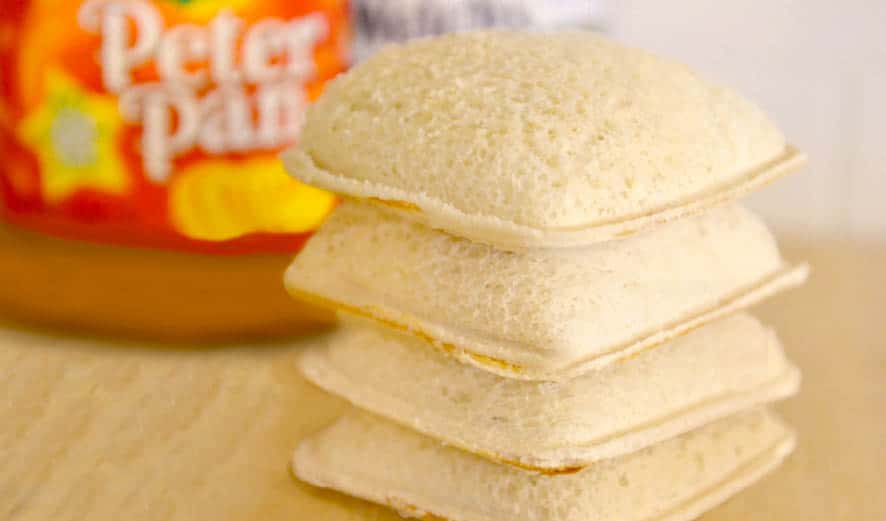
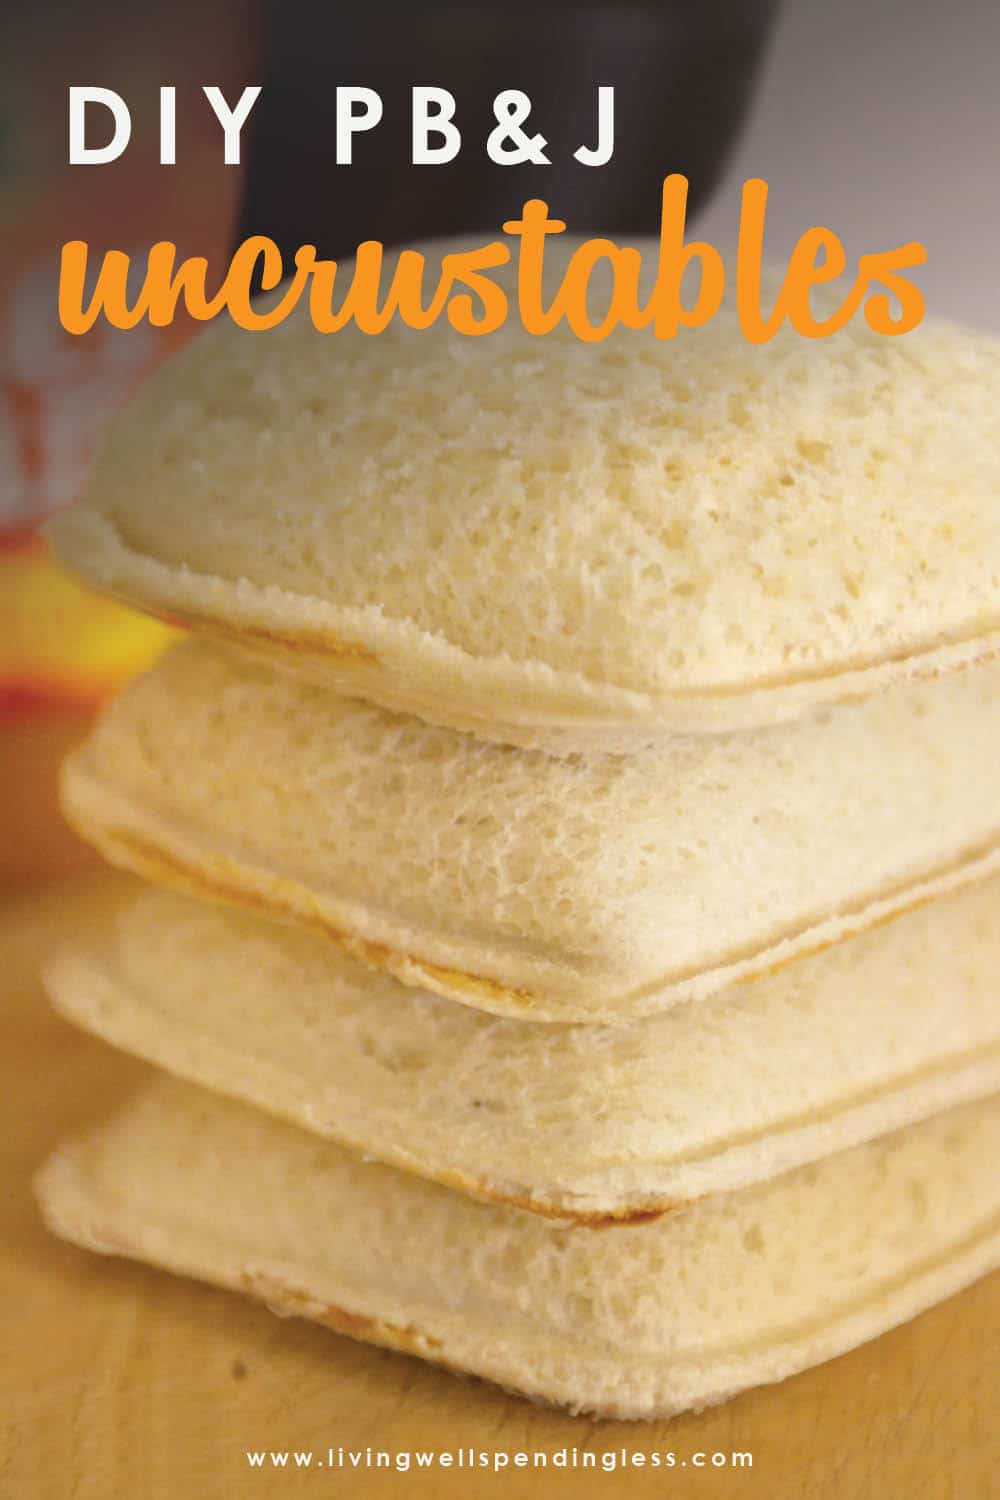
Need a little relief from hectic mornings? Whip up a big batch of DIY copycat Peanut Butter and Jelly Uncrustables and freeze for quick lunches and snacks on the go!
On a typical weekday, in our family, mornings can be a little bit hectic. Are yours? While there are many things that contribute to the chaos, normally at the top of our stressor list is the dreaded task of making school lunches. And while we’re currently not in school… I feel like the same thing occurs around lunchtime when everyone is busy, and we need something quick.
Every time we hit the freezer aisle at the grocery store, my daughter begs us to buy a box of Smucker’s Uncrustables for her lunches. And while I will readily admit that the idea of just plopping a ready-made sandwich that I know she will love into her lunch bag and calling it good sounds like a perfect solution to our weekday morning time shortage, I’m not quite ready to spend between $0.75 and $1.00 a pop for peanut butter and jelly!
But then a few months ago I came across this handy little sandwich sealer & decruster and realized it was the perfect solution—I could just make my own Uncrustables, saving money, making our mornings a little easier and making my daughter happy all in one shot. It’s a Win-Win-Win!
I have found that the key to making these as cost effective as possible is to snag the bread when it is super cheap, which at Publix means Buy 1, Get 1 Free. I also try to stock up on peanut butter and jelly when they are on sale. One loaf of bread makes 10 sandwiches and uses about 10 ounces of peanut butter and about 5 ounces of jelly. Using those ratios, I figured out each homemade sandwich cost between $0.25-$0.30, or about a third of what the ready-made version would cost.
NOTE: Many readers have asked for an alternative to peanut butter, as many classrooms are now peanut-free. If this is an issue for you, I recommend trying WOW Butter, a PB alternative that tastes just like regular peanut butter!
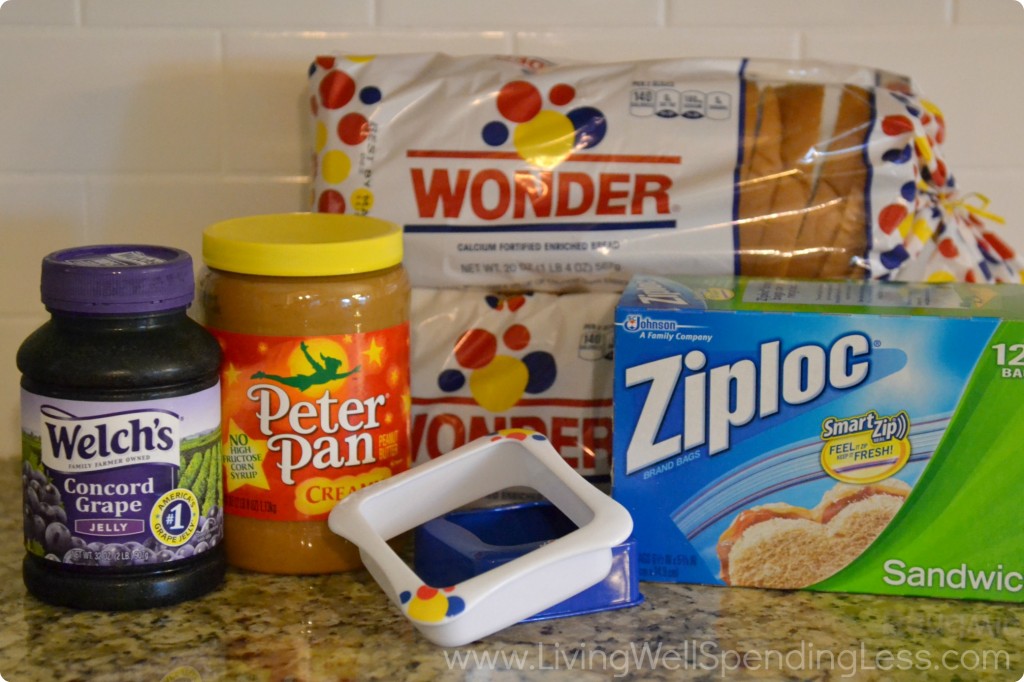
Here is what you need:
soft sandwich bread peanut butter (or WOW Butter for peanut-free schools or homes) jelly sandwich sealer & decruster Ziploc sandwich bags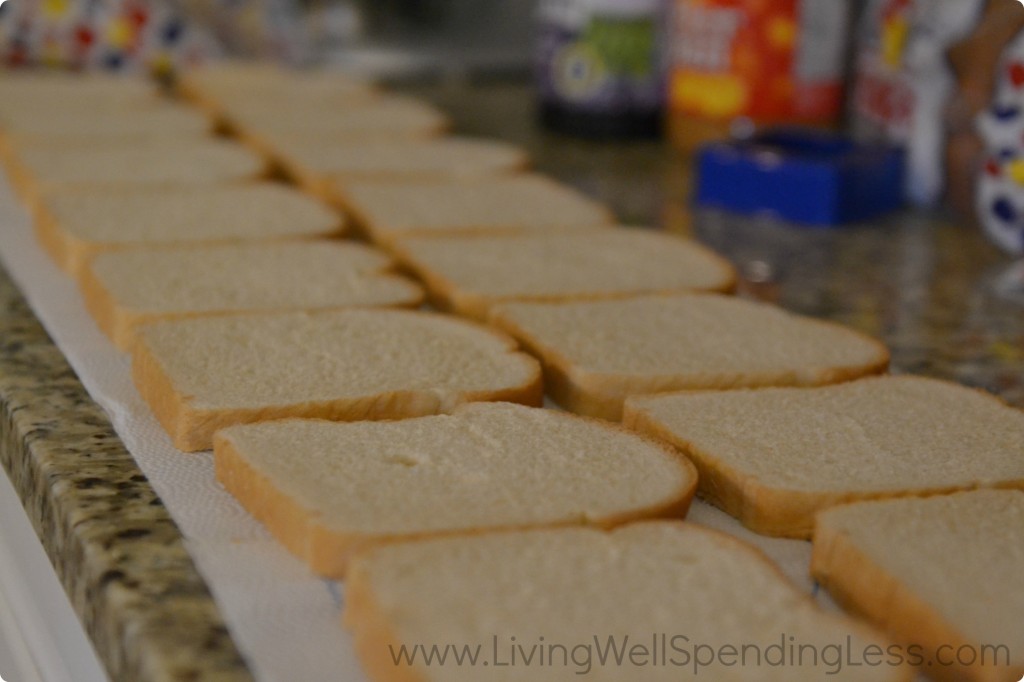
Step 1: Spread out your bread on the counter or paper towel. I did one loaf at a time, which gave me 20 slices (enough for 10 sandwiches.) It doesn’t have to be Wonder Bread, that just happened to be what was on sale at Publix.
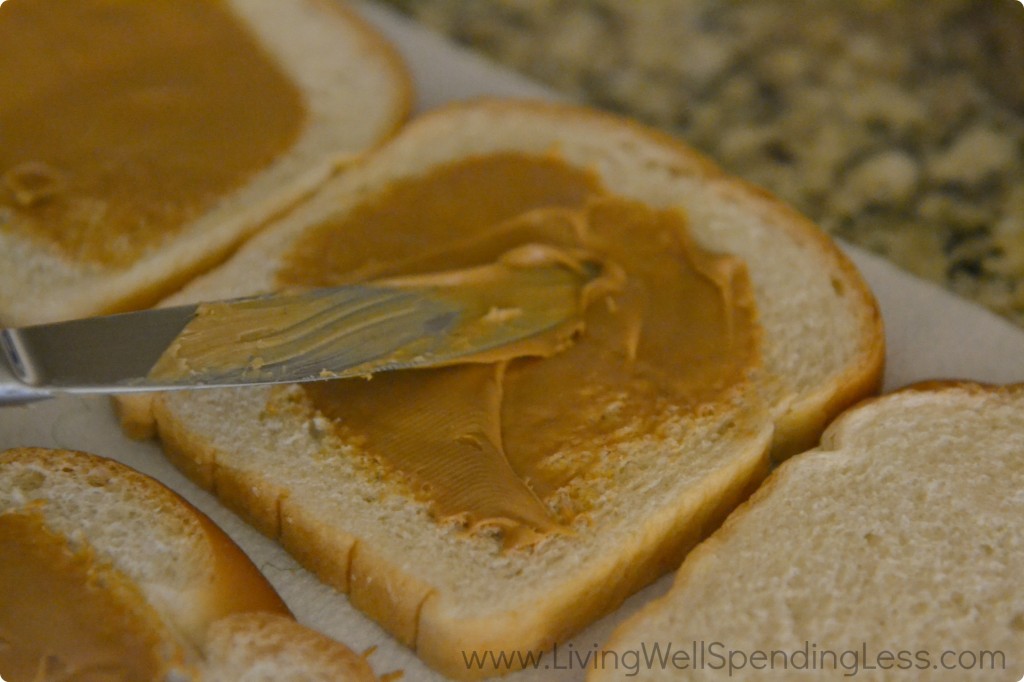
Step 2: Spread peanut butter in the center of each bread slice. Do not spread all the way to the edges.
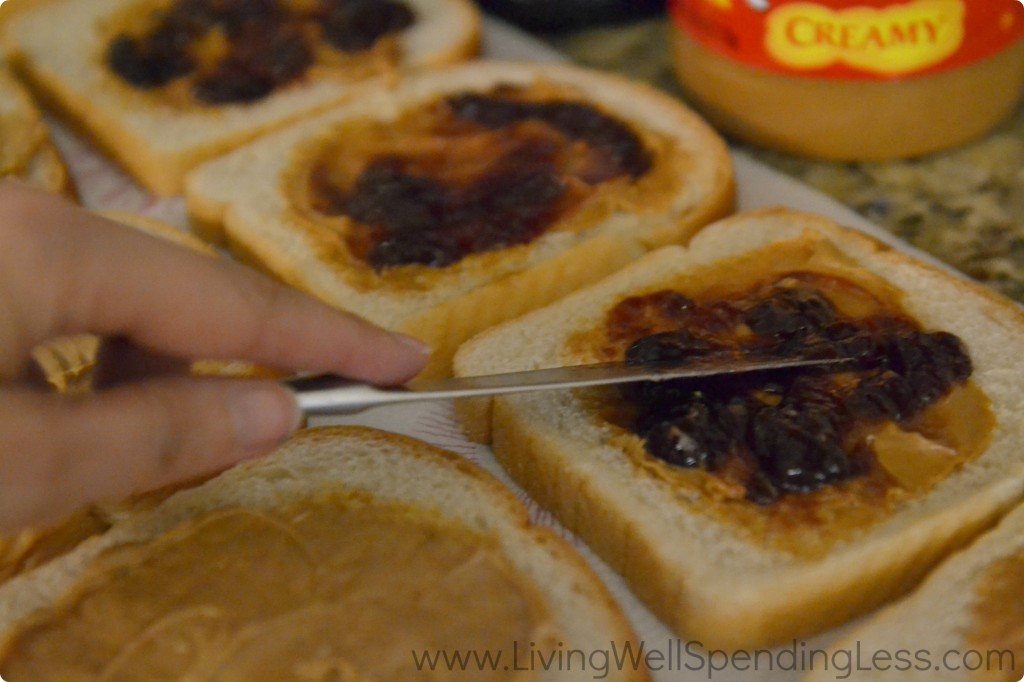
Step 3: Spread jelly over peanut butter on half of the bread slices. Then place peanut-butter-only slices on top of PB&J slices to make a sandwich.
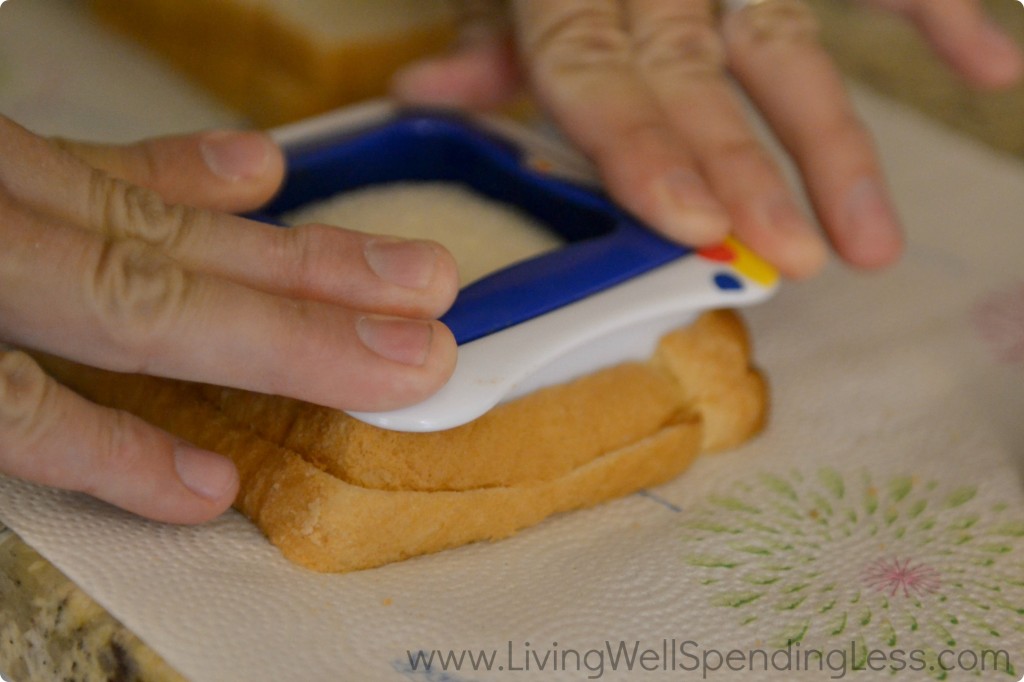
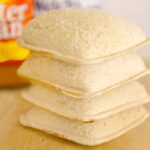
Step 4: Use sandwich sealer & decruster to cut off crusts and crimp edges together.
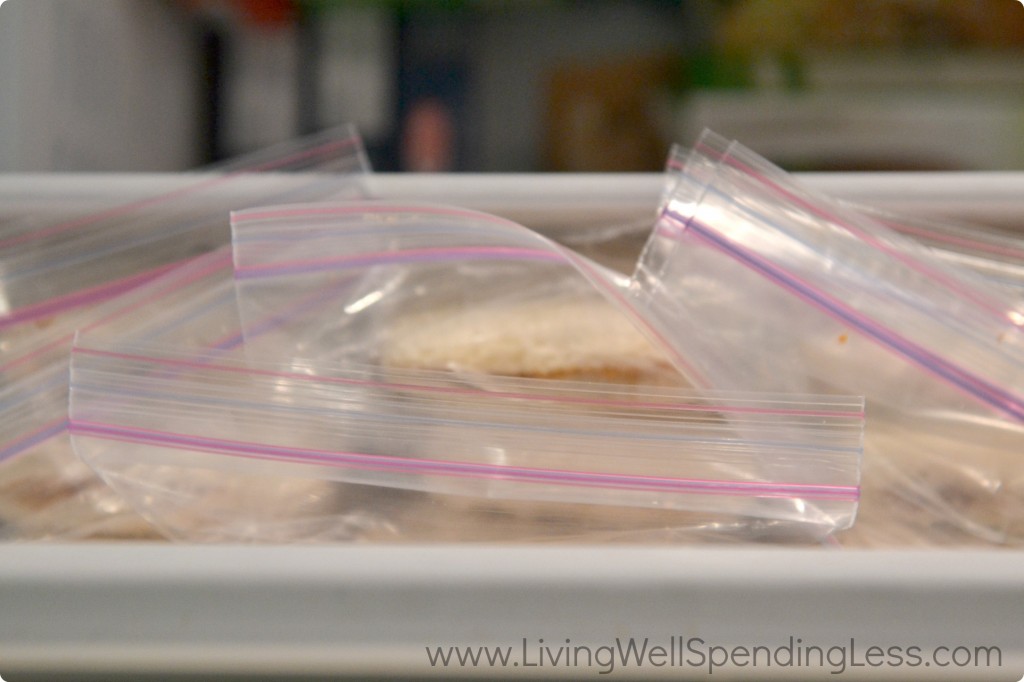
Step 5: Place sandwiches in sandwich bags, seal and freeze. To serve, thaw at room temperature for at least 30 minutes, or place in a lunch bag in the morning so that it is ready to eat by lunchtime.
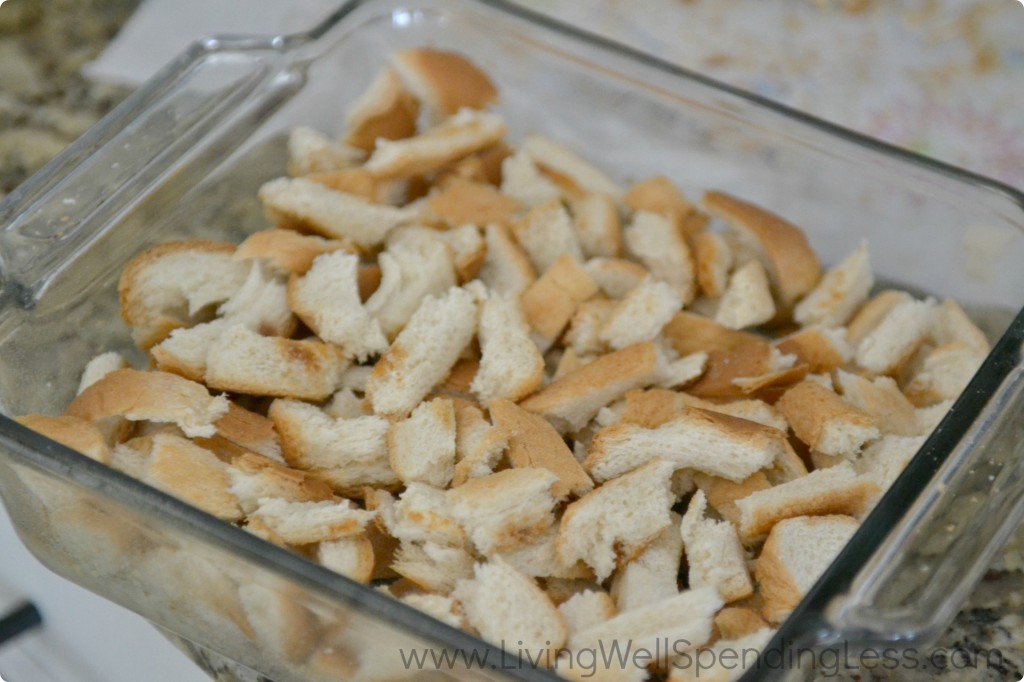
Note: There will be a lot of crust leftover, and if you are anything like me, you hate the idea of wasting food! I let my crusts dry out on the counter for a few hours, then use them to make a yummy breakfast casserole. You could also use them to make Kalyn’s yummy homemade bread crumbs!
Other freezer recipes you’ll love:
PB & J Uncrustables
Ingredients
- 1 loaf soft sandwich bread
- 10 ounces peanut butter
- 5 ounces jelly
- sandwich sealer & decruster
- 10 Ziploc sandwich bags
Instructions
Spread out your bread on the counter or paper towel.
Spread peanut butter in center of each bread slice. Do not spread all the way to the edges.
Spread jelly over peanut butter on half of the bread slices. Then place peanut-butter-only slices on top of PB&J slices to make sandwich.
Use sandwich sealer & decruster to cut off crusts and crimp edges together.
Place sandwiches in sandwich bags, seal and freeze.
Recipe Notes
To serve, thaw at room temperature for at least 30 minutes, or place in lunch bag in the morning so that it is ready to eat by lunchtime.
PIN FOR LATER:

Ruth Soukup
Latest posts by Ruth Soukup (see all)
- Stop Worrying About Money - July 19
- How to Fit In More Fitness - April 28
- The Most Powerful Decision You’ll Ever Make - April 27
TAKE BACK CONTROL OF YOUR HOME LIFE
 Ever feel like you just can't keep up? Our Living Well Starter Guide will show you how to start streamlining your life in just 3 simple steps. It's a game changer--get it free for a limited time!
If you love this resource, be sure to check out our digital library of helpful tools and resources for cleaning faster, taking control of your budget, organizing your schedule, and getting food on the table easier than ever before.


Use the crust for croutons or let the kiddos take it to feed the ducks!
I make these all the time for my GD. I mix 1/2 cup peanut butter with 1/2 cup low sugar jelly. Total 16 tbls. I then scoop a scant coffee scoop ( about 1 3/4 tbls.) of the mixture and place it in the center of one slice of bread. Top with another slice of bread, and use the Wonder bread crimper. I really have to press hard, and sometimes even have to finish cutting the bread off with a paring knife. This will make 10 sandwiches. If the filling spreads to the crimping line, the sandwich will not seal. I have been doing this for about a year, and love that I can control the type of bread and the filling.
I think Pampered Chef makes a fancy sandwich crimper that is more sturdy. This is a great idea. I would use almond butter as well. I wonder if freezing egg salad would work to mix things up a bit? Thanks for sharing.
No eggs turn spongy after being frozen.
I bought the sandwich sealer/ decruster and it is garbage!
Really? Did it break? We haven’t had any problems. Granted it is a made-in-China piece of plastic, but it does just what it is supposed to. I’ver heard that Pampered Chef makes one too, but I think it is round and a little pricier. You might want to check it out! 🙂
Thanks for letting me know I just ordered one–off to cancel!
I ordered one also. I have yet to have the sandwich “seal”. I can cut crusts off with a knife and don’t need this piece of plastic taking up space in the drawer.
On YouTube there is a video that says to use a fork
To crimp the edges
You can make this even cheaper by making your own bread. It costs about 75 cents a loaf to make, including water and electricity (assuming you’re making 2-4 loaves at a time). Also, if you store these in a glass airtight container in the freezer with wax or freezer paper in between each one you can save more money. When you want to pack a sandwich in a lunch box (that you of course purchased at a thrift store/rummage sale/bag sale for under $2) you just wrap it in a cloth napkin. In total, the sandwiches and their storage can cost even less, including water and electricity. I believe it would then be about $0.70 each including all of those calculations. I live in a small town, so my cost may be lower than yours if you’re in a city.
Wow! I don’t know about anyone else, but you really know your stuff? Please tell me you have your own money saving website? Or homemakers tips website or anything? I’m wasting so much because I have no sense. I also struggle between wanting to save money and wanting to eat healthy and organic ( as the two do NOT always go hand in hand) so any websites you could direct me to would be wonderful! Thanks!