

Are you buried under too much paper clutter? Get rid of dreaded file cabinet clutter with these easy & smart tips on how to organize a file cabinet.
A few years ago, my dear mother-in-law passed away. As her caretakers, my husband and I were tasked with managing her estate.
As we sadly sorted through her belongings, we were surprised to find out she saved receipts and notes on everything—and I mean, everything!
We took most of it to our house and stacked it in my office (which was already filled with my own paperwork piles). We didn’t want to accidentally get rid of anything important.
Eventually, one day I decided it was time to face it and tackle it all.
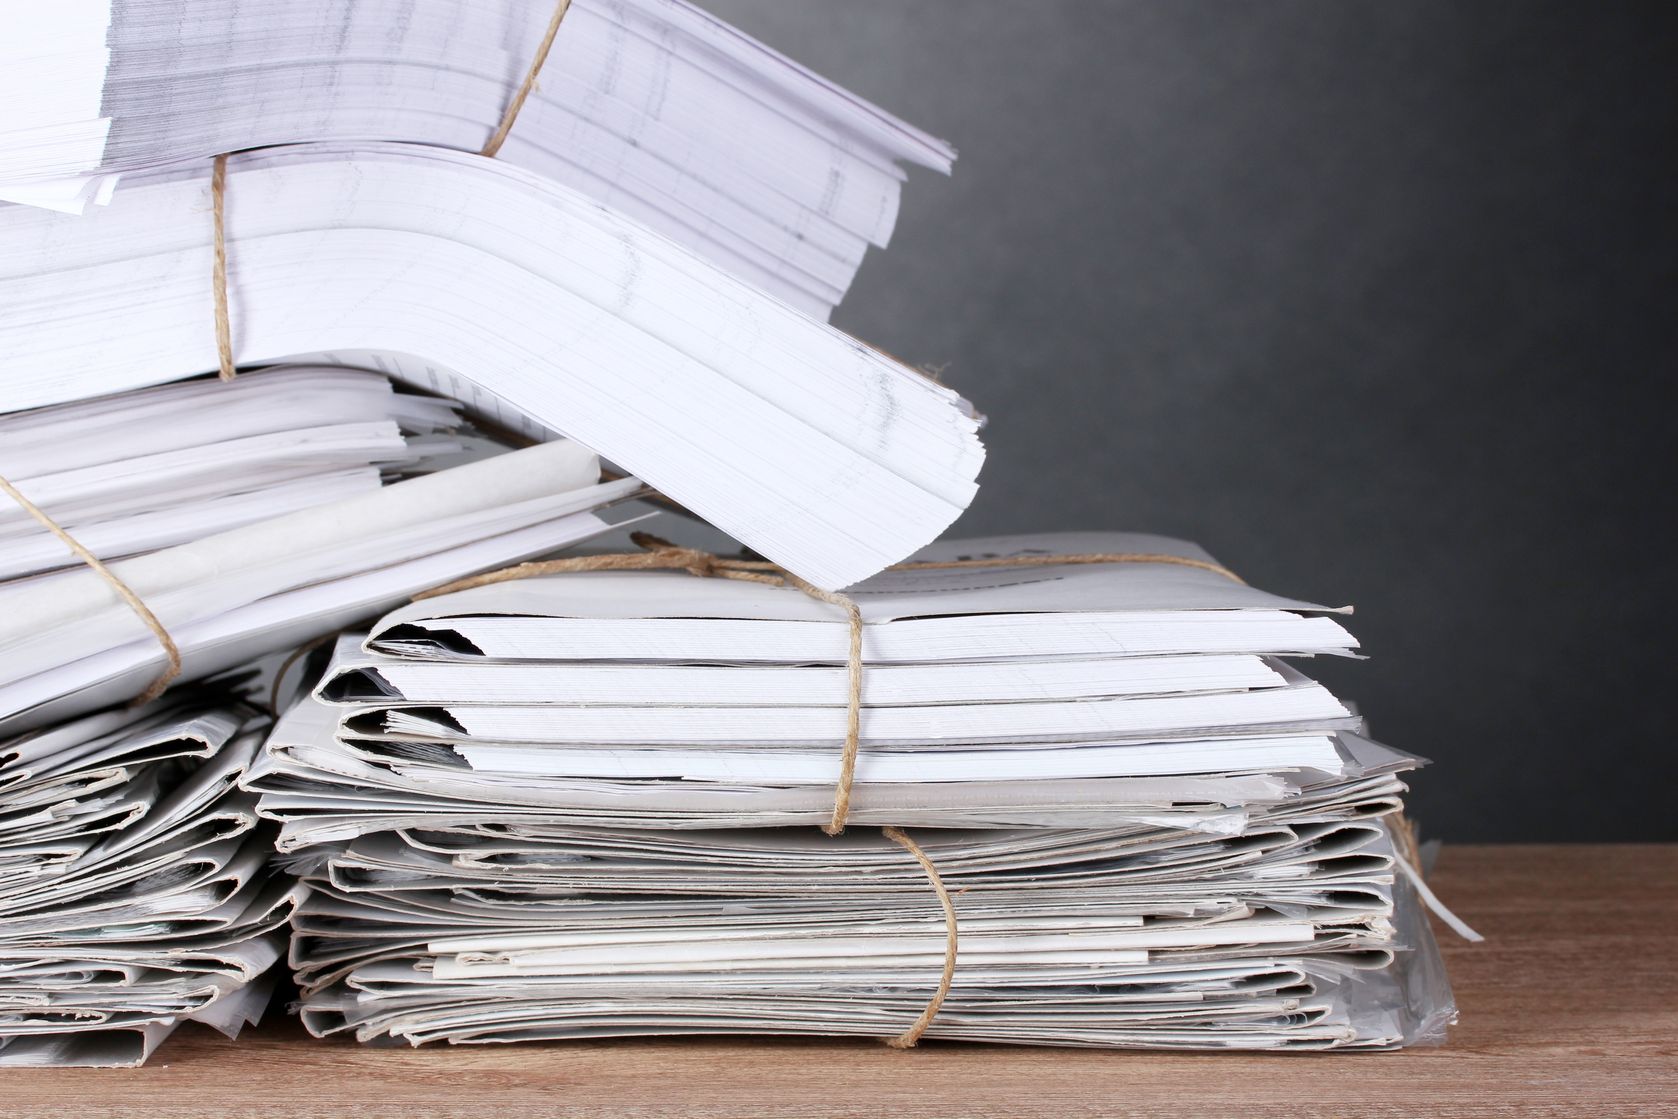
There I sat, literally surrounded, buried by what felt like a MOUNTAIN of paperwork! I didn’t even know where to start. It was totally overwhelming. How is there so much paper?! Years of paper!
It’s hard to know what to save and what to toss. I think we’re all afraid of an IRS audit or legal issue requiring a certain piece of paper we already got rid of. The good news is, once you implement a system it’s easy to stay on top of paperwork. If you know what to shred, file and archive, there’s a place for everything—and you can take care of it immediately.
Getting your paper under control will ensure you never miss an important bill, invitation or correspondence. You’ll find what you need right away and eliminate the everyday overwhelm associated with finding documents.
So, get ready! We’re going to declutter your file cabinet and get that paper mountain under control!
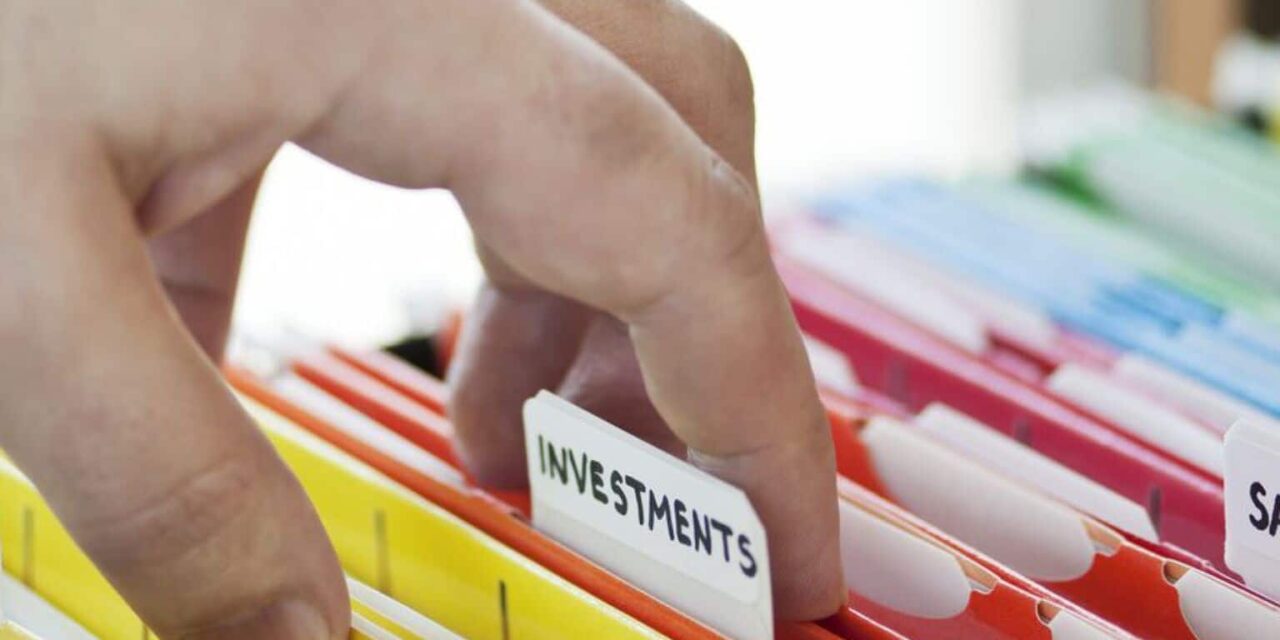
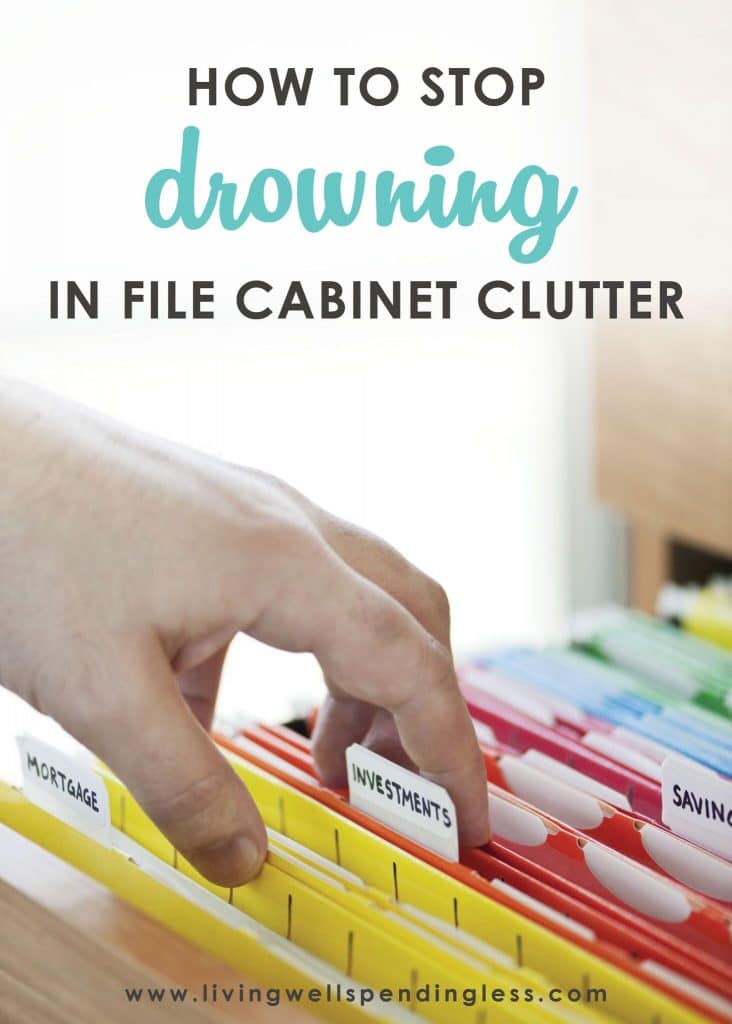
How to Stop Drowning in File Cabinet Clutter
Step 1: Divide & Conquer
When you start to tackle paperwork, take every item not filed or organized yet. Create three piles: Pay, Follow Up and File.
Pay: With the pay pile, you may want to separate the file into two stacks—items you pay on the 1st/30th and items you pay on the 15th (assuming you get paid twice per month). If you budget for the entire month at once, simply pay every item in the pile immediately.
If your budget is up-to-date and prepared, you’ll always know what’s coming through, so you can easily pay items the moment they’re received.
Follow Up: Follow up items are bills, correspondence and documents that need to be addressed or taken care of within one month. If a piece of paperwork comes through requiring less than five minutes to tackle (such as a bill, a permission slip or a document to review), take care of it the moment you receive it.
The only items in the follow up pile should be those that will take longer to address. The license and inspection on your car, a bill you need to call to check on, or a follow up on an insurance claim are a few examples. You may not have the time to review certain items and take care of them the moment they arrive.
Block time on your calendar (at least twice a month and preferably weekly) to tackle these in-depth items.
File: At least twice a month (and preferably weekly) take care of the file pile. Some people choose to forgo the file pile and simply file items the moment they’re tackled.
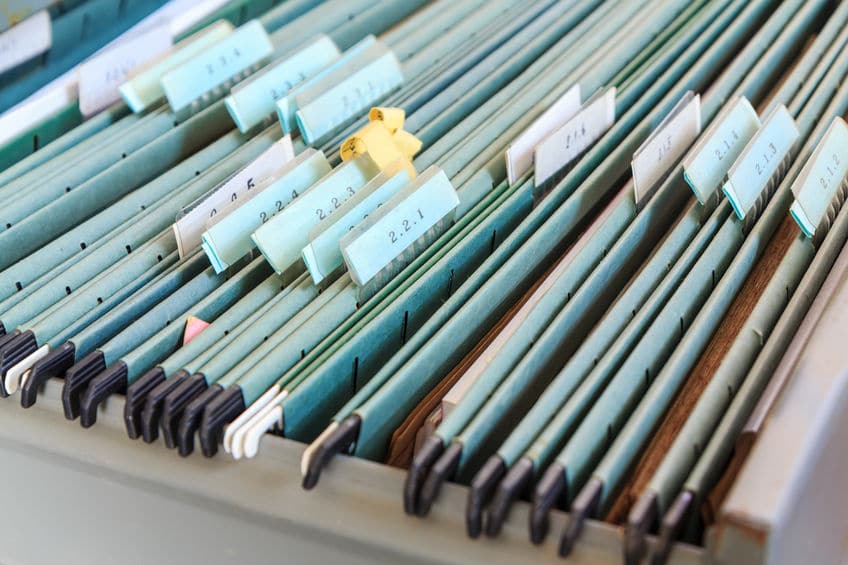
One particularly effective method is to create a file by month, rather than bill or collector-type. Most items like billing statements go right into the monthly file. When you need to refer to an item, you simply look in the corresponding month’s folder. At the end of the year, you can move the files to a box for storage. This saves you from storing tons of files with one or two pieces of paper in them.
Step 2: Tackle Your “To File” Pile
If you’ve decided to use the “monthly file” method, move each item to a folder by month. If this is the first time you’ve filed paperwork in a while, you may need to create several months of folders to sort every item.
Pay stubs, billing statements and other statements can typically be shredded after a year’s time. If you’re afraid to shred them, move them to a box for storage. Keep in mind that these days the majority of billing statements are available online. Once a bill has been paid and the payment has cleared, there are very few situations where you’ll need to refer to the paper statement.
If you keep a budget (and you should), watch for changes in amounts and usage from month-to-month and year to year. If the totals are written down, you shouldn’t need the paper. You can access statements online if you have specific questions.
Create separate files for the following:
- Billing statements sorted by bill collector or by month (keep for 6 months to a maximum of 1 year. Discard if statement is paid and/or available online)
- Medical statements, doctor’s bills and insurance claims
- Pay stubs (save for one year)
- Bank Statements and Credit Card Statements (if you receive paper copies—save as backup for a maximum of 3 years)
- Life insurance and retirement statements
- Tax forms and returns
- Mortgage documents
- Warranties and guarantees
- Property tax assessments
- Appraisals
Save these important items for as long as they’re relevant and necessary. Tax audits typically go back seven years, but collections can go back much further than that. Insurance claims and medical records can be requested for years beyond the time of service.
Warranties, manuals and guarantees are only needed for the life of the product. Documents pertaining to your property, valuables and home may be required in case of an insurance claim, or if you play to sell or refinance.
Save the following in a secure location (like a safety deposit box):
- Legal documents
- Estate records, wills and power of attorney documents
- Contracts
- Social security cards
- Licenses
- Diplomas
- Birth and death certificates
- Deeds
- Certificates for stocks and savings bonds
- Titles
The majority of these important items should be saved indefinitely. If you sell an item and transfer the title, you don’t need to hold onto a copy. Similarly, you don’t need to keep record of stocks and savings bonds once they’re traded or cashed in (but you may want to retain a copy for tax purposes).
When it comes to these important legal documents, it’s better to be safe than sorry. Store important records away from your home in a bank’s safety deposit box. Any documents stored in your home should be kept in a fireproof/waterproof safe.

Step 3: Store Paperwork in One Spot
Keep your pending paperwork in your family control center or another central spot. This might be your desk or home office as well. If you keep it organized and contained, you won’t worry about visitors running into a big messy pile of paperwork when they stop by.
If your papers are all over the house (the dining room table, the kitchen counter, the spot by the couch) it’s easy to lose track of items and accidentally accrue late fees and run into other issues. How many of us have forgotten to send a thank you card or other correspondence simply because we misplaced the note?
Keeping paperwork in one centralized location helps ensure you’ll always be able to find everything you need. If possible, keep your files right next to your paperwork control center or nearby as well. The fewer steps you need to take to address, pay and file a bill or take care of an item, the better.

Step 4: Set Rules to Pay Right Away
If you want to tackle paperwork and never, ever run into a messy out-of-control situation again, you need to implement a few “if this then that” rules and stick to them.
If a bill comes in, then pay it right away. If a document requires a signature, then sign and return immediately. Keep blank cards on hand. If a loved one’s birthday is coming up, then send a card on the first of the month. If your child brings home a “Thursday Folder” of paperwork from school, then sort through it immediately, sign and return.
Many of us invest more time on paperwork than we actually need to. We put it off and procrastinate dealing with it, only to discover it takes less than five minutes to get it off our plate. Procrastination expends valuable brain power and energy we could be using for many other activities. If you want to get more accomplished, deal with paperwork right away and move it OFF your plate.
If items require more in-depth attention, shift them to a time blocked out on your calendar. Dedicate your full attention to addressing the item and moving on. You’ll be surprised at how quickly you can take care of items you may have been hanging onto for weeks, simply because you put it off.
Once an item is taken care of, file it whenever possible. If you need to discard it, shred anything with your name, contact information or details about your kids. Don’t hold on to paperwork you don’t need.

Step 5: Opt for Paperless and Unsubscribe
Did you know companies often offer incentives for subscribing to paperless billing? You can save money on your cell phone bill, your credit card and even your bank fees, by simply opting for paperless correspondence.
Companies know paper costs time and money. Mailing statements requires postage, envelopes and printing—so they save money too. It’s good for everyone’s bottom line and stress level.
Many medical providers and insurance companies offer paperless billing and statement options now too. If your provider offers this service, it’s safe to trust your records will be accessible, should you ever require copies or more information. There’s no reason to print out your statements only to save, file and store them needlessly.
Whenever you receive catalogues and junk mail, call and unsubscribe. It can take a few minutes on the front end, but once you’ve been removed from the list, you never need to deal with sorting through these items (and tossing them into the recycle bin) again.

Step 6: Scan Receipts to Save
If you run a home business, give to charity or save receipts for any tax purpose, you may find your pockets, planner and inbox littered with barely-legible receipts. When it comes to receipts, implementing a process every single time, will help you organize and cut back on all the paper clutter.
When it comes to receipts you only need to save receipts from major purchases (like electronics and appliances), medical receipts and those receipts you hope to use for tax deductions. If you run a home or small business, you’ll want to save tax-deductible expenses. If you give to charity, save receipts as a record of the donation.
Toss or shred all other receipts. One of the easiest ways to organize receipts is to scan them or even snap a photo with your phone. Create a folder on your cloud drive and save your receipts the moment you get them. Once they’re saved, you can discard the paper!

Step 7: Appreciate the Sentimental (and Let It Go)
One spot many of us accumulate paper clutter is with the sentimental items—cards, drawings, notes, articles we want to read, clippings and photos. These items are hard to let go of, especially if you have kids. It’s our instinct to save every worksheet and report card, every piece of artwork and cute drawing.
One solution we found was to create changeable frames where we could hang and admire artwork. Once it had been appreciated for a time, we either let it go or save the very top masterpieces in a portfolio.
Sort through photos, scan and save them digitally, and toss out the not-so-great shots. With digital photography, we may not be as apt to hang onto boxes and boxes of printed photographs, but many of us still keep a shoebox or two tucked somewhere. Archive your photos in an album or another place they can be appreciated. Let go of the duplicates and outtakes.
It’s also tempting to hold on to clippings, articles and items like greeting cards. Part with these items as much as you can. If the card holds special meaning (like a love letter), tuck it in a spot to save, but be discerning. Think if these items disappeared tomorrow, what would you really truly miss and what wouldn’t you even notice?
Clearing paper clutter and getting your files under control IS possible. You don’t need a huge file system or big cabinet cluttering up your office. Most of us can pare down items to a small accordion file or box and discard the rest. You’ll save time, stress and even money by being organized.
To recap, here are ways on How to Stop Drowning in File Cabinet Clutter
Step 1: Divide & Conquer
Step 2: Tackle Your “To File” Pile
Step 3: Store Paperwork in One Spot
Step 4: Set Rules to Pay Right Away
Step 5: Opt for Paperless and Unsubscribe
Step 6: Scan Receipts to Save
Step 7: Appreciate the Sentimental (and Let It Go)
Want more? Don’t miss these helpful posts!
- How to Banish Your Paper Piles For Good
- How to Tame Your Paper Clutter
- The Simple Way to Declutter Your Phone
Get your paperwork and filing under control and dig your way out of the overwhelm!
PIN FOR LATER

Ruth Soukup
Latest posts by Ruth Soukup (see all)
- Stop Worrying About Money - July 19
- How to Fit In More Fitness - April 28
- The Most Powerful Decision You’ll Ever Make - April 27
TAKE BACK CONTROL OF YOUR HOME LIFE
 Ever feel like you just can't keep up? Our Living Well Starter Guide will show you how to start streamlining your life in just 3 simple steps. It's a game changer--get it free for a limited time!
If you love this resource, be sure to check out our digital library of helpful tools and resources for cleaning faster, taking control of your budget, organizing your schedule, and getting food on the table easier than ever before.


Really useful ideas! Paperwork is mainly responsible for the clutter in the house, as letting go of things is usually harder than expected. A weekly decluttering process is good for preventing clutter.
Thank you for this post! Found via Stephanie from Ultimate Bundles.
Corresponds to the philosophy I am trying to adopt, will definitely refer back!
Thank you for all the great tips! I need to go through all my paperwork again. I have let everything slide the last two months, and my desk is starting to get cluttered again. Time to tackle this project!
Thank you! This was great to read especially around tax season and the new year. One goal I made this year is to keep the paper clutter under control. Paper clutter can turn into big piles on my desk when it comes flying in for more then one person in an house hold.
One of the best things I ever did was to sign up for my bank’s payment system (it’s super-easy). Now, when I bill comes in, I log into my bank account, schedule the payment for a date that works with our paychecks and due dates, and then put the statement into a monthly accord Ian file. So easy, and I never miss a due date anymore!