
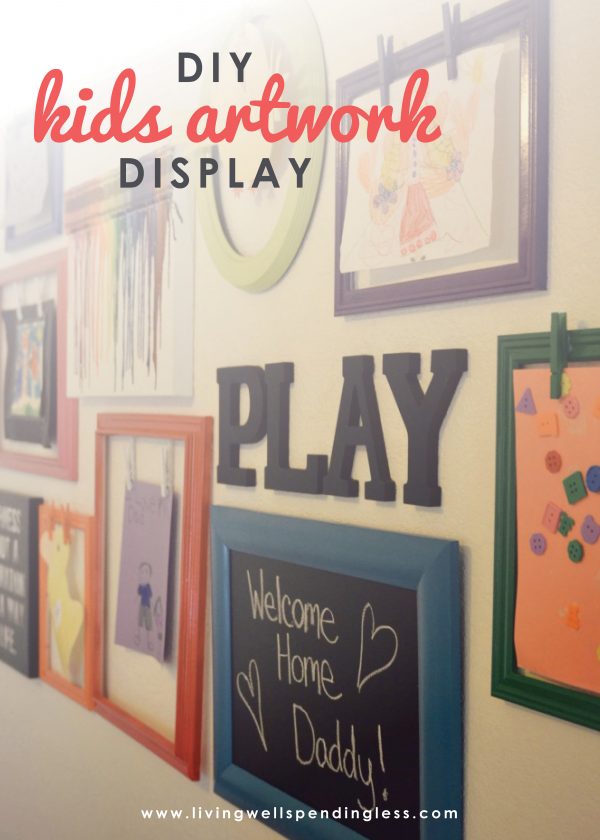
Need a practical solution for all those masterpieces your kids keep bringing home? This fun DIY kids artwork display adds an easy pop of color to any wall!
A couple weeks ago I shared our new (surprise) Rainbow Family Room. I was so nervous that Chuck wouldn’t like it, but as it turned out he absolutely loved it. So much so that my oh-so-unexpressive, non-writer, engineer husband actually wrote me a poem to thank me! And it was pretty good! He said I could share it with you so I updated the post–be sure to go back to check it out!
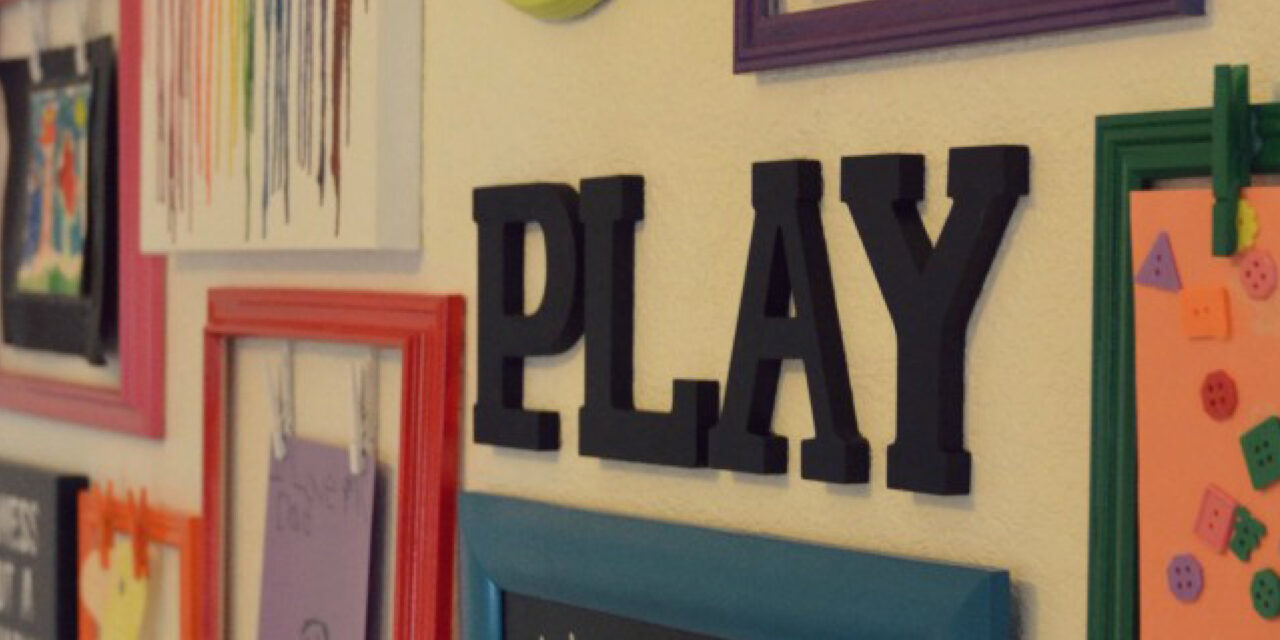
So far we have already gotten a lot of use out of our new room. It is SUCH a functional, happy space. The girls love doing art projects in there, and Husband and I have a lot of fun at night playing Wii Fit. One of my favorite elements is the kids artwork gallery wall. I really wanted a display that was fun, stylish, & would allow me to show off the never-ending supply of artwork that my girls create. The end result turned out even better than I had hoped & it was SO easy! Definitely a get-it-done-in-a-day-or-two kinda project.
DIY Kids Artwork Display
Project 1: Melted Crayon Art
I first saw this melted crayon art project over on Whatever (love that blog!) months ago and immediately pinned it as one of those things I had to do with my kids someday. It was such a fun and easy project and the girls had so much fun with it–it was just so cool to watch the crayons melt!
 Step 1: After separating the crayons by color (we used a box of 96, which was about perfect for the 16×20″ canvas that we used), line them up in color order at the top of the canvas, then hot glue them in place.
 Step 2: Prop the canvas at an angle, then use a blowdryer on high heat to slowly melt the crayons.
 Step 3: Continue melting until you (or your kids) are satisfied with the effect–you can make it a little melty or really melty, it is totally up to you (or them!)

Project 2: Artwork Display Frames
I painted my frames all different colors because I wanted a rainbow effect against the white walls, but you could just as easily do them in all one color, or even all in white, for a more muted, classic look. I used a few frames I already had laying around the house, and then a few more that I picked up at Michael’s (for 60% off of course!)
 Step 1: Spray paint frames and clothespins. (For the smaller frames, I spray painted the clothespins the same color as the frames, since they were glued directly to the frame. However, for the 2 largest frames, I spray painted the clothespins the same color as the wall and used popsicle sticks to extend them down so that the pictures would be centered.)

Step 2: Use hot glue to attach clothespins to frames. (I forgot to take a picture of of the larger frames, but basically I hot glued a popsicle stick to the back of the frame, then clued the clothespin to the popsicle stick.)
Project 3: DiY Framed Chalkboard
I wasn’t planning to make a chalkboard but when I couldn’t find one to buy anywhere (and really, really, really wanted one, ever since I saw the Nester’s cute living room gallery wall), I decided to go with plan B and just make one instead. This is a perfect project if you have any old frames (with glass) that you don’t know what to do with! I used a 16×20″ size, but any size would work.

Step 1: Spray paint your frame. If it has a really shiny finish, it helps to lightly sand it first with fine grade sandpaper, then sand between light coats.
 Step 2: Paint glass with chalkboard paint. I used the Martha Stewart chalkboard craft paint that works on all surfaces.

Step 3: Let dry, then follow with multiple coats, until chalkboard is completely opaque. I think I used 3 coats. After final coat, let paint cure for 24 hours before assembling frame.
How to Hang a Gallery Wall (A Fail-Proof Tutorial)
Hanging a gallery wall so it looks good only seems tricky! Use this technique any time you want to hang multiple pictures on the wall and never face the shame of filling your wall with holes ever again. Your husband will thank you. 🙂

Step 1: Tape kraft paper onto the floor with blue painter’s tape. If your display is going to be wider than one roll of paper, tape two rows together securely.

Step 2: Play around with your artwork until you find a composition that you like, then carefully trace around each picture with a pencil and then mark where the holes for each picture should go. Take a picture if you’re not sure you can remember where everything should go!

Step 3: Hang the paper on the wall so that the outlines are in the right place, taking care to make sure your horizontal lines are level. Using your marks as a guide, put all your screws or nails in place, then tear away paper.
 Step 4: Hang all your artwork on the wall, using your picture as a guide. Easy peasy, lemon squeezy!

P.S. If you’re wondering how I hung those letters, I’m going to let you in on a little secret: I hot glued them to the wall. (Shhh…just don’t tell my husband!)
Other similar articles:
PIN FOR LATER:

Ruth Soukup
Latest posts by Ruth Soukup (see all)
- Stop Worrying About Money - July 19
- How to Fit In More Fitness - April 28
- The Most Powerful Decision You’ll Ever Make - April 27
TAKE BACK CONTROL OF YOUR HOME LIFE
 Ever feel like you just can't keep up? Our Living Well Starter Guide will show you how to start streamlining your life in just 3 simple steps. It's a game changer--get it free for a limited time!
If you love this resource, be sure to check out our digital library of helpful tools and resources for cleaning faster, taking control of your budget, organizing your schedule, and getting food on the table easier than ever before.


Here is my question…. Did hot gluing the clothespins last? I tried to do that once and it DID NOT work. The clothespins were off in a matter of days, and that was with my hands touching them, not the tiny maniac minions that live here. I’m just curious if I might have just had bad luck. It seems that painting things made the hot glue work less, because the paint chipped off and they came unglued. Thanks!
I saw the crayon idea on pinterest, but just never got around to it. The old frame idea is so cute because every frame is so unique. I love love love the way it turned out! great job!!
Cool! I love your melted crayon art!
A girlfriend of mine who is a kindergarten teacher did something you reminded me of–melted mixed color crayons in heart-shaped silicon shapes in the oven, making heart shaped crayons. Her kids loved them as valentines gifts!
:))
~Barb
I love this wall! And it absolutely cracks me up that you hung the letters with hot glue. That totally sounds like something I would do and my husband would kill me for. I have hung letters similar in our playroom and I used 3M velcro strips and they are a genius invention for women like me that refuse to wait on a man’s help to do projects.
This is so fun! Hopping over from Pinterest!