
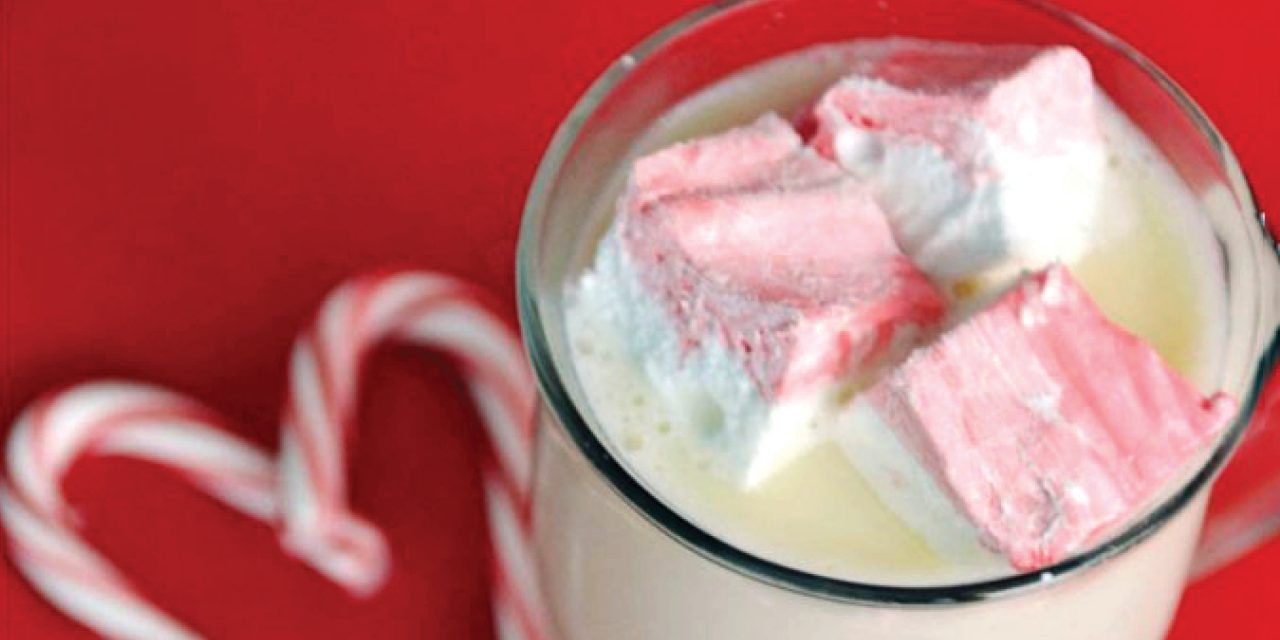

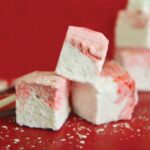
Want to make an easy holiday treat? These homemade peppermint marshmallows are a fun twist on a classic and taste great in hot chocolate!
I’ll be honest, I’m not normally a big fan of marshmallows. My girls, on the other hand, can’t get enough of them, and when I saw they were charging $16.95 at Williams Sonoma for a box of 15 hand crafted peppermint marshmallows, I knew I had to figure out how to make these lil’ puppies.
And friends, let me tell you, homemade marshmallows are so, so, so, soooooooo much better than the store-bought kind. They can hardly even be called marshmallows. They should instead be re-named Sweet Nuggets of Heavenly Peppermint Fluff. Or something like that.
Even better, they are SO easy to make! Yes, you need a candy thermometer, but don’t let that scare you. I promise it’s not complicated or tricky. Like, at all. Plus a single batch makes approximately 88 marshmallows, which would sell for $99.44 at Williams Sonoma. Why not make them for all your friends and be a hero this Christmas?
Homemade Peppermint Marshmallows
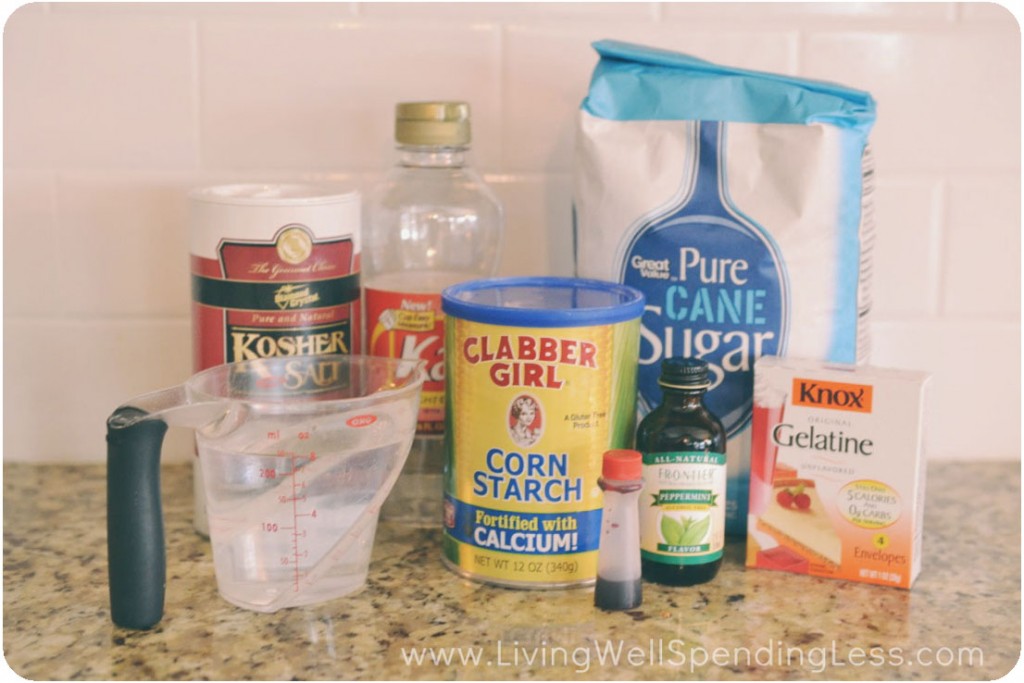
Here is what you need:
butter or Crisco 1/4 cup corn starch 1/4 cup powdered sugar 3 envelopes unflavored gelatin 1 cup ice water 1 1/2 cup sugar 1 cup corn syrup 1/4 teaspoon salt 1 teaspoon peppermint extract or 1/4 tsp Peppermint Vitality™ essential oil red food coloring (optional) candy thermometer (NOT optional!)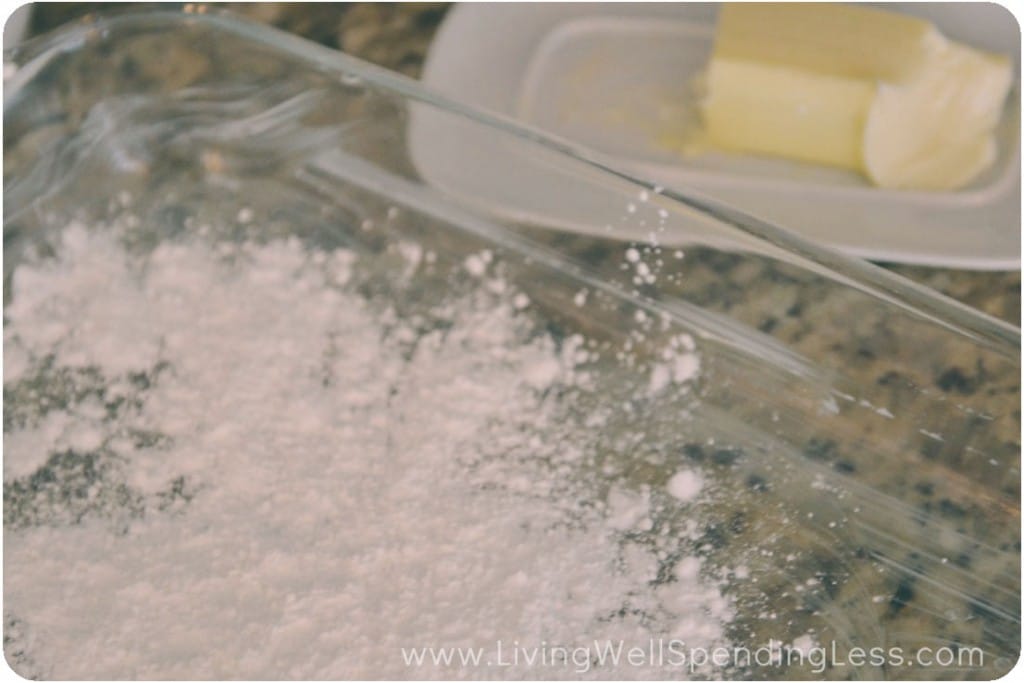
Step 1: Grease 9 1/2 x 11″ glass casserole dish with butter or Crisco. Mix together corn starch & powdered sugar; sprinkle a few spoonfuls of cornstarch mixture over butter or Crisco and tilt dish around until well coated. Set baking dish aside and save remaining corn starch mixture for later.
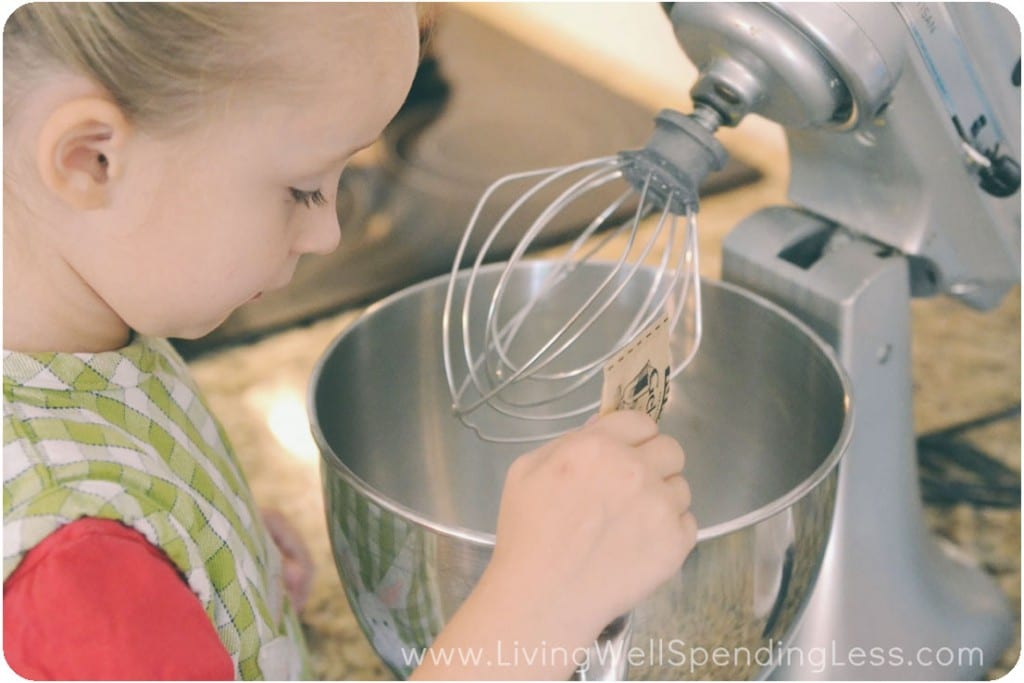
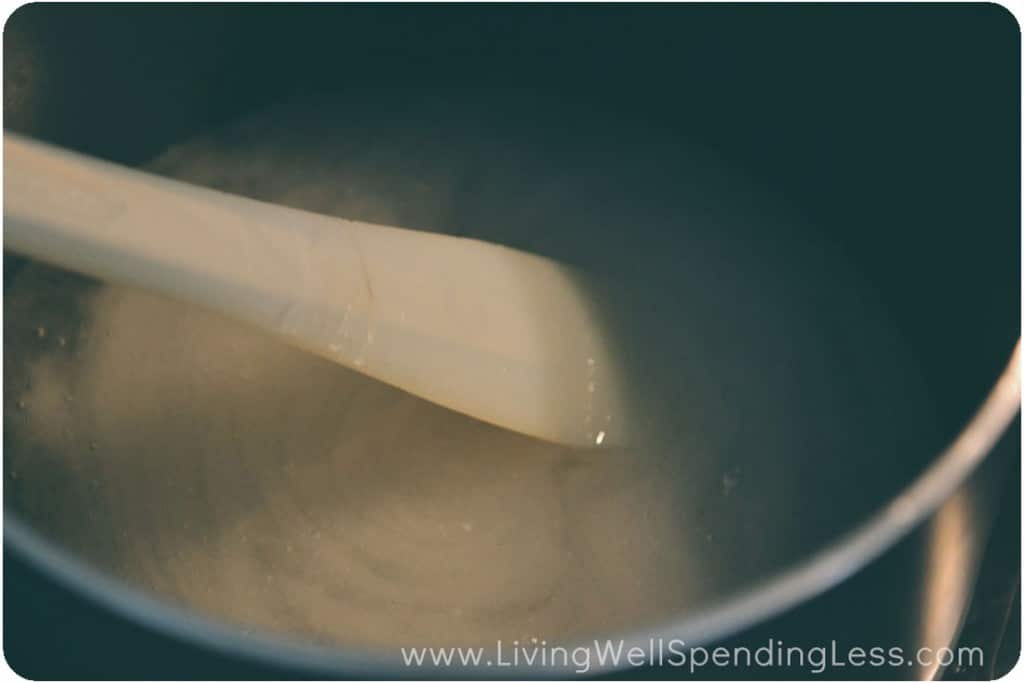
Step 2: Place gelatin and 1/2 cup ice water in the bowl of a stand mixer; set aside.
Step 3: Mix remaining water, sugar, salt, and corn syrup in saucepan; heat, covered, over medium-high heat for 3-4 minutes.
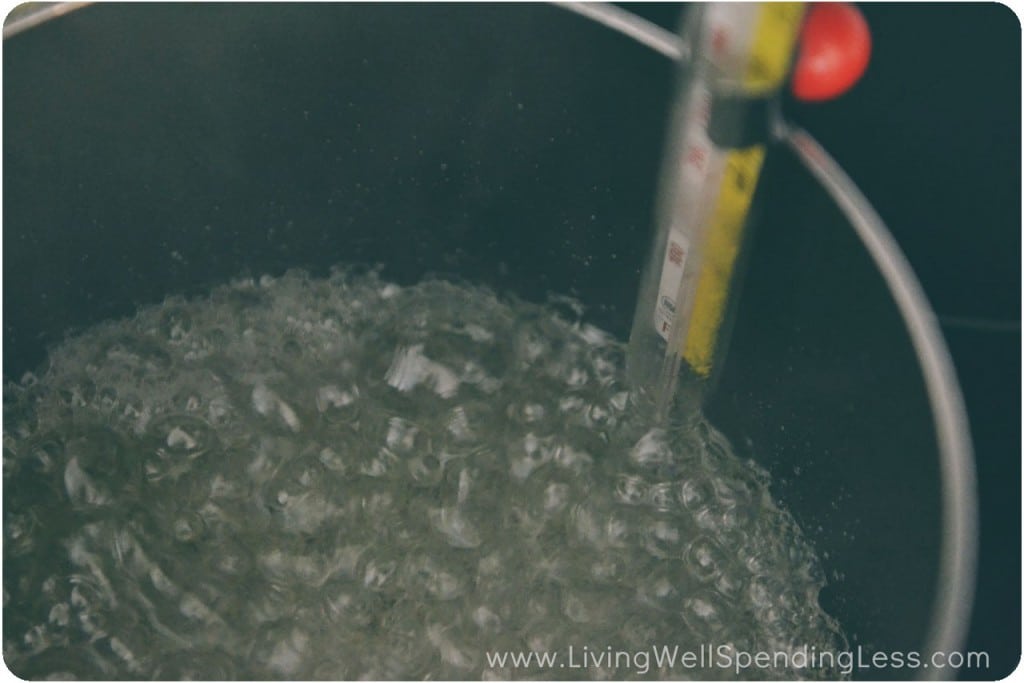
Step 4: Clip candy thermometer to side of saucepan; continue heating mixture until it reaches 240 degrees, approximately 6-8 minutes.
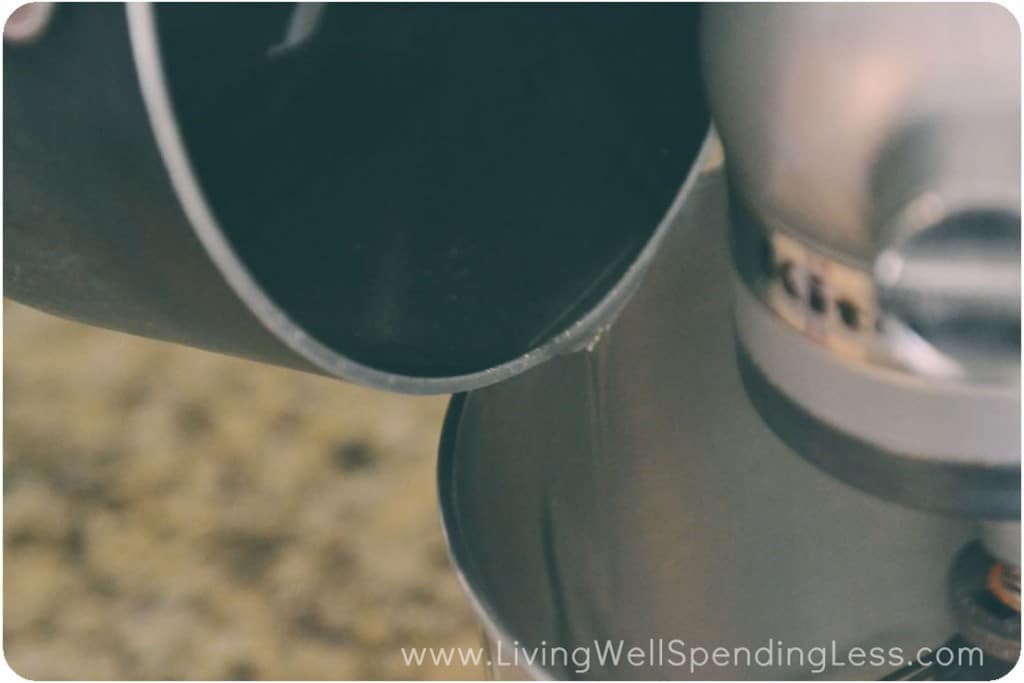
Step 5: Once mixture reaches 240 degrees, remove from heat. Turn on mixer on low (use whisk attachment) and slowly add syrup mixture to mixing bowl.
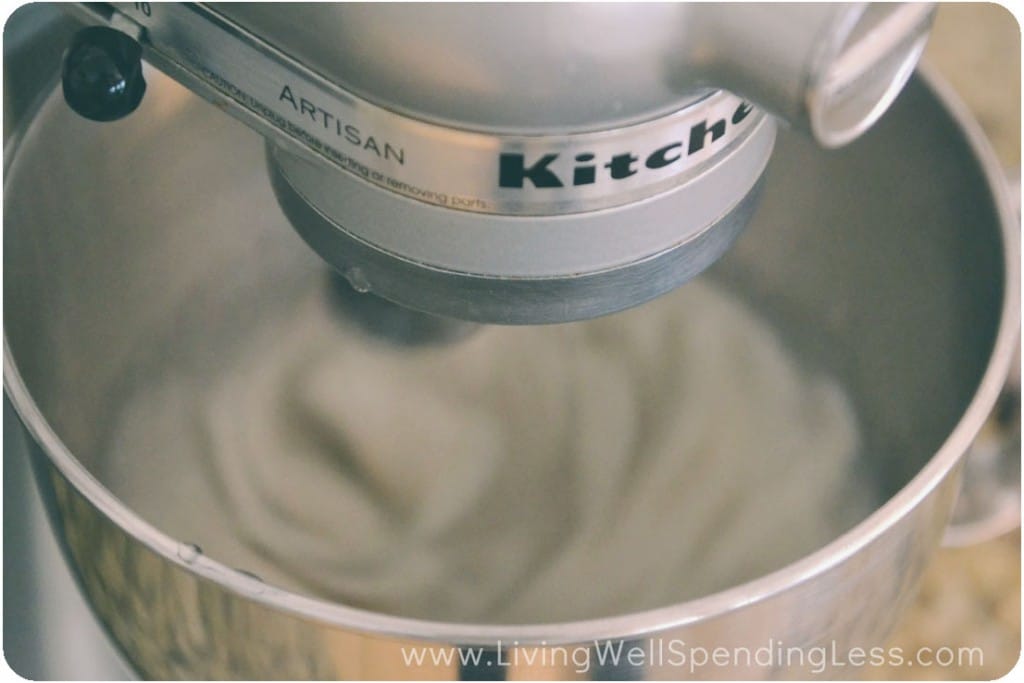
Step 6: Turn mixer to high speed and whip for 12-14 minutes, until mixture is quite thick. Add peppermint extract and whip 1 minute more.
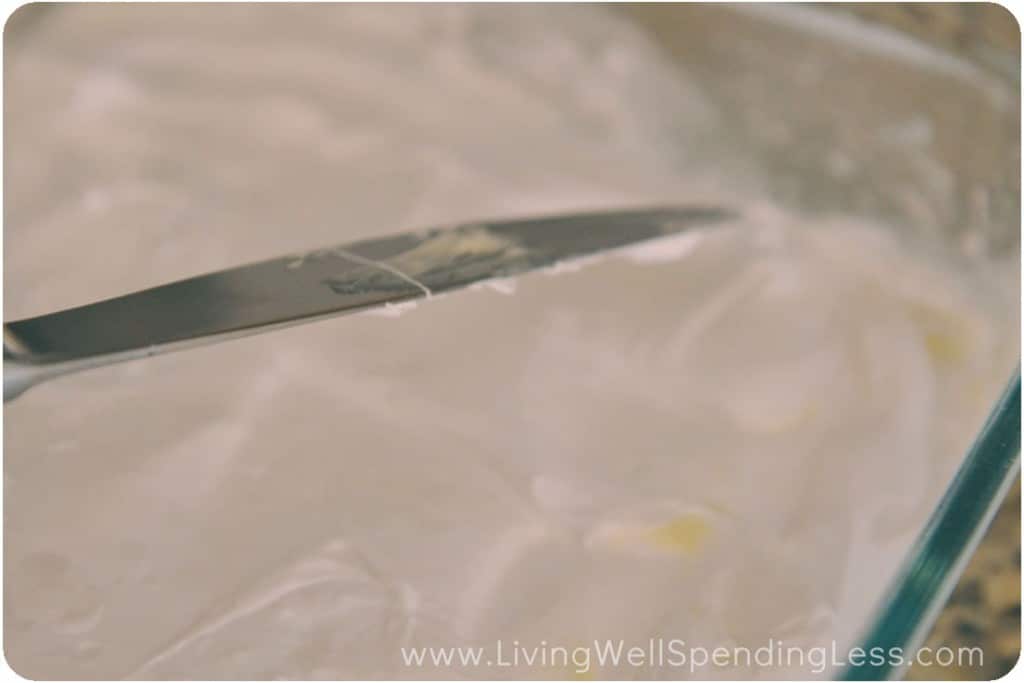
Step 7: Grease a spatula with butter or Crisco and transfer marshmallow mixture to prepared dish. Use a buttered knife to spread it smooth.
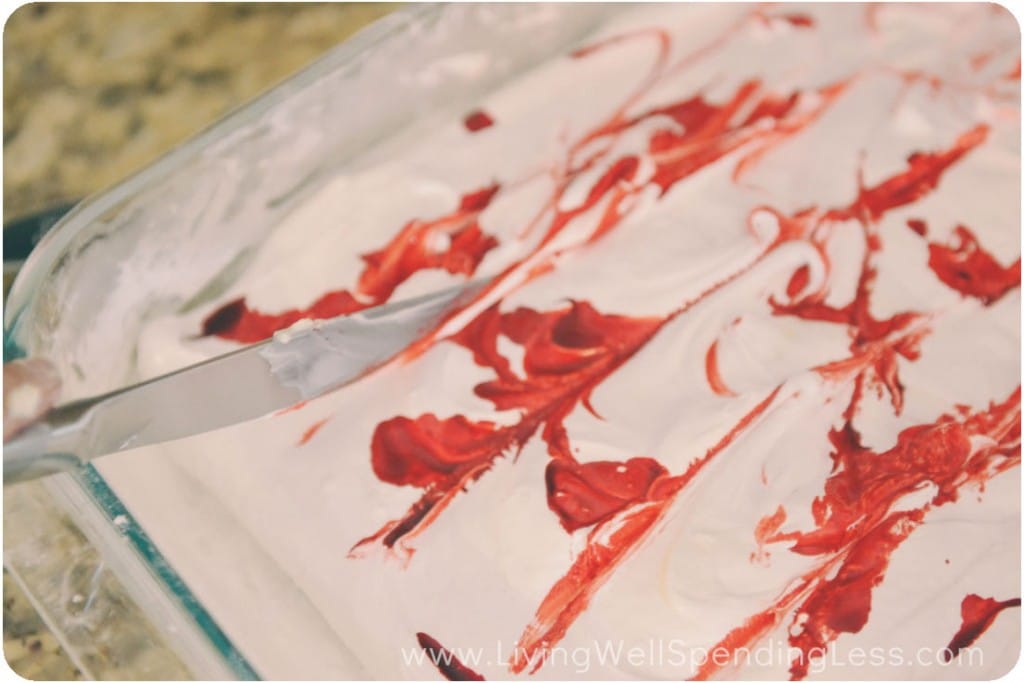
Step 8: (Optional) Drop red food coloring onto mixture and use buttered knife to pull color through marshmallow mixture to create swirls.
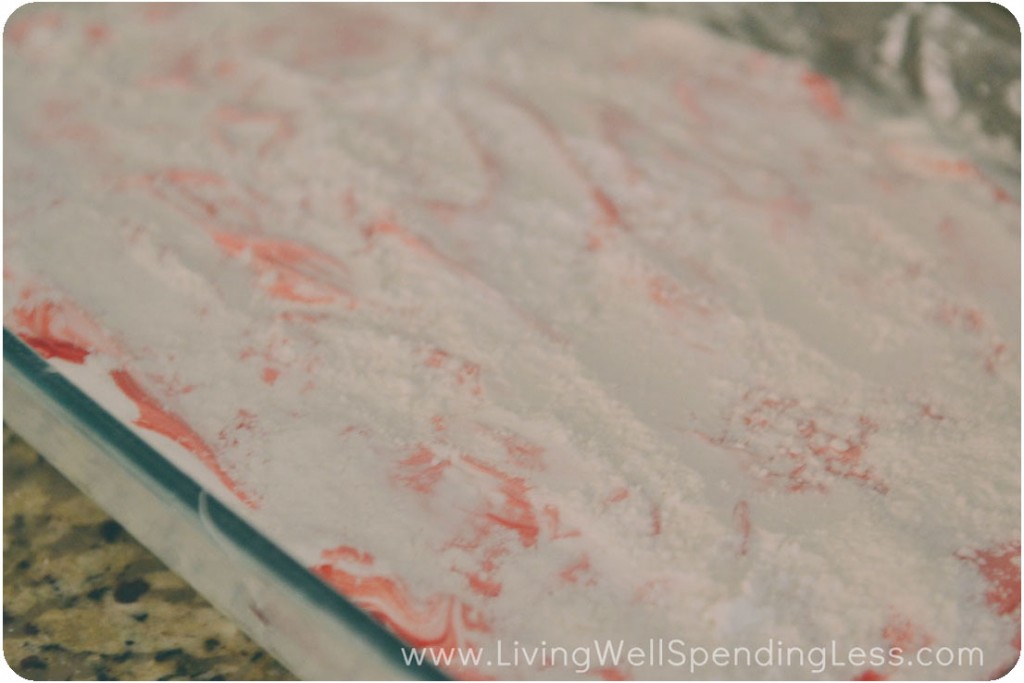
Step 9: Generously sprinkle the top of marshmallow with remaining cornstarch mixture. Let set overnight.
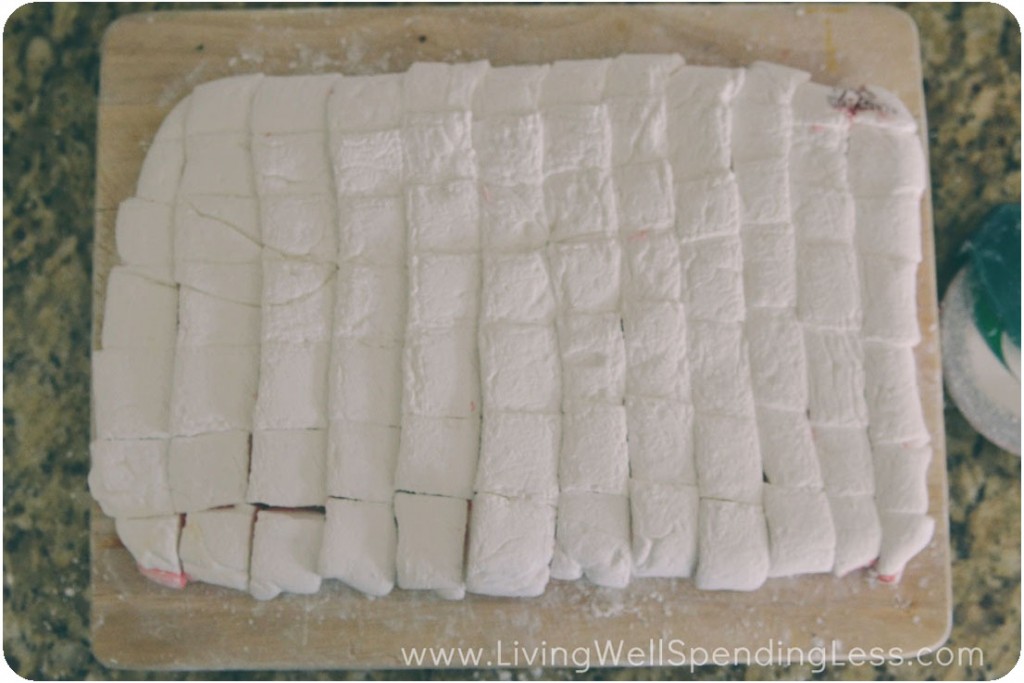
Step 10: Invert marshmallows onto a cutting board. Use butter & excess cornstarch mixture to coat sharp knife or pizza cutter blade, then cut marshmallows into 1×1″ squares.
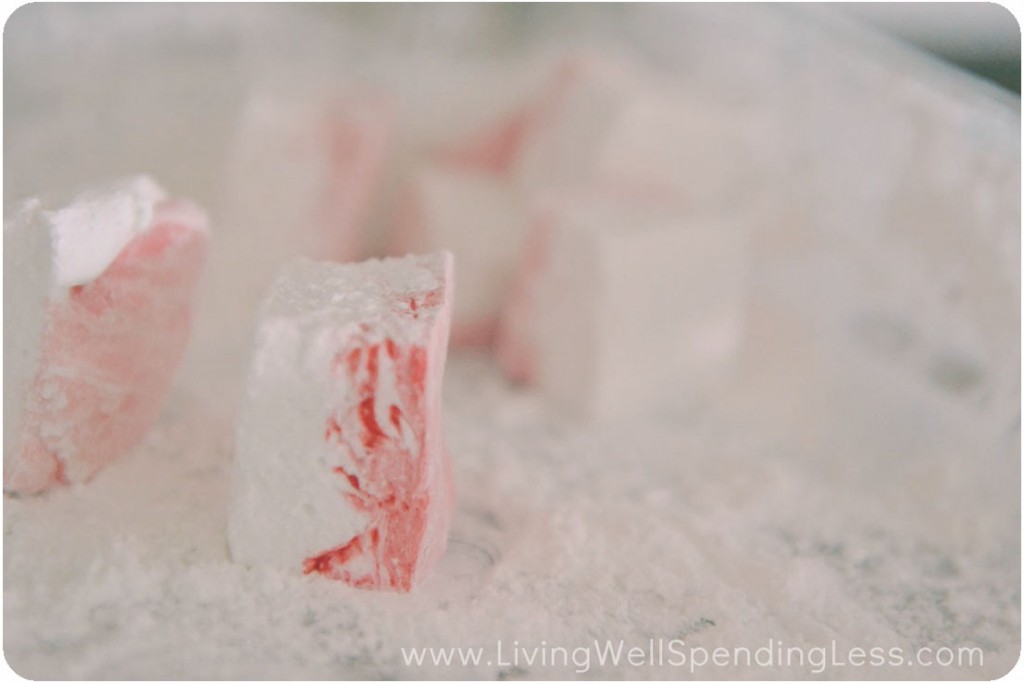
Step 11: Coat cut edges with cornstarch/powdered sugar mixture & wipe off excess. Serve in hot chocolate or package in cellophane bags to give as gifts.
Peppermint Marshmallows
These homemade peppermint marshmallows are a fun twist on the ordinary marshmallow. The perfect addition to a cup of hot chocolate.
Ingredients
- butter or Crisco
- 1/4 cup corn starch
- 1/4 cup powdered sugar
- 3 envelopes unflavored gelatin
- 1 cup ice water
- 1 1/2 cups sugar
- 1 cup corn syrup
- 1/4 tsp salt
- 1 tsp peppermint extract or 1/4 tsp Peppermint Vitality™ essential oil
- red food coloring (optional)
Instructions
Grease 9 1/2 x 11" glass casserole dish with butter or Crisco. Mix together corn starch & powdered sugar; sprinkle a few spoonfuls of cornstarch mixture over butter or Crisco and tilt dish around until well coated. Set baking dish aside and save remaining corn starch mixture for later.
Place gelatin and 1/2 cup ice water in the bowl of a stand mixer; set aside.
Mix remaining water, sugar, salt, and corn syrup in saucepan; heat, covered, over medium-high heat for 3-4 minutes.
Clip candy thermometer to side of saucepan; continue heating mixture until it reaches 240 degrees, approximately 6-8 minutes.
Once mixture reaches 240 degrees, remove from heat. Turn on mixer on low (use whisk attachment) and slowly add syrup mixture to mixing bowl.
Turn mixer to high speed and whip for 12-14 minutes, until mixture is quite thick. Add peppermint extract and whip 1 minute more.
Grease a spatula with butter or Crisco and transfer marshmallow mixture to prepared dish. Use a buttered knife to spread it smooth.
(Optional) Drop red food coloring onto mixture and use buttered knife to pull color through marshmallow mixture to create swirls.
Generously sprinkle the top of marshmallow with remaining cornstarch mixture. Let set overnight.
Invert marshmallows onto a cutting board. Use butter & excess cornstarch mixture to coat sharp knife or pizza cutter blade, then cut marshmallows into 1x1" squares.
Coat cut edges with cornstarch/powdered sugar mixture & wipe off excess. Serve in hot chocolate or package in cellophane bags to give as gifts.
Recipe Notes
Drying time: overnight
Other recipes you’ll love:
- 8 Sweet (& Quick) Holiday Cookie Recipes
- White Chocolate Peppermint Hot Cocoa
- Hot Cocoa Truffles (Just 4 Easy Ingredients!)
PIN FOR LATER

Ruth Soukup
Latest posts by Ruth Soukup (see all)
- Stop Worrying About Money - July 19
- How to Fit In More Fitness - April 28
- The Most Powerful Decision You’ll Ever Make - April 27
TAKE BACK CONTROL OF YOUR HOME LIFE
 Ever feel like you just can't keep up? Our Living Well Starter Guide will show you how to start streamlining your life in just 3 simple steps. It's a game changer--get it free for a limited time!
If you love this resource, be sure to check out our digital library of helpful tools and resources for cleaning faster, taking control of your budget, organizing your schedule, and getting food on the table easier than ever before.


I love this idea – what a great alternative to giving more Christmas cookies! And they look so pretty! I am going to have to try these. Sharing to my FB page now!
And if you want to add a natural green coloring, you can use, (now hear me out) chlorophyll. Most natural food stores carry it. In the vitamin section. It along with beet juice make a nice Christmassy swirl, but not too much otherwise you end up with brown. And if it’s brown but not chocolate flavored, well that is just mean.
This recipe looks so yummy! Around how long do you think these would stay fresh for once made?
At least 4 weeks when stored in an airtight container!
Sounds so yummmyyy! Thanks for sharing with us today. Have a blessed day.
Do you think I could do this without corn starch? My son has a corn allergy and I am wondering if you, or any of your readers, know of a straight replacement for the corn starch. I know my son would LOVE to get these under the tree this Christmas!
You could try it with just powdered sugar, or maybe a little super fine cake flour? It also has corn syrup in it…would that affect his allergy? Let us know what you try! I hope you can make it work–my kids went crazy for them!! 🙂
Hmmm, yes the corn syrup might be a problem. Gonna have to get busy with Dr. Google and see what I can find! Thanks!
If you find corn substitutes that work well, please post again! My son also has a corn allergy, but loves marshmallows. I would love to make them for him.
Brown rice syrup might work for this application or agave or fructose. Good luck!
Golden syrup works well 🙂
Potato starch! You can find it in health food stores or Winco bulk section. 🙂
I’m going to try it with potato starch or tapioca starch to replace the corn starch and I’ll use brown rice syrup for the corn syrup. I’ll definitely let you know how it goes!
You can usually evenly substitute either potato starch or tapioca starch for corn starch. I think I try the tapioca, it seems to be lighter, like the corn.
Arrowroot powder!!!