
 As I shared last week, our family’s goal for the holidays this year is to worry less about stuff and more about giving from the heart, spending quality time together, & serving others. The girls and I are on a mission to not only make all our gifts this year, but to also create many handmade decorations and do lots of baking this year as well. I thought it would be fun to share some of our projects & ideas throughout the next month in a very casual series I am calling “Handmade Holidays” (I know, so original, right?)
Let me just warn you right off the bat that this will not be a power series like the 31 Days of Living Well & Spending Zero and I will NOT be posting every day from now until Christmas. That one just about killed me! Instead I will be sharing our projects, recipes, & activities–of which we have many planned–at a much more leisurely pace, if and when I can.
I hope our projects inspire you to create some of your own, but even more so, I hope you are inspired to slow down this holiday season as well.
And now, on to the crafts!
A few weeks ago I spotted these darling felt Christmas trees in the Land of Nod catalog and immediately fell in love. I probably would’ve ordered them right away had we not still been on our spending freeze. Instead, I decided to figure out a way to make them. On November 1st the girls and I made our long-awaited trip to Hobby Lobby and picked up 3 styrofoam trees and several sheets of felt to make our trees.
The original plan had been to make 3 cream-colored felt trees, but as we pulled into the garage I spotted a role of jute cord on Husband’s work bench & I decided to improvise just a little.
The girls had SO much fun doing this project with me…..it was one of the first “grown up” craft projects we have all done together and they kept saying, “Mommy, I LOVE this!” and “This is so much fun!” I’m not sure why, exactly, but I think it had something to do with letting them handle the normally off-limits stick pins. I think we might make a few more just because they were so into it!
Here is what you will need:
3 styrofoam cones (these range from $4-6 dollars each at craft stores–use a 40% off coupon!) 6-8 sheets of felt straight pins jute cord (the rough kind found at Home Depot) clear glue-on gems in assorted sizes white or tacky glue glue gun (preferably low-temp)
Trace small circles (approximately 1.5″ diameter) onto felt. We used a K-cup to trace them. Cut out several layers of felt at a time using a very sharp scissors. You will need a LOT of felt circles, especially if you do all 3 trees in felt.


Begin pinning overlapping circles to base of cone. I did the first row, showing the girls what to do, then let the girls pin the rest in place. I generally had to help them place the circle in the correct spot, but they did both did great.
 #kids #Christmas #crafts")


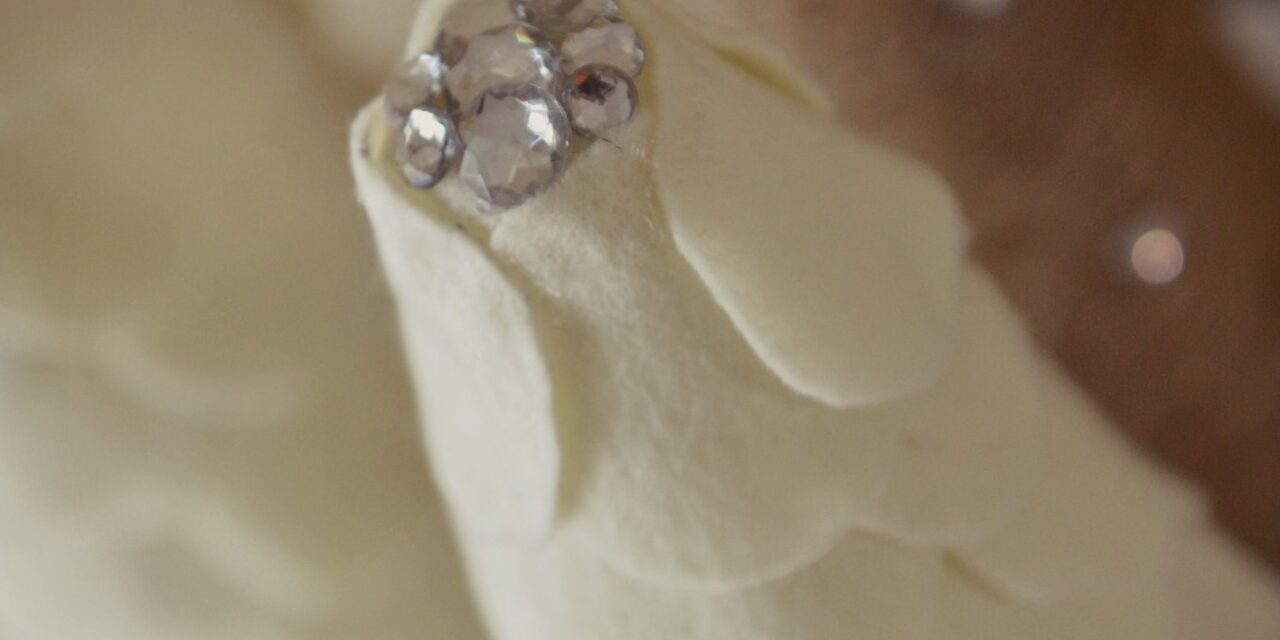
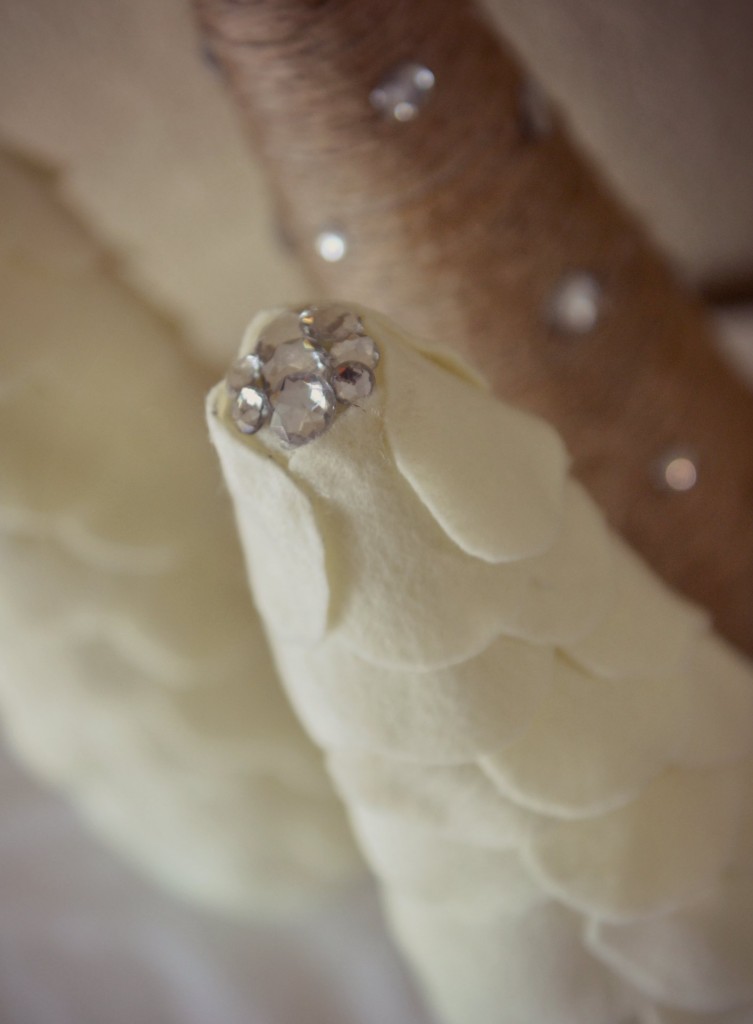
Before we finished the last row, we used one circle to cover the top of the cone, pinning it in place. We then hot glued the top row of circles in place to avoid seeing any pins. To finish them off, we hot glued some clear gems to the top.

For the jute cone, I hot glued the twine in place for the first few rows, then spread white glue over the rest of the cone. The girls then helped me wrap the cone in the twine. Every 4-5 rows I would use hot glue to secure it.


Like the felt trees, we secured a felt circle to the top, then finished wrapping the thread around the felt.

We found a few styrofoam balls in our craft supplies so we decided to make a few matching ornaments. We found the mega bucket of gems at Hobby Lobby for 50% off–only $7.50 for a whole POUND! Score! I have a feeling our Christmas decorations will be VERY sparkly this year!

The girls helped glue the gems to the jute. We used regular white Elmer’s glue because we were out of Tacky glue, but tacky glue would’ve probably worked better for this particular project. It all dries clear, though, so in the end it didn’t matter.
We were so thrilled with how they turned out. They are a little on the plain side right now, but I can’t wait to see how pretty they look amid all the Christmas greenery after we put up the rest of our decorations next weekend!
 #kids #Christmas #crafts")
TAKE BACK CONTROL OF YOUR HOME LIFE
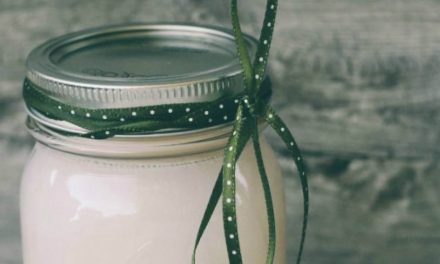
 Ever feel like you just can't keep up? Our Living Well Starter Guide will show you how to start streamlining your life in just 3 simple steps. It's a game changer--get it free for a limited time!
If you love this resource, be sure to check out our digital library of helpful tools and resources for cleaning faster, taking control of your budget, organizing your schedule, and getting food on the table easier than ever before.


Such a great post I love to make handmade gifts also. The trees are very cute. Thanks for sharing
These are sooooo cute! I actually happen to have some foam cones at the moment that I had glittery plans for, but now, I like this felt idea even better! Thanks so much for the inspiration!
these are so fun!
thanks for sharing!
xoxo