
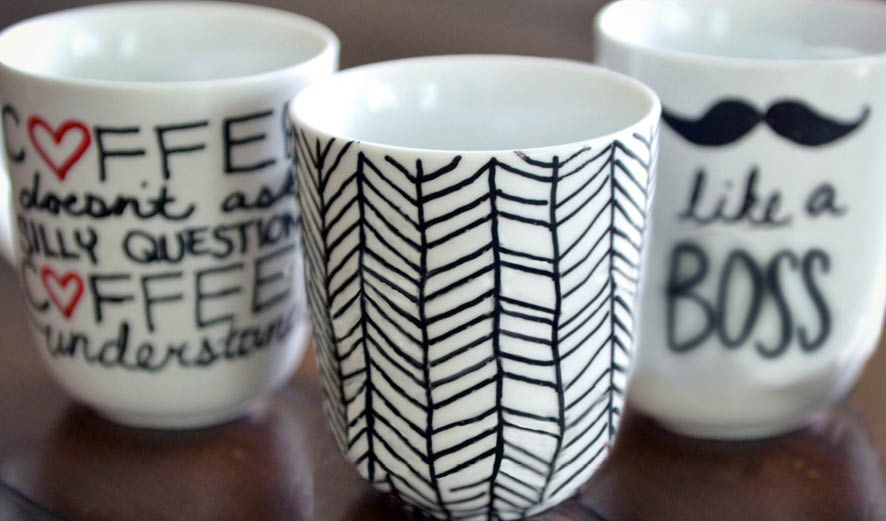

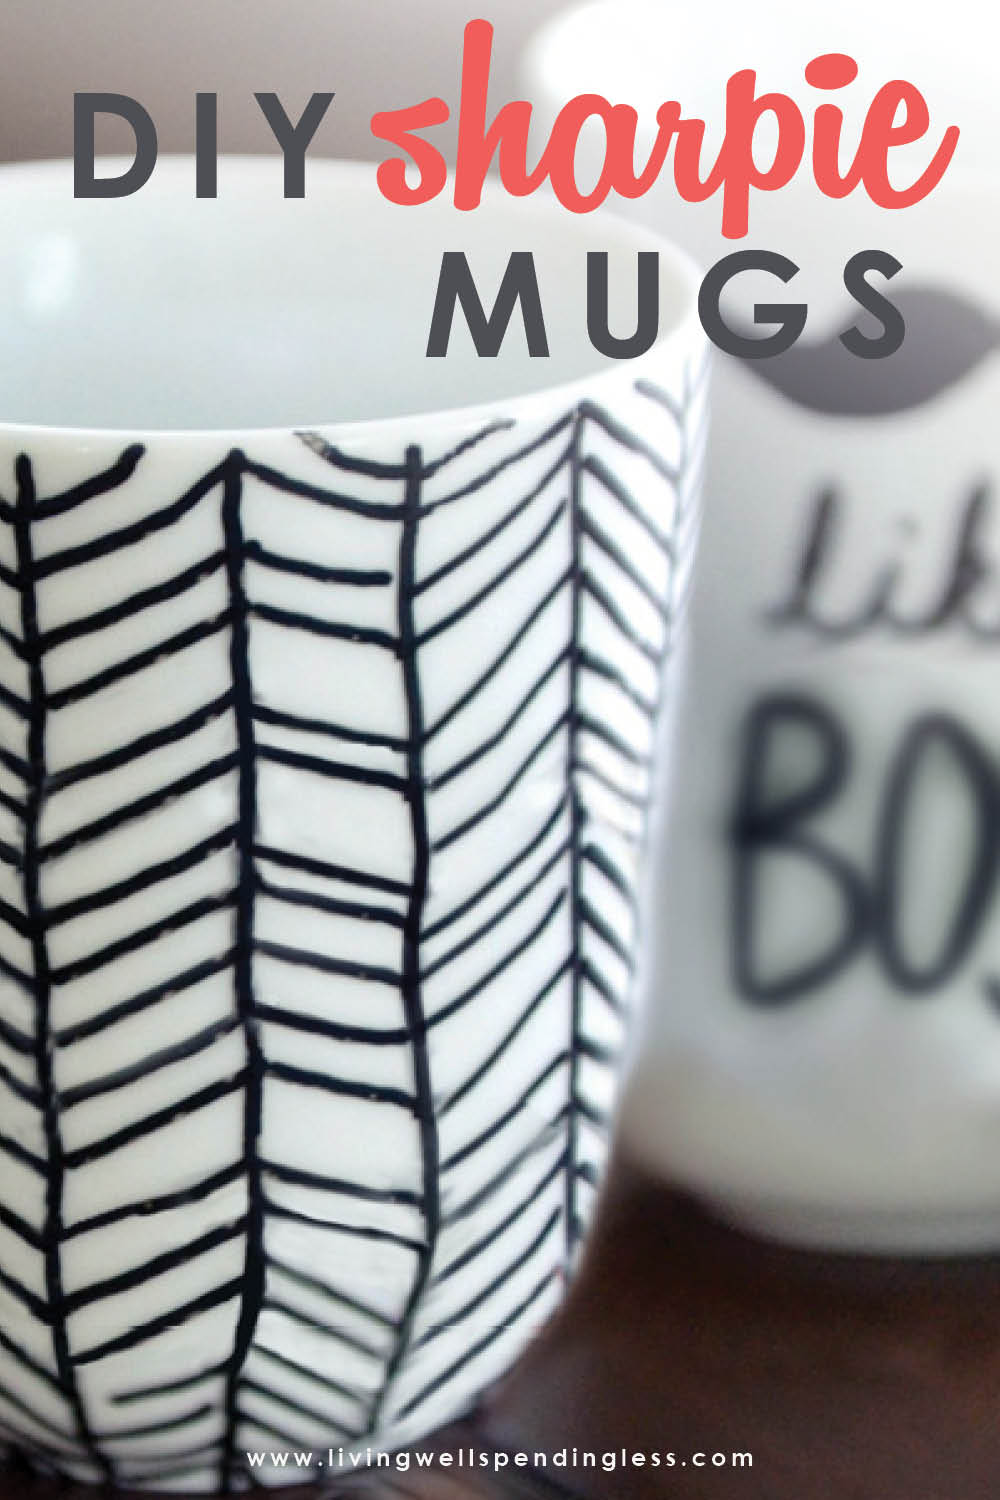
DIY Sharpie mugs are still all over Pinterest, but do they really work? This step-by-step tutorial shows you how to make them and tells you exactly which markers won’t wash off! Great gift idea!
For the past year or two, I’ve been seeing these Sharpie mugs all over Pinterest. And every time I see them, I think, “those are so cute. I should totally try that! They look SO easy!” But then I started noticing a lot of comments on those Sharpie mug photos, most of them complaining that while these darling little mugs are indeed the easiest craft ever, the marker is not actually wash resistant when applied to ceramic. And who wants a coffee mug they can’t wash?
But then I was on a hunt for some cute mugs for my new office and I couldn’t find a single one I liked, probably because in my head I was envisioning all those cute Sharpie mugs I had been drooling over. A little research helped me figure out how to make them permanent and washable!
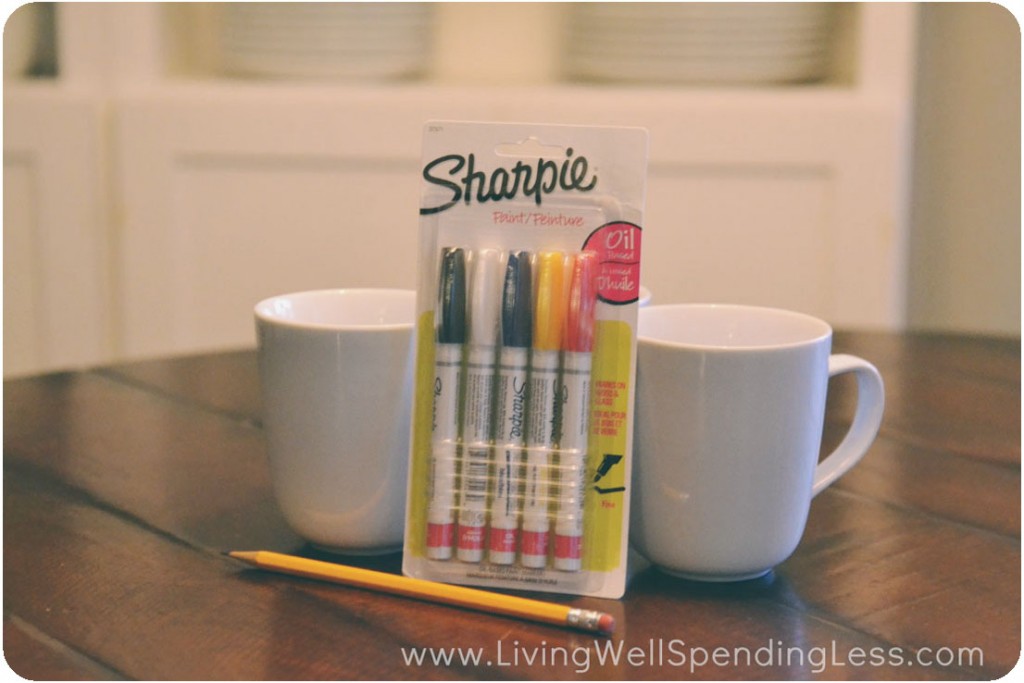
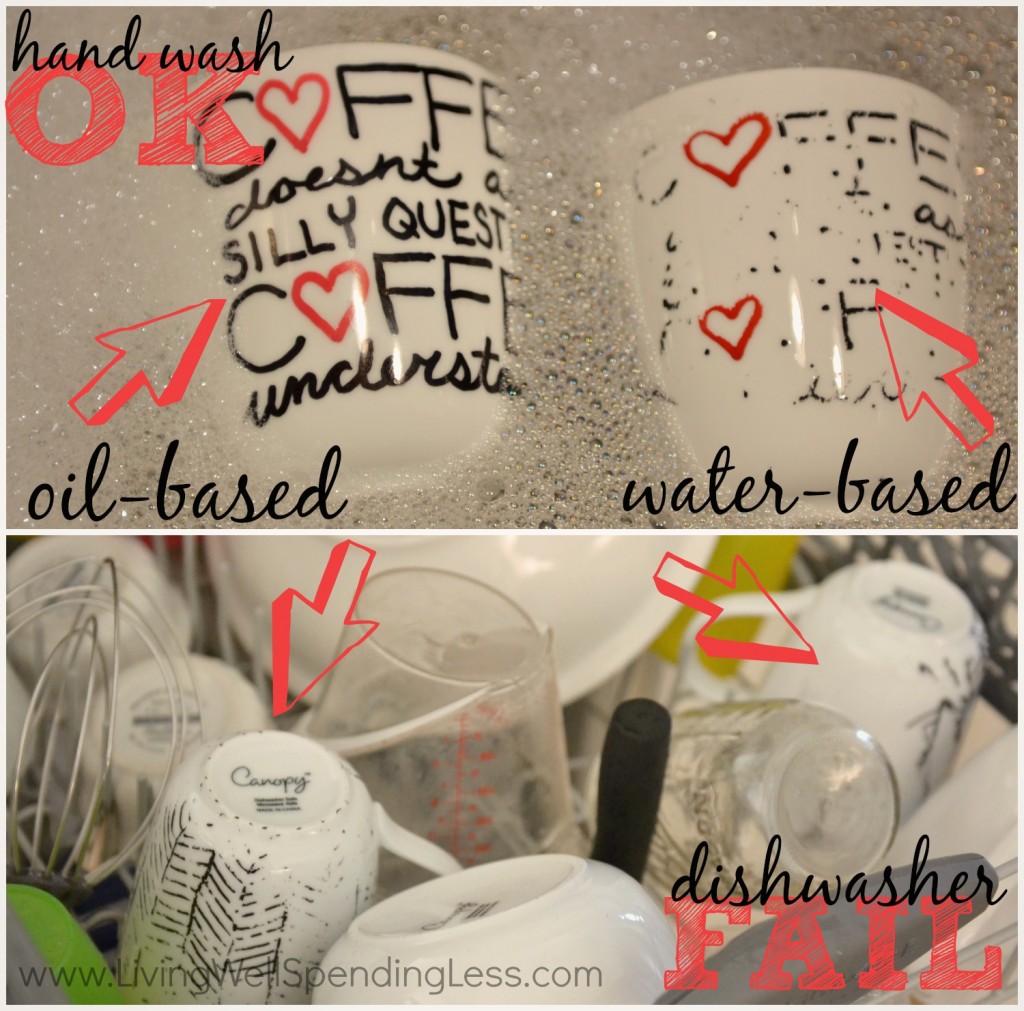
I found out that plain old regular Sharpie markers do not work at all for this project. The trick, I discovered, is that the markers must be OIL BASED, not water-based (which regular sharpies are). Thus, if you want to attempt this project, be sure to ONLY do it with the oil-based Sharpie paint markers!
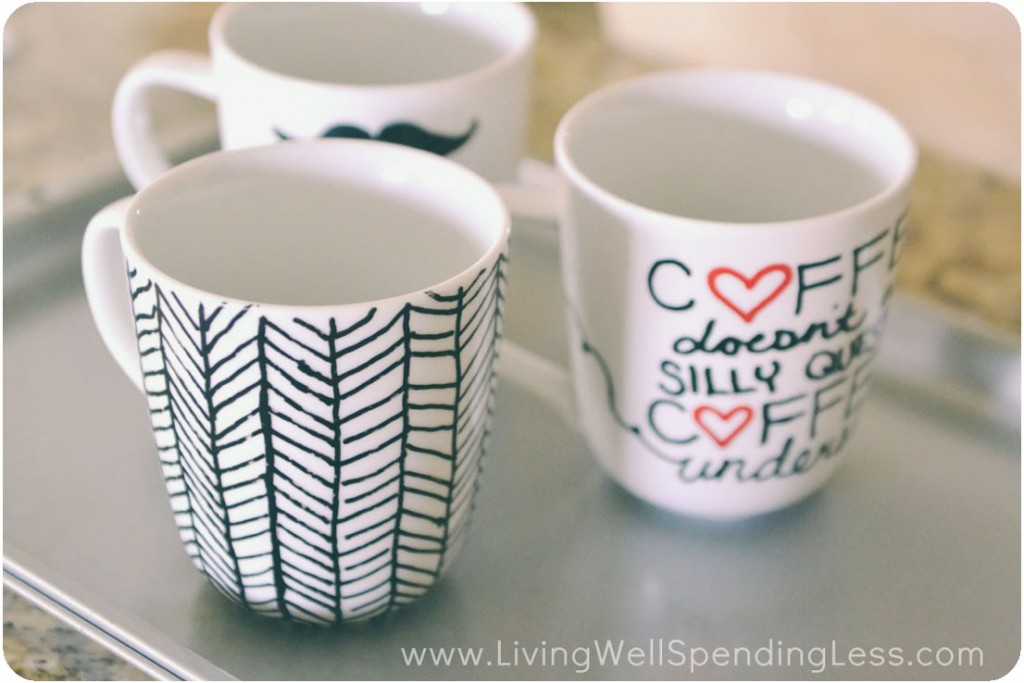
Even so, as my field testing proved, these cute little mugs will NOT be dishwasher safe. They do just fine with soap and water but the dishwasher means sure and sudden death to all your artistic effort. That said, they really are a fun & easy DIY project, and turn out SO cute without much effort. The possibilities are practically endless, and they would make a fantastic gift idea for just about anyone. (Just make sure to include washing instructions!)
UPDATE:
LWSL reader Ana shared the following comment on Facebook: “I used oil-based paint markers and even after curing them, they smudged when they got too hot. Instead, I bought DecoArt glass paint markers, followed the directions to a T and I have washed it in the dishwasher several times, no smudges or washing off.”
DIY Sharpie Mugs
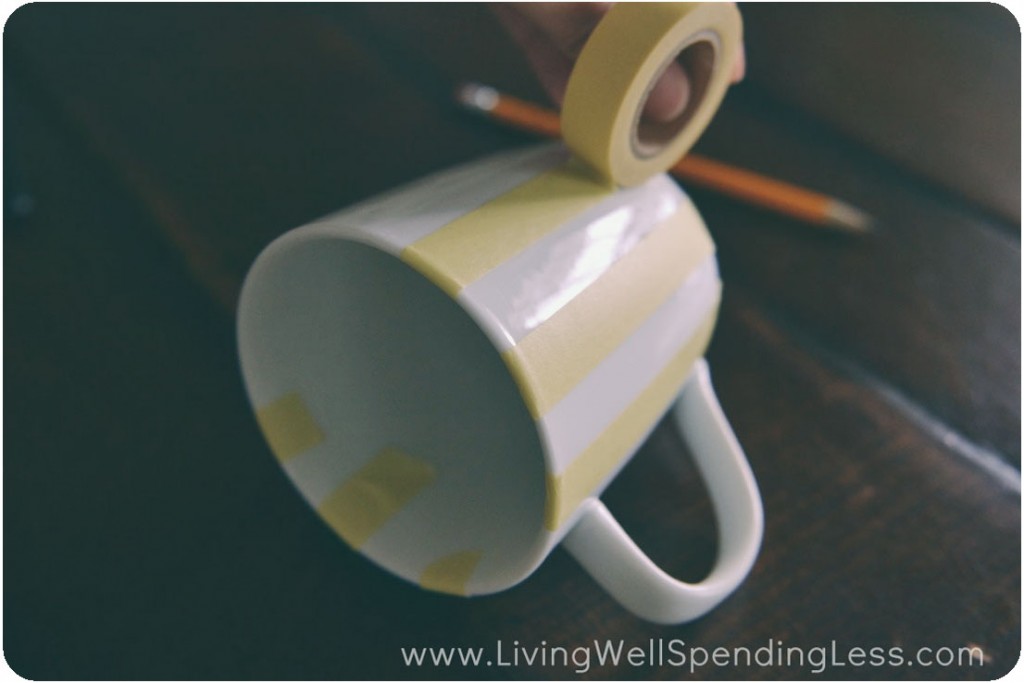
Step 1: Wash and dry your mug, if new. Decide on a design and prep design with masking tape, if necessary.
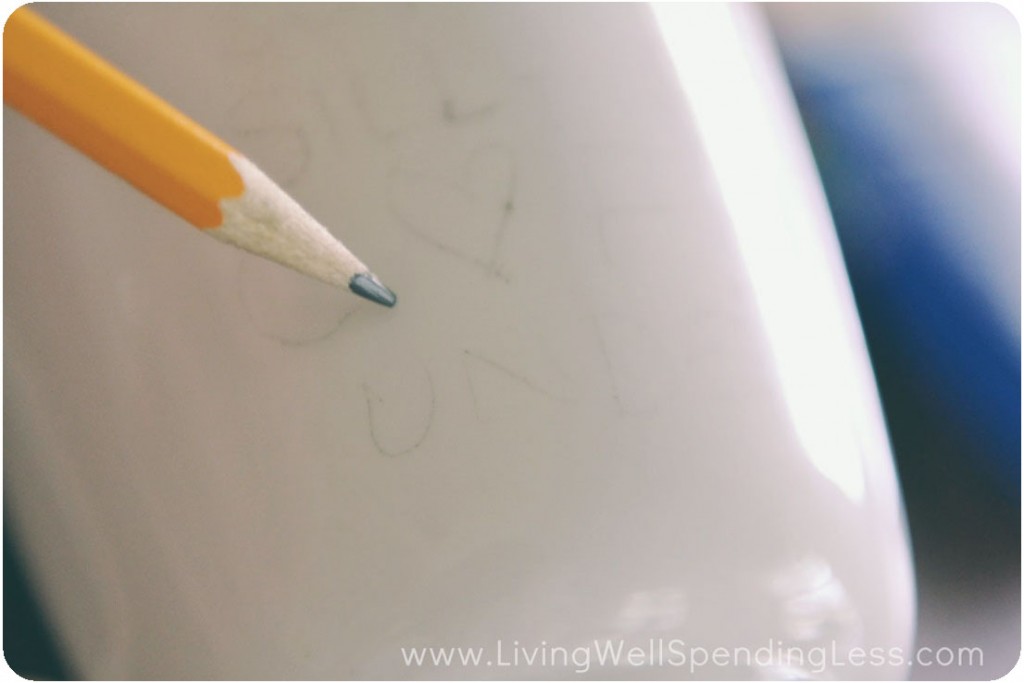
Step 2: Use a pencil to rough out a design for any words or lines. Remove masking tape.
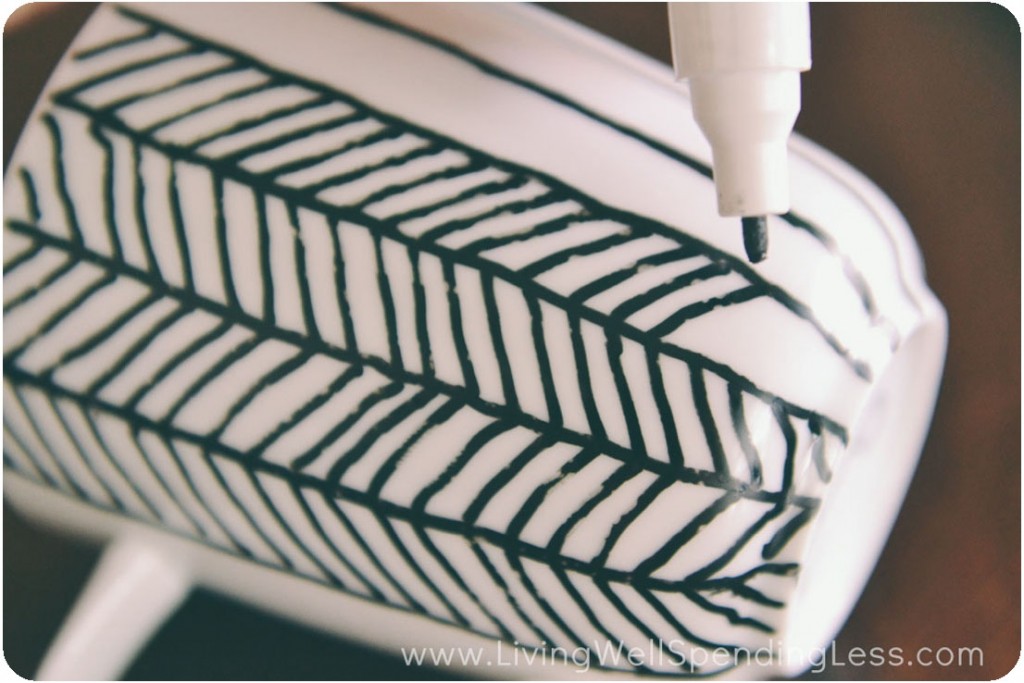
Step 3: Carefully draw your design with Sharpie paint markers.
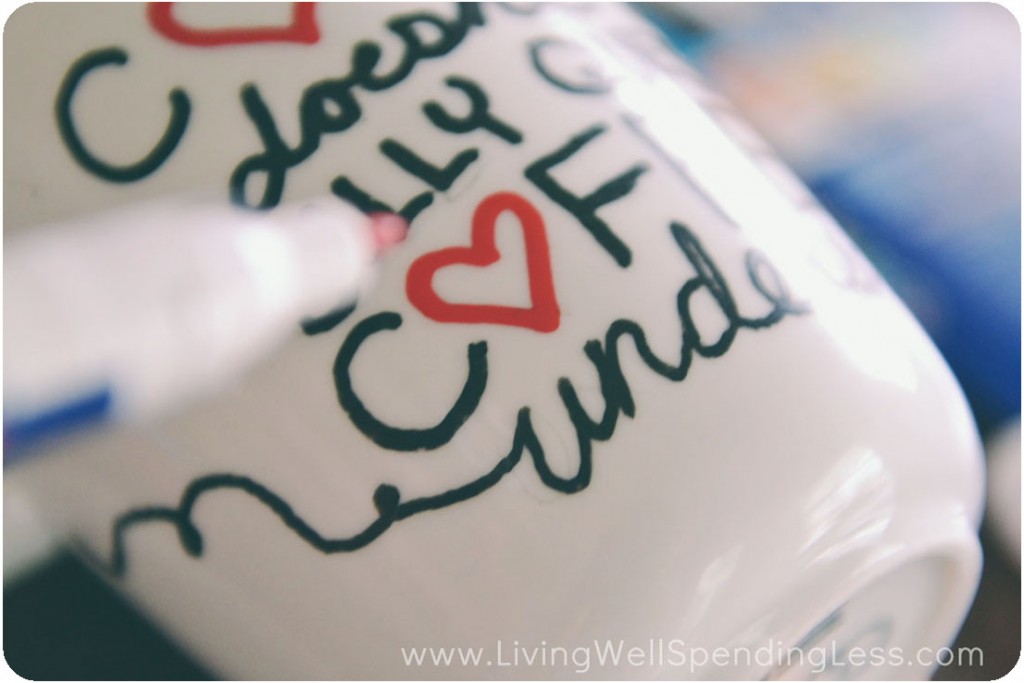
Step 4: Add accent colors, if necessary.
Step 5: Bake mugs at 350 degrees for 20 minutes to set paint; let cool completely.


Finally, remember that these will NOT be dishwasher safe! Be sure to hand wash ONLY!
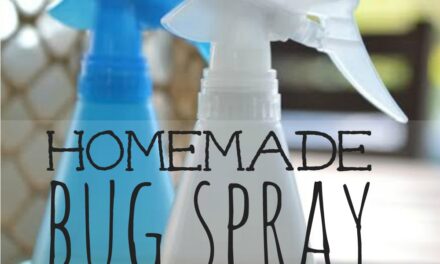
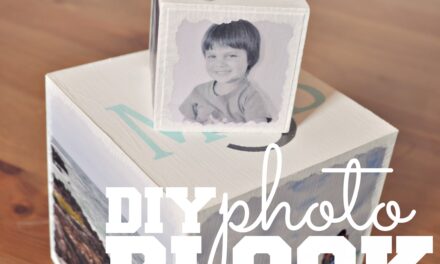
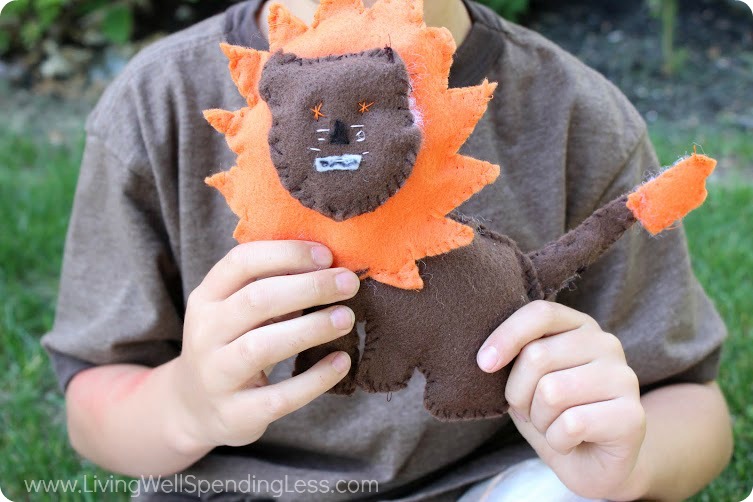
Want more? Check out these other handmade gifts you can make!
Pin for Later:

Ruth Soukup
Latest posts by Ruth Soukup (see all)
- Stop Worrying About Money - July 19
- How to Fit In More Fitness - April 28
- The Most Powerful Decision You’ll Ever Make - April 27
TAKE BACK CONTROL OF YOUR HOME LIFE
 Ever feel like you just can't keep up? Our Living Well Starter Guide will show you how to start streamlining your life in just 3 simple steps. It's a game changer--get it free for a limited time!
If you love this resource, be sure to check out our digital library of helpful tools and resources for cleaning faster, taking control of your budget, organizing your schedule, and getting food on the table easier than ever before.


Hi there, this weekend is nice designed for me, because this occasion i am reading this
wonderful educational post here at my home.
Hello,
I’ve been looking for a good post about DIY sharpie mugs and was really excited when I saw yours!
But I followed your directions and I can still scratch off some of my designs with my nails, is this normal? Can you ever get th scratch proof or will I have to except they may get damaged one day of they get scratched by accident? Helppp 🙁
it is more time consuming but it is actually best to let the oil based sharpie paints sit for 72 hrs before baking so the paint can better molecularly adhere to whatever surface it’s on, I’ve been doing these sharpie type crafts for awhile now and has seen a significant difference in the resilience of the paint when I let it sit for a few days before I bake them (put in oven before turning on) 250 degrees for 2 hrs and let sit in oven to cool. color should remain the same (higher temperatures tend to make blues,greens and reds turn tan and alters other colors, usually black is the only one that remains unchanged)
have seen*
Best way to store Sharpie Paint Pens to keep them in great working order ? Upright? Flat? Down? in drawer? in a cup?
Wow, marvelous weblog format! How lengthy have you ever been blogging
for? you make running a blog glance easy.
The total look of your web site is magnificent, as neatly as
the content!
Great blog you have here.. It’s difficult to find quality writing like yours these days.
I truly appreciate people like you! Take care!!