
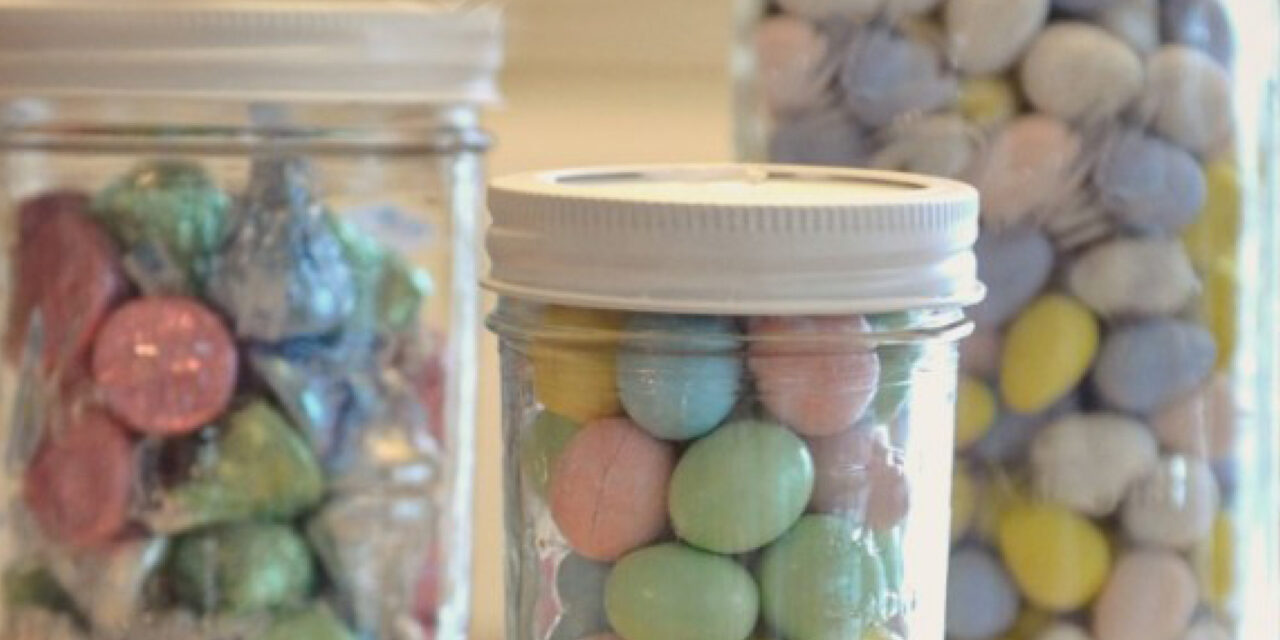

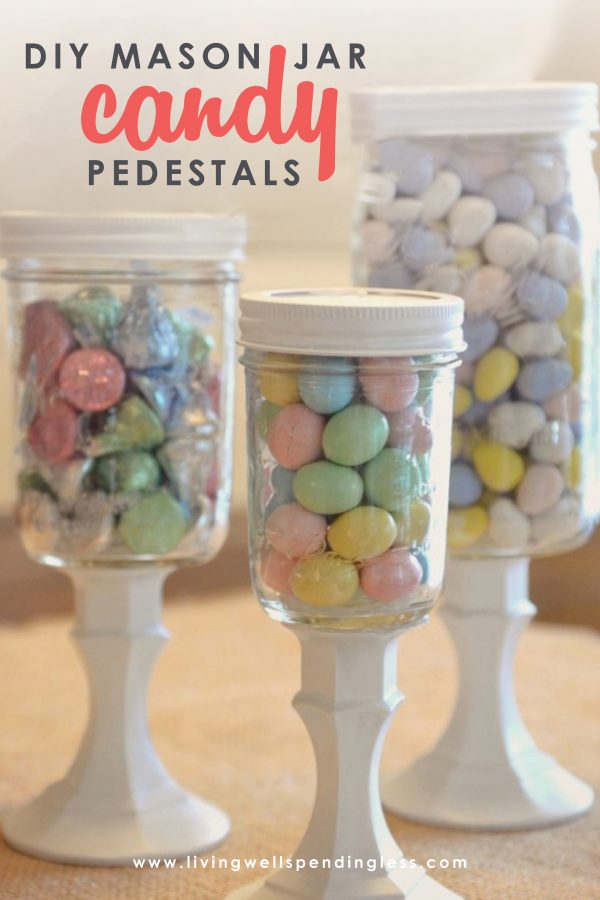
These DIY Mason Jar Candy Pedestals are so cute & super easy to make using mason jars & dollar store candlesticks! Swap out candy to use for different holidays.
I love to do crafts, but to be honest I don’t always have a lot of patience–or extra time–to invest into lengthy, time-consuming projects. I am all about squeezing in a little craftiness when you can! Luckily, these little candy jar pedestals, (of which I’ve been seeing various versions all over Pinterest), were a perfect project for that! The total time invested, not including the drying time, was probably about 15 minutes, split into short increments over the course of 2 days. It seriously could not have been any easier.
What I really love about this project, however, is that though I wanted to make them to display Easter candy, they are neutral enough to work for other holidays too–just swap out the candy! I later ended up adding chalkboard lids to the top, simply because I was working on a different chalkboard paint project a few days after I finished these jars and I thought it would be a cute addition. Thus, the chalkboard paint is totally optional!
DIY Mason Jar Candy Pedestals
Here is what you need:
3 mason jars, in varying heights (You could also use clean pickle or other jars if you’d prefer) 3 lids & lid rings 3 glass candlesticks (from the dollar store) hot glue (optional) e-6000 glue spray paint chalkboard paint (optional)Step One: Lightly spray paint your lids and candlesticks; allow to dry, then spray again. Repeat until covered. If you like, you can hot glue the lids to the mason jar rings before or after spraying. I did it before but I wasn’t very careful so if you look close it looks kinda crappy. I think next time I would spray first, then hot glue.
Step Two: After your candlesticks have dried completely, squirt some of the e-6000 glue on the base of your mason jars, let sit for 30 seconds, then set candlestick in place. Be sure to get it centered or your jar will sit crooked. (Not that I did that or anything. Nope, not me.)
Step Three: Let dry for 24 hours!
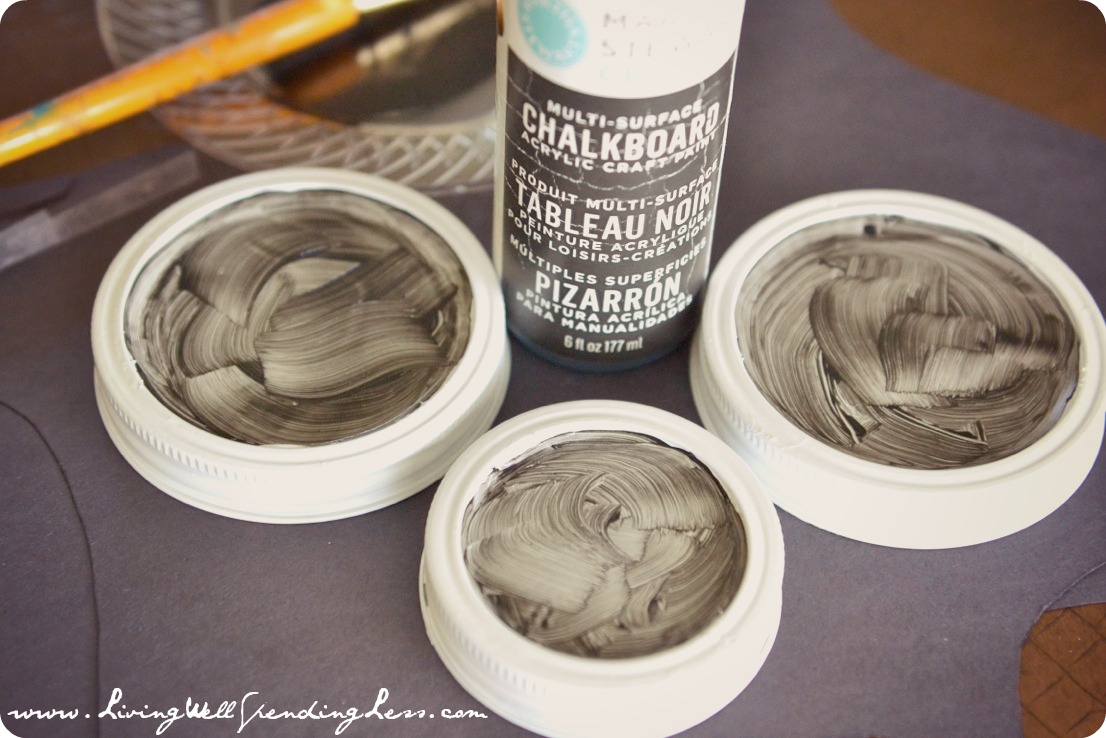
Step Four: (optional) Paint the tops of your lids with chalkboard paint to give it a little something extra. 🙂
Step Five: Fill your jar with lots of Easter candy! Try not to eat it all in 2 days. (A big thank you to Hershey’s for this yummy basket full of goodies!)
Other fun DIY Projects:
PIN FOR LATER

Ruth Soukup
Latest posts by Ruth Soukup (see all)
- Stop Worrying About Money - July 19
- How to Fit In More Fitness - April 28
- The Most Powerful Decision You’ll Ever Make - April 27
TAKE BACK CONTROL OF YOUR HOME LIFE
 Ever feel like you just can't keep up? Our Living Well Starter Guide will show you how to start streamlining your life in just 3 simple steps. It's a game changer--get it free for a limited time!
If you love this resource, be sure to check out our digital library of helpful tools and resources for cleaning faster, taking control of your budget, organizing your schedule, and getting food on the table easier than ever before.


So cute! I love how simple it is to create, but so fun and you can then do anything with them for displays or gifts!!
Thanks for posting 🙂 Happy Easter!
Hannah ♫
Sew Lah Tea Dough
Thanks Hannah!
Cute idea! But I have to ask – how, oh how do you store all your craft supplies??? (Hint, hint – would love to see a post on how you organize your craft supplies!) I swear our craft supplies seem to multiply like bunnies and end up being stored here, there, and everywhere I can find room to stuff them!
I know exactly what you mean! I have all the kid-friendly craft stuff stored in bins on shelves in our homeschool room and all my “mommy” craft supplies stored in cabinets in my home office/library. That seems to work pretty well. I will definitely consider doing a post about it soon!
So cute! I’m definitely going to do these for the Easter candy this year, as opposed to letting all the loose candy fall to the bottom of the baskets and die a slow, dried out death! The kids are only interested in the peanut butter eggs and the bunnies anyway! More jellybeans for me! (On second thought…)
Thanks Christine! Let me know how they turn out for you! 🙂
I tend to stick to the quick & easy crafts so this one looks easy enough to actually give it a try! I love the chalkboard tops too.
It is VERY easy, I promise! Let me know how it turns out! 🙂
Love these!
Thanks Simile! 🙂